


Chapter 3: Getting Started
This chapter provides more detailed information and let you know how to install components into
the ROC285A series embedded System.
Prior to removing the chassis cover, make sure the unit’s power is off and disconnected
from the power sources to prevent electric shock or system damage.
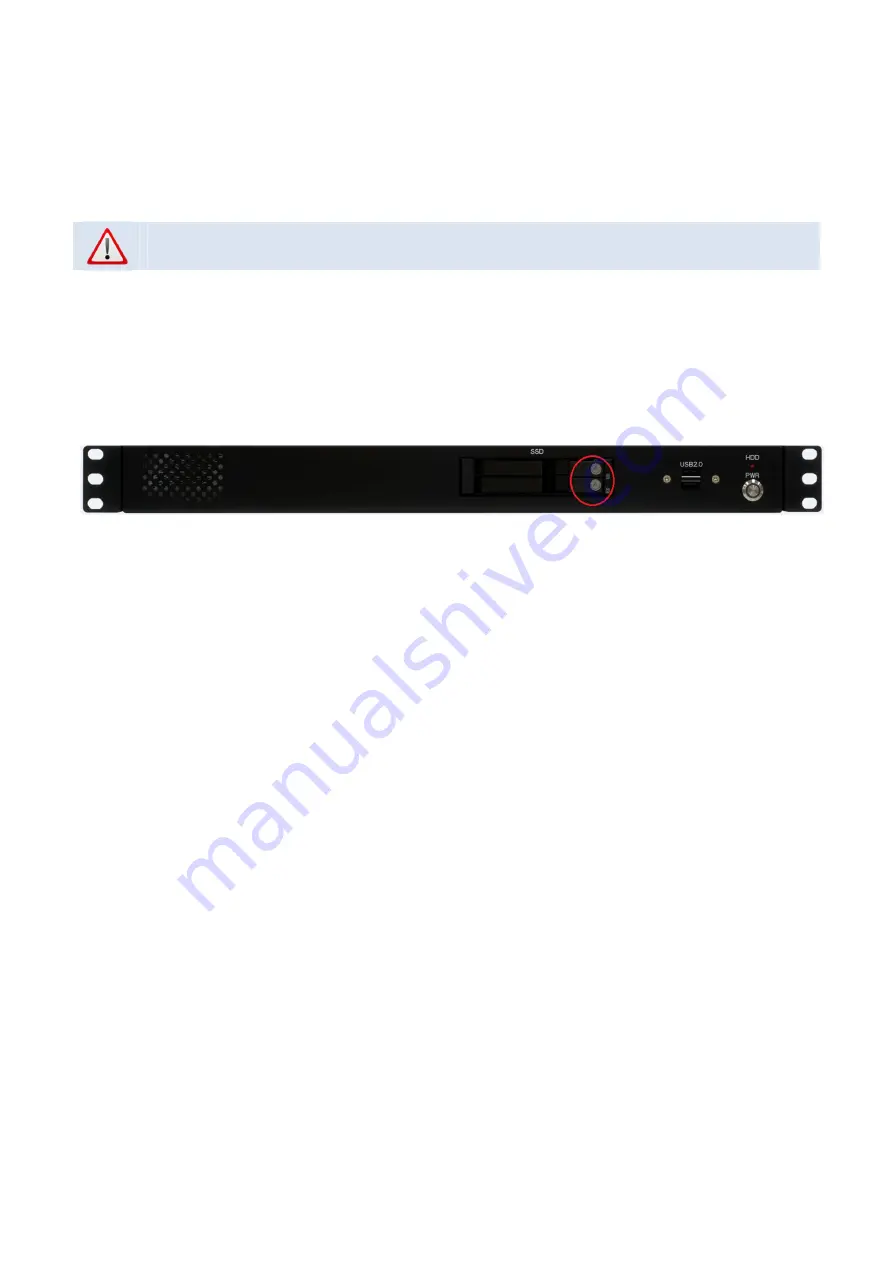
3.1 2.5" Easy Swap SSD installation
ROC285A series supports two 2.5" Easy Swap SSD
•
Use Tri-angle security key to open keylock and pull out the 2.5” HDD tray.
•
Put 2.5” SSD/HDD on the tray and make sure SSD/HDD is fixed and push the tray back.
•
Use Tri-angle security key to lock the tray door.
Summary of Contents for ROC285A Series
Page 7: ...1 4 Mechanical Dimensions ...
Page 13: ...4 4 2 CPU Configuration ...
Page 14: ...4 4 3 ACPI Setting 4 4 4 Smart Setting ...
Page 15: ...4 4 5 F81866 Super IO Configuration ...
Page 16: ...4 4 6 Hardware Monitor 4 4 6 1 Smart Fan Mode Configuration ...
Page 17: ...4 4 7 Platform Function ...
Page 18: ...4 4 8 Serial Consolr Redirection ...
Page 19: ...4 4 9 NVMe Configuration 4 4 10 USB Configuration ...
Page 20: ...4 4 11 CSM Configuration 4 4 12 SATA Configuration ...
Page 21: ...4 5 Chipset Menu 4 5 1 System Agent SA Configuration ...
Page 22: ...4 5 1 1 Graphics Configuration 4 5 1 2 PEG Port Configuration ...
Page 23: ...4 5 1 3 GT Power Management Control ...
Page 24: ...4 5 2 PCH IO Configuration ...
Page 25: ...4 5 2 1 PCI Express Configuration ...
Page 26: ...4 5 2 2 USB configuration ...


