23
GB
04. SCOPE OF DELIVERY
●
●
Carefully remove the appliance and accessories from the packaging.
●
●
Check the scope of delivery for completeness and transport damages.
●
●
Keep the original packaging. You can use it to store the appliance if you do not intend
to use it for a longer period of time.
When unpacking it, ensure that the following parts have also been supplied:
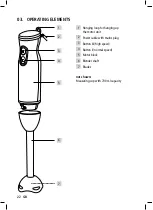
1 Stick blender
1 Measuring cup
1 Operating instructions
05. OPERATION
How to use the stick blender
CAUTION!
The stick blender is
not
suitable for processing hard and dry foods,
e.g. ice cubes and nuts.
It must only be used with liquids!
The stick blender is suitable for preparing dips, sauces, soups, mayonnaise and baby food as
well as for blending milkshakes. Of course, you may also prepare other suitable foods that are
not listed here.
NOTES:
●
●
In order to keep the food from spurting out, do not switch on the stick blender unless it is
immersed in the food.
●
●
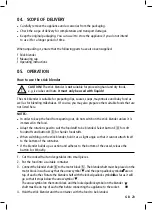
Adapt the rotation speed to suit the foodstuff to be blended. Select button
I
4
for soft
foodstuffs and button
II
3
for harder foodstuffs.
●
●
When switching on the stick blender, hold it at a slight angle so that it cannot attach itself
to the bottom of the container.
●
●
If the blender builds up a suction and adheres to the bottom of the vessel, release the
button
I
or
II
briefly.
1. Cut the cooked fruit and vegetables into small pieces.
2. Put the food into a suitable container.
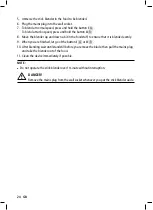
3. Connect the blender shaft
6
to the motor block
5
. The blender shaft must be placed on the
motor block in such a way that the arrow symbol
▼
and the open padlock symbol are on
top of each other. Rotate the blender shaft with the locked padlock symbol as far as it will
go so that it stops below the arrow symbol
▼
.
The arrow symbol on the motor block and the locked padlock symbol on the blender
shaft must be on top of each other before connecting the appliance to the socket.
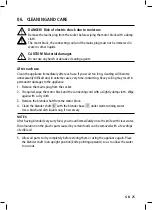
4. Hold the stick blender and the container with the food to be blended.
▼


