93
3
B
asic Op
er
atio
ns
10
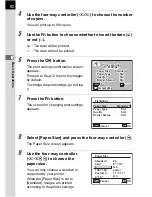
Press the
4
button.
11
Repeat Steps 8 to 10 to set [Paper Type], [Quality] and
[Border Status].
The print settings change screen appears after each item has been set.
When [Std.] is selected for these print settings, images are printed
according to the printer settings.
[Paper Type] with more
E
s supports higher quality paper.
[Quality] with more
E
s indicates higher print quality.
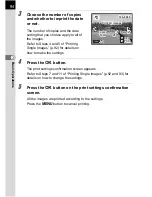
12
Press the
4
button twice.
The image is printed according to the settings.
Press the
3
button to cancel printing.
1
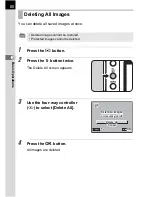
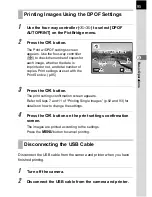
Use the four-way controller
(
mn
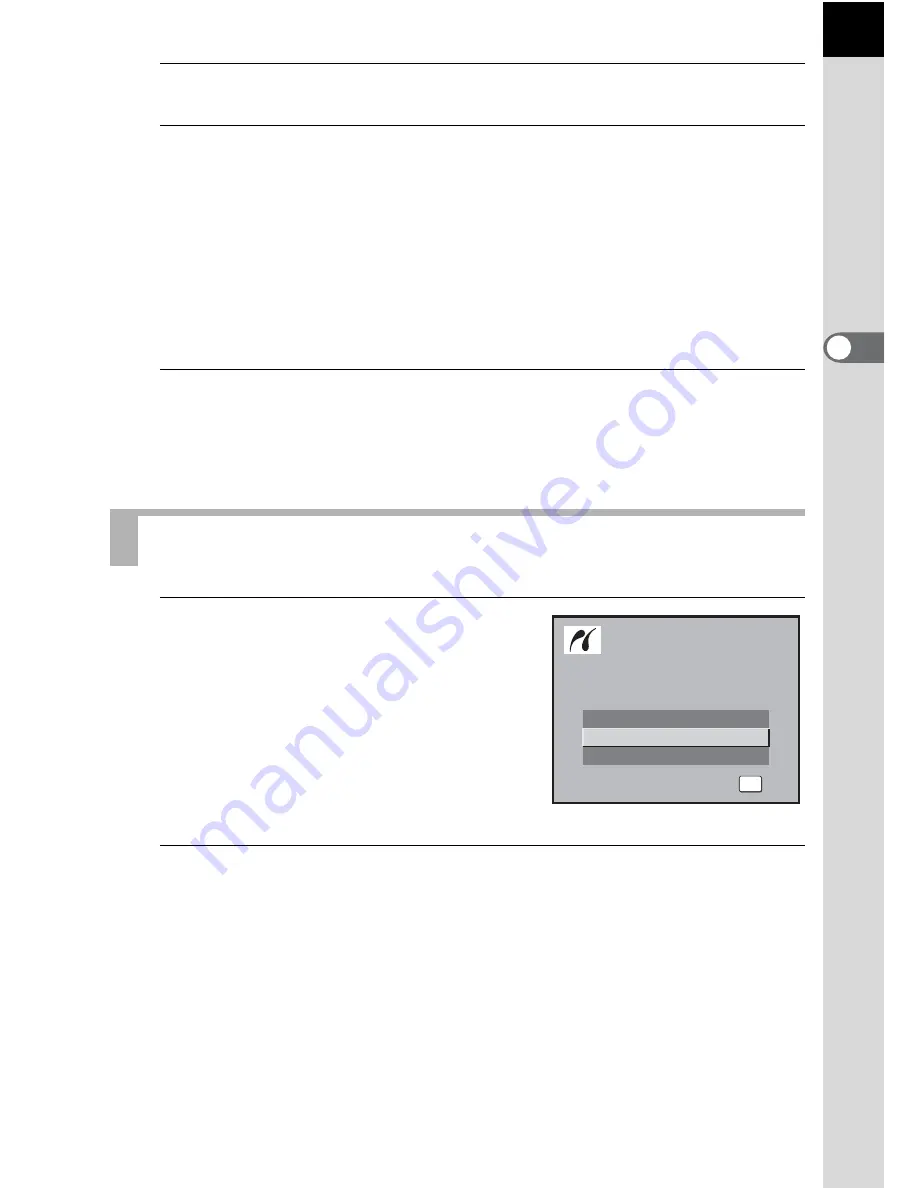
) to select [Print All] on
the PictBridge menu.
2
Press the
4
button.
The Print all images screen appears.
Printing All Images
Print One
Print All
DPOF AUTOPRINT
OK
OK
OK
OK
Select printing mode
Select printing mode
Select printing mode
Summary of Contents for 19156
Page 12: ...Memo 10 ...
Page 42: ...Memo 40 ...
Page 98: ...Memo 96 ...
Page 114: ...Memo 112 ...
Page 217: ...Memo ...
Page 218: ...Memo ...
Page 219: ...Memo ...


