Pentair 188623 Installation And User Manual Download Page 5

FULLFLO

XF

® 4000-SERIES Grid Style D.E. Filter Installation and User’s Guide

1

GENERAL INFORMATION

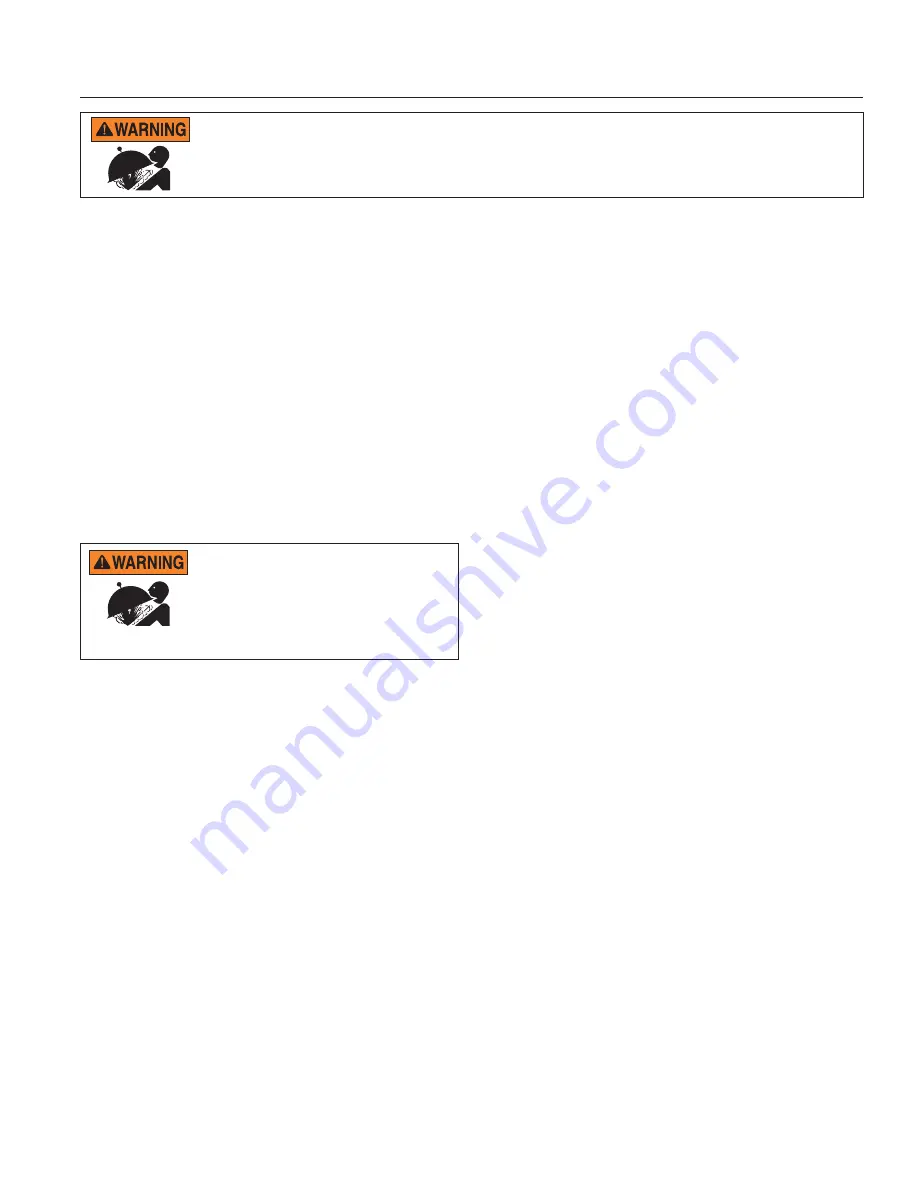
THIS SYSTEM OPERATES UNDER HIGH PRESSURE. 

When any part of the circulating system (e.g., Clamp Ring, Pump, Filter, Valves, etc.) is serviced, air can enter the system 
and become pressurized. Pressurized air can cause the lid to separate which can result in serious injury, death, or 
property damage. To avoid this potential hazard, follow the instructions below.

Filter Overview

•  Curved filter grid elements maximize filtration area; 

internal design minimizes flow restrictions. 

•  FullFloXF

®

 4000-Series D.E. Filter captures 

microscopic impurities like dirt, algae, and some 
forms of bacteria. 

•  Includes assembled 2” rotary backwash valve.
•  Full 2” inlet/outlet for improved hydraulic efficiency.
•  HiFlow™ Manual Air Relief Valve for rapid air release.

General Operation Information 

Read and follow all instructions and warnings before 
installing or servicing your filter. Proper installation 
and operation can prevent unnecessary repairs and 
maintenance.

1.  This filter operates under pressure and operates in 

a safe manner if clamped properly and without air in 
the circulating system. 

2.  The maximum working pressure of this filter is 50 

psi. Never subject this filter to pressure in excess 
of this amount, even when conducting hydrostatic 
pressure tests. 

3.  Ensure the maximum working pressure of the filter 

system does not exceed the maximum working 
pressure of any components within the system 
during hydrostatic or external leak tests. Consult the 
maximum pressure stated on each component of the 
system. 

4.  The pressure gauge is the primary indicator of how 

the filter is operating. Maintain your pressure gauge 
in good working order (refer to 

Maintaining the 

Pressure Gauge

). 

5.  If filter operates without diatomaceous earth (D.E.) 

for more than three (3) minutes, filter elements may 
be damaged.

Your filter is a piece of machinery, do not tamper 
with it, attempt to disassemble it or otherwise 
adjust it unless you fully understand it's operation. 
Serious injury or death can occur if the equipment 
is improperly handled. Consult a pool service 

professional for maintenance and service assistance.

Maintaining the Pressure Gauge

The pressure gauge is the primary indicator of how the 
system operates. It is critical to keep the pressure gauge 
in good condition. 

Replace pressure gauge (P/N 190058) if any of the 
requirements below are not met:


1.  Pressure gauge at zero (0) when pressure is 

relieved and system is turned off.

2.  Pressure gauge reads correctly while system is in 

operation. 

3.  The pressure gauge is readable and not damaged in 

any way.


Pressure Tests

When performing hydrostatic pressure tests or when 
testing for external leaks of the completed filtration and 
plumbing system, ensure that the Maximum Pressure 
that the filtration system will be subjected to

 DOES NOT 

EXCEED THE MAXIMUM WORKING PRESSURE OF 
ANY OF THE COMPONENTS CONTAINED WITHIN 
THE SYSTEM. 

In most cases, the maximum pressure will be stated on 
each component of the system. If doubt exists as to the 
pressure to which the system will be subjected, install an 
ASME approved automatic Pressure Relief or  Pressure 
Regulator in the circulation system set to the lowest 
working pressure of all of the components in the system. 

Summary of Contents for 188623

Page 1: ...reat force To reduce the risk of severe injury or death relieve pressure by opening air relief valve before opening filter Before starting the pump after servicing ensure that clamp band is correctly...

Page 2: ...cannot be switched on while you are working on the pool equipment Failure to do so could result in serious injury or death to serviceman pool users or others due to electric shock Positionthefilteran...

Page 3: ...and pump during system start up shut down or servicing of the system filter General Installation Information The following information should be read carefully since it outlines the proper manner of...

Page 4: ...ation System Start Up and Operation Opening the Filter Preparing Diatomite Coating Filter Elements with D E Valve Operation Installing the Filter Lid and Clamp Ring Start Up Instructions TABLE OF CONT...

Page 5: ...ximum pressure stated on each component of the system 4 The pressure gauge is the primary indicator of how the filter is operating Maintain your pressure gauge in good working order refer to Maintaini...

Page 6: ...emove the filter lid for cleaning and servicing This distance will vary with the model of filter you are using See Table 1 for the required vertical clearance 6 Position the filter to safely direct wa...

Page 7: ...ressure gauge connection threads with thread seal tape two full wraps of tape will be enough 6 Thread the pressure gauge into the top of the manual air relief valve Hand tighten only 7 Follow Start up...

Page 8: ...priate size concrete anchor to mount the clamp to the equipment pad Be sure to follow local codes 3 Fit the hook of each clamp into the anchor slots on the base panel of the filter See Figure 3 4 Mark...

Page 9: ...y to prevent the lid from separating during system start up operation or servicing REQUIRED TOOLS Ratchet Wrench 7 8 Socket Socket Extender if needed PROCEDURE 1 Shut off pump and relieve pressure a T...

Page 10: ...with sufficient water in a bucket to make a thin milky mixture 3 Refer to Coating the Filter Elements with D E for instruction on introducing the diatomite slurry into the filter Follow all manufactur...

Page 11: ...clamp to fit the clamp properly c Continue to tighten until the spring coils touch d Tap around the entire clamp again and verify the spring coils remain touching If not continue to tighten the nut N...

Page 12: ...vice at 800 831 7133 for assistance 5 After a steady stream of water appears close the manual air relief valve by turning the valve cover assembly a quarter turn clockwise 6 The first time the system...

Page 13: ...cannot assume any responsibility for torn or damaged bags if left in the sun to dry 10 If your filtration system contains a Separation Tank follow the instructions in Cleaning the Separation Tank on p...

Page 14: ...are present a Soak the filter element for at least one hour overnight is most effective in one of the following A commercial filter cleaner One cup trisodium phosphate TSP to five gallons of water On...

Page 15: ...O ring is properly seated around the entire tank to prevent pinching 9 Install the clean bag in tank with the rim of the bag immediately below the tank inlet opening then push down on the rim opposit...

Page 16: ...ution Allow the elements to soak in the solution for 10 minutes or until bubbling stops 5 Turn the elements over placing the top halves into the solution Allow the top halves of the elements to soak f...

Page 17: ...manual air relief valve by turning the valve cover assembly a quarter turn counter clockwise until it snaps into the full open position c Stand clear of the filter and wait until all pressure is relie...

Page 18: ...on filter elements Clean the filter elements according to Manually Cleaning the Filter Elements page 10 and or Acid Soaking the Filter Elements page 12 Cloud of Dirt Entering Pool A brief cloud of di...

Page 19: ...rawings FullFloXF 4000 Series Grid Style D E Filter Model P N Filter Area sq ft Vertical Clearance Required Flow Rate GPM Res Turnover Capacity Gallons 8 hrs 10 hrs 12 hrs XF4048 188623 48 65 96 45 12...

Page 20: ...nd approved by Pentair and original Pentair parts you simultaneously acquire the assurance that they have been thoroughly tested by Pentair to ensure optimum performance when installed on your filter...

Page 21: ...FULLFLOXF 4000 SERIES Grid Style D E Filter Installation and User s Guide 17 NOTES...

Page 22: ...FULLFLOXF 4000 SERIES Grid Style D E Filter Installation and User s Guide 18 NOTES...

Page 23: ...FULLFLOXF 4000 SERIES Grid Style D E Filter Installation and User s Guide 19 NOTES...

Page 24: ...r trademarks and logos are property of Pentair Third party registered and unregistered trademarks and logos are the property of their respective owners Because we are continuously improving our produc...

Reviews: