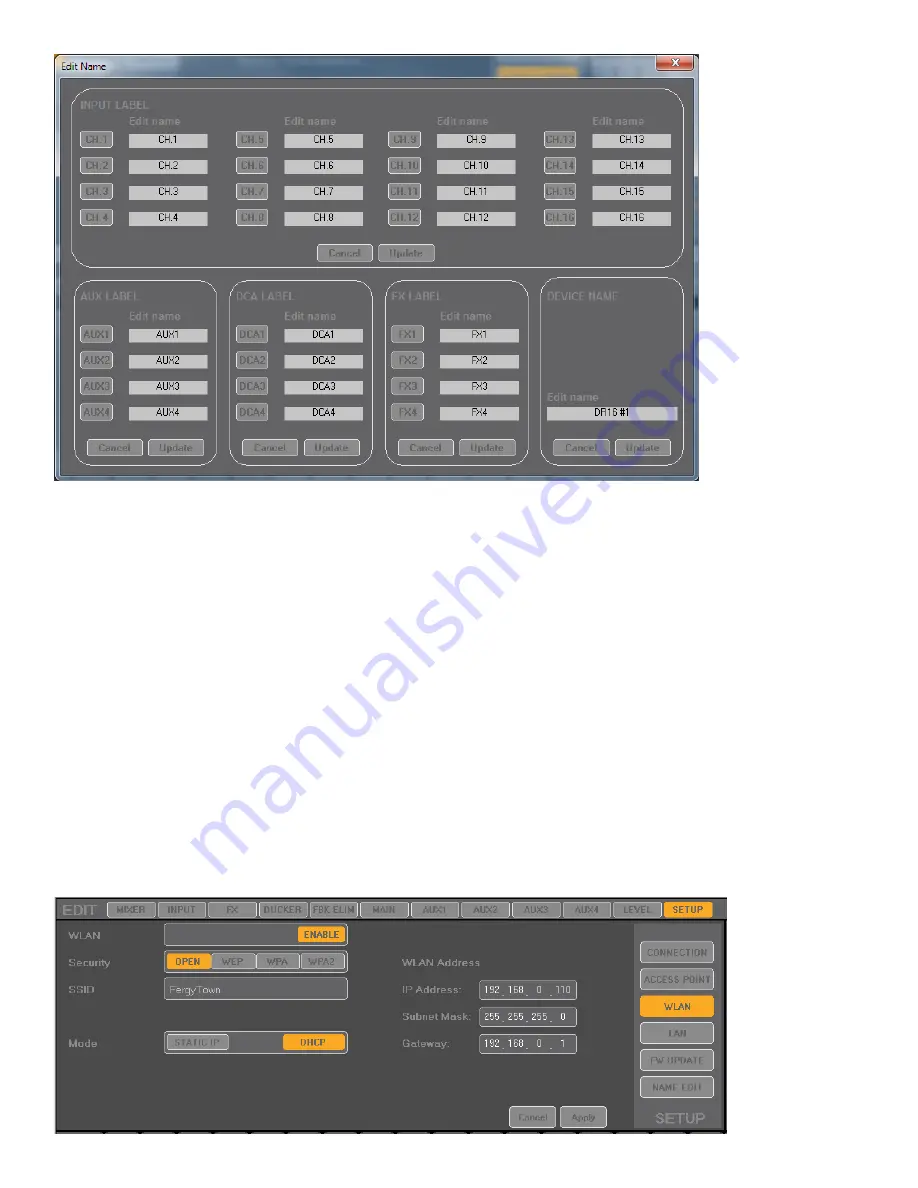
Change the device name from DR16 to a name you can use to identify this particular mixer. Above, DR16 was
changed to DR16 #1. (I am sure you can do better for your application)
Now click apply.
The mixer will need to be powered off then on for these changes to be applied.
Repeat this process for the other mixers in the system giving each their own unique SSID and Name.
Finally, you need to change the WiFi settings on your control device to connect to the newly changed mixer WiFi
network SSID. Chose the network name of the mixer you wish to control.
Solution 2:
This approach allows the user to select which mixer will be controlled by selecting the appropriate
mixer on the Setup>Connection screen. Only one mixer can be controlled at a time but you can easily switch
between mixers on the connections screen.
It is a good idea to make all of the changes outlined in solution 1 before proceeding to solution 2.
To allow easy switching between mixers, all of the mixers need to be on the same network. Because many or all
of these connections will be WiFi, this will require that a WiFi router be used. The mixers and the control devic-
es will all connect to the router instead of directly connecting the control devices to the mixer. The connections
to the router can be either Ethernet or WiFi. To connect the mixer via WiFi to the router, you need to setup the
mixer in WLAN station mode. A setup example is shown below.


