


BCMS Setup: Accumulator Application
Cntl Nr: PM375107-002
15
3.2
Start the Accumulator Setup Application
1.
Connect your USB cable to the USB connection on the Comm Box. If this is your first time using
Setup on this PC, wait for Windows to register the USB device.
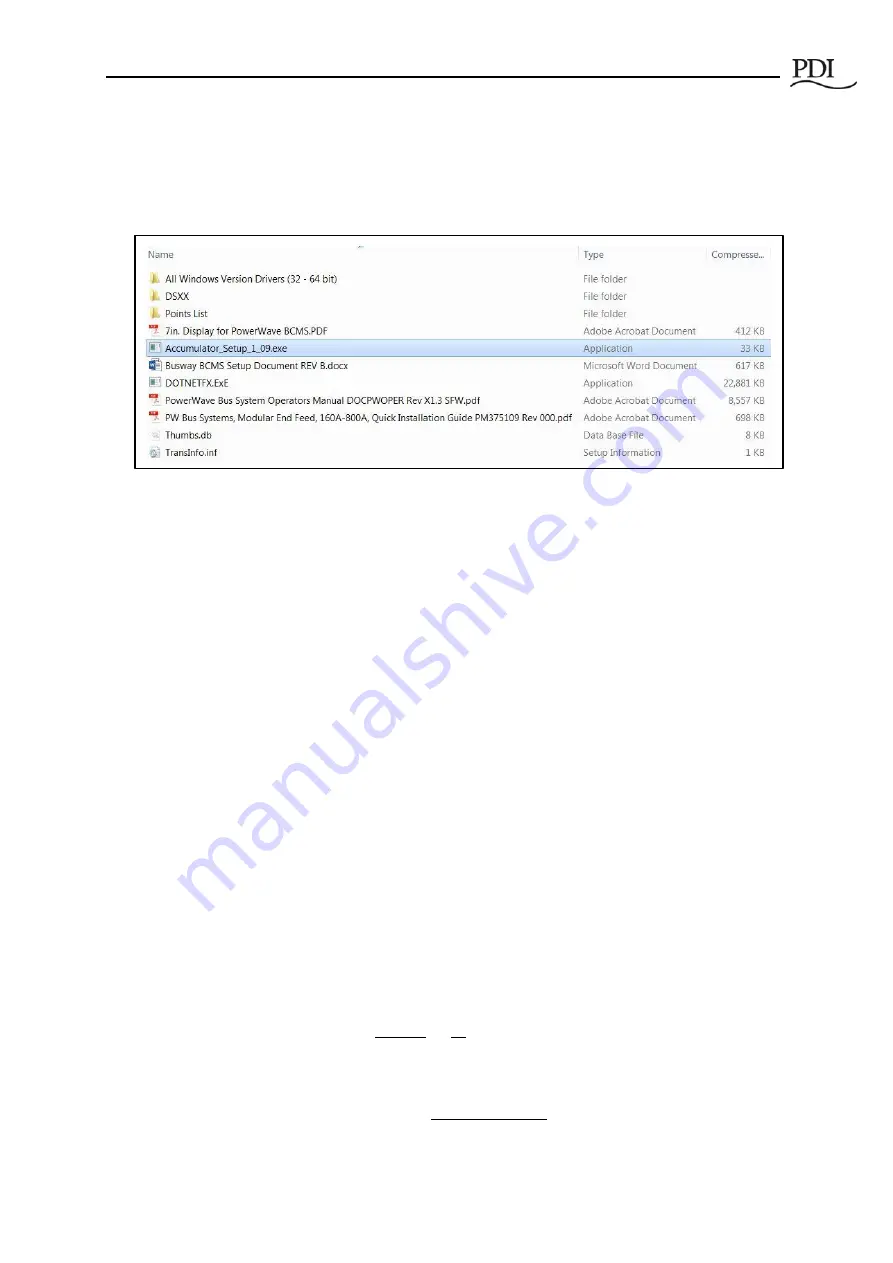
Figure 7 Start the Accumulator Setup Application
2.
Start the
Accumulator_Setup (version).exe
application (Figure 7) from the directory to which you
extracted the CD files.
a.
A screen will appear on your PC like the screen in Figure 8 with the
Setup
tab selected.
All devices that the Accumulator has found in the bus run are listed on this screen with
the device count.
b.
Possible errors:
i.
If you get a
DLL error
, you may not have the Microsoft Dot.net core installed.
ii.
If the message “
Accumulator connected via USB
” does not appear at the top of
the application page, you may not have the USB FTDI drivers installed and
recognized by Windows.
iii.
If the message “
No Accumulator found on USB
” appears at the top of the page,
you may have disconnected the USB cable.
3.3
Accumulator Setup Application Tabs
The
Accumulator Setup
application has four tabs (Figure 7) that perform the following functions:
•
Setup tab
—
set network addresses and parameters
o
Set Modbus network parameters.
o
Manage Tap Off Box positions by address; add, remove, and rearrange Tap Off Boxes
along the bus run.
o
Associate devices (input power source and Tap Off Boxes) with Modbus addresses along
the bus run.
o
Reserve Modbus addresses for future Tap Off Box additions.
•
iBus Setup tab
—
set parameters globally for all Tap Off Boxes on the bus run:
o
Set voltage and current parameters for all Tap Off Boxes globally.
o
Calibrate voltage for all Tap Off Boxes at once.
o
Clear alarms, min/max readings, and KWH for all Tap Off Boxes.
•
Data tab
—
set Modbus register values for individual devices
o
Assign name to device


