5
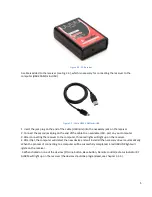
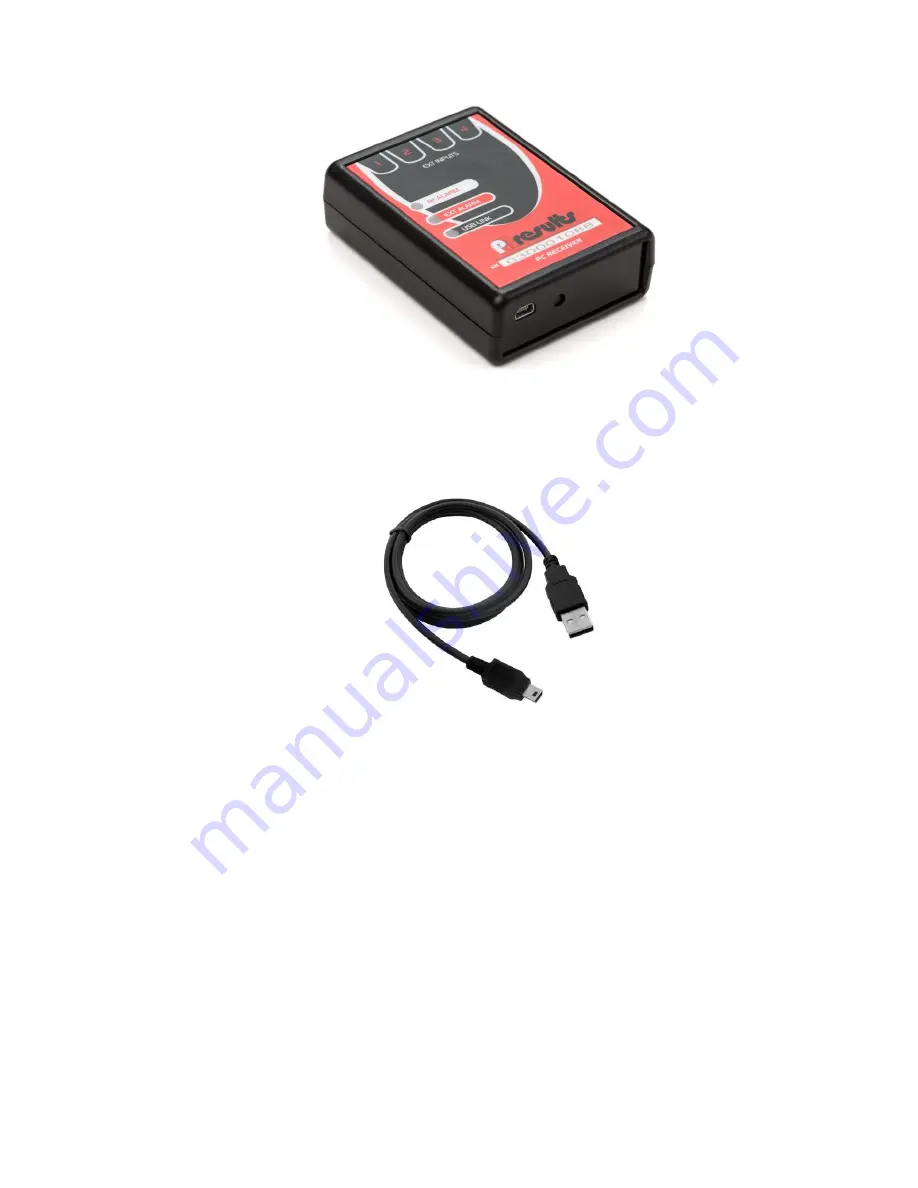
Figure 2.2 - PC Receiver
A cable is added to the receiver (see Fig. 2.3), which is necessary for connecting the receiver to the
computer (USB2.0AM/mini-USB).
Figure 2.3
- Cable USB2.0 AM/mini-USB
1. Insert the jack plug on the end of the cable (USB mini) into the necessary jack on the receiver.
2. Connect the second jack plug on the end of the cable to an available USB - port on your computer.
3. After connecting the receiver to the computer, three red lights will light up on the receiver.
4. After that, the computer will detect the new device and will install all the necessary drivers automatically.
When the process of connecting to a computer will be successfully completed, a red USB LINK light will
ignite on the receiver.
5.When clicked on one of the devices (Pit zone button, Base button, Remote control) a status indicator RF
ALARM will light up on the receiver (the devices should be programmed, see chapter 3.3.3.).


