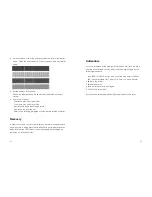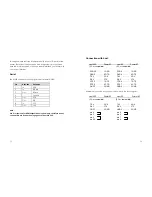
Printing Configuration Report
Resetting the Printer to Factory
Default Settings
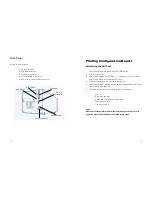
Performing the Self Test
If you would like to reset the printer to its factory defaults after certain
commands have been sent or settings changed:
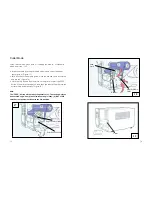
1. Turn off the printer. Press and hold the FEED button.
2. Turn on the power.
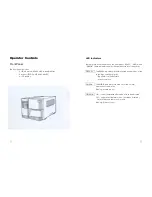
1. Turn off the printer. Press and hold the CANCEL button.
3. When the message “SELF TESTING …” is displayed on the LCD and
READY indicator blinks, release the button.
2. Turn on the power.
3. When the message “ E2PROM RESET …” is displayed on the LCD and
READY indicator blinks, release the button.
4. The printer will print out a configuration report.
5. Finally the “READY” message is displayed and the READY indicator
stops blinking and lights up.
4. Finally the “READY” message is displayed and the READY indicator
stops blinking and lights up.
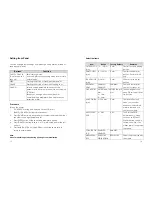
6. The following information will be printed on this report.
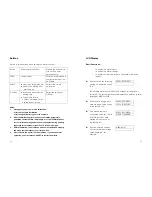
5. The following parameters automatically reset.
- Font
list
- Label
parameters
-
DIP switch settings
- Heat(Darkness)
-
Hardware configuration and status
- Speed
- Label
parameters
- Symbol
set
(language)
- Firmware
version
-
Others for specific emulation
Note:
After self test the printer will enter character dump mode. For normal
operation press the CANCEL button to stop dump mode.
Notes :
1. All settings stored in non-volatile E
2
PROM cannot be destroyed even
by turning the printer off.
2. The settings of DIP switch can not be reset.
3. It is necessary to perform label sensitivity calibration after resetting.
4. The printed label count can not be reset.
31
32

