Installing the device
21
CopperLink Model CL1300MDE User Manual
2
• Installation
Hardware (DIP switch) configuration
To disable the DIP switches:
1.
Power-off the device.
2.
Set all DIP switches to off (see
To enable the DIP switches:
1.
Power-off the device.
2.
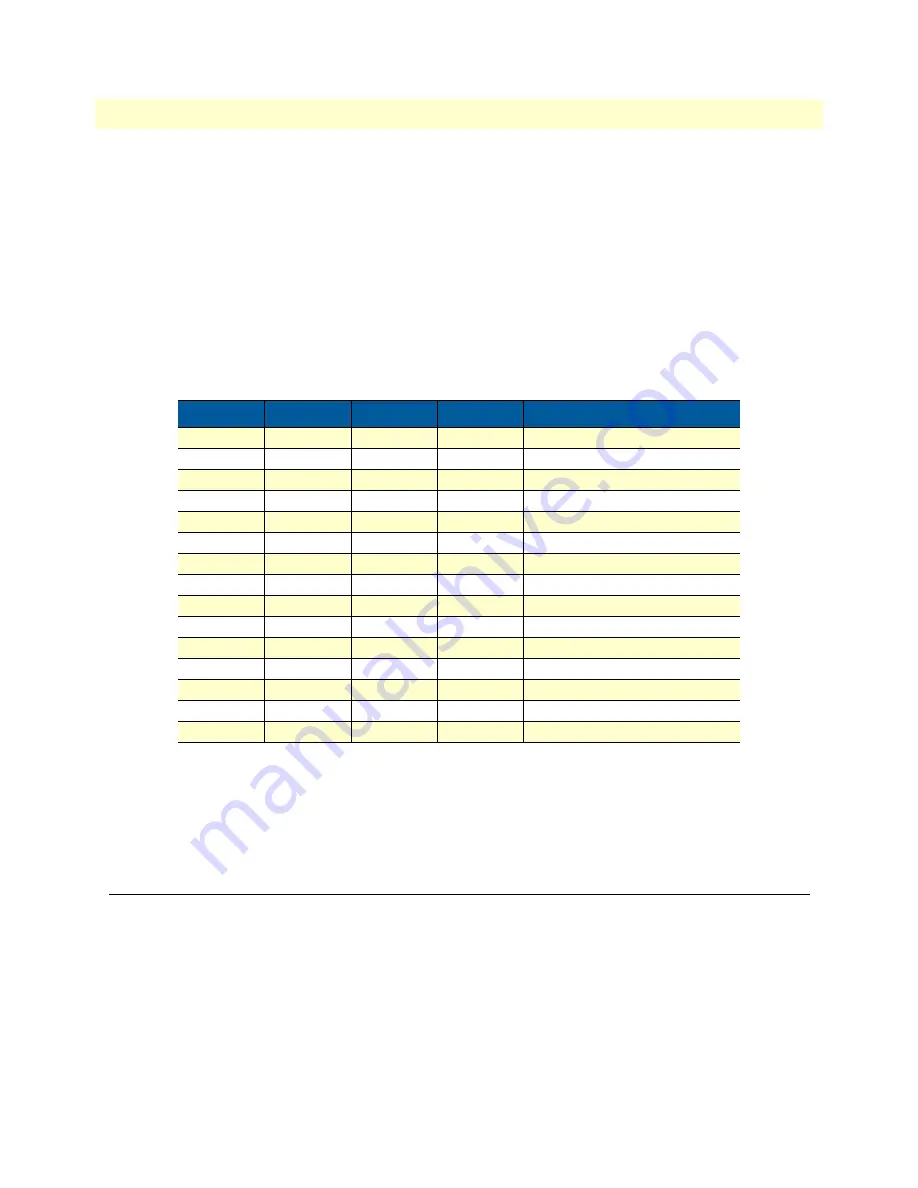
Set DIP switches 2–5 to a TCPAM/Rate preset. When connecting two CopperLink devices, their speeds
should be configured to match.
3.
Set DIP switches 6–8 to off. These are reserved for future use.
4.
Using a small cross-tip screwdriver, install the DIP switch cover.
The DIP switches are configured. Continue to section
.
Installing the device
If you are installing the unit on a DIN rail, see section
. Otherwise, place the unit on a
desktop or similar sturdy surface that offers easy access to the cables. The unit should be installed in a dry envi-
ronment with sufficient space to allow air circulation for cooling.
Note
For proper ventilation, leave at least 2 inches (5 cm) on all sides of the device.
Table 2. TCPAM/Rates
Switch 2
Switch 3
Switch 4
Switch 5
TCPAM/Rate Preset
ON
ON
ON
ON
TCPAM-16/32 Autorate
ON
ON
ON
-
TCPAM-64/128 Autorate
ON
ON
-
ON
TCPAM-4 192 kbps
ON
ON
-
-
TCPAM-4 2496 kbps
ON
-
ON
ON
TCPAM-8 192 kbps
ON
-
ON
-
TCPAM-8 5056 kbps
ON
-
-
ON
TCPAM-16 192 kbps
ON
-
-
-
TCPAM-16 3840 kbps
-
ON
ON
ON
TCPAM-32 768 kbps
-
ON
ON
-
TCPAM-32 5696 kbps
-
ON
-
ON
TCPAM-64 192 kbps
-
ON
-
-
TCPAM-64 12736 kbps
-
-
ON
ON
TCPAM-128 256 kbps
-
-
ON
-
TCPAM-128 15296 kbps
-
-
-
ON
RESERVED


