1 • General information
Model 4520 & 4110 Series Getting Started Guide
22
SmartNode Series VoIP routers overview
Ports descriptions
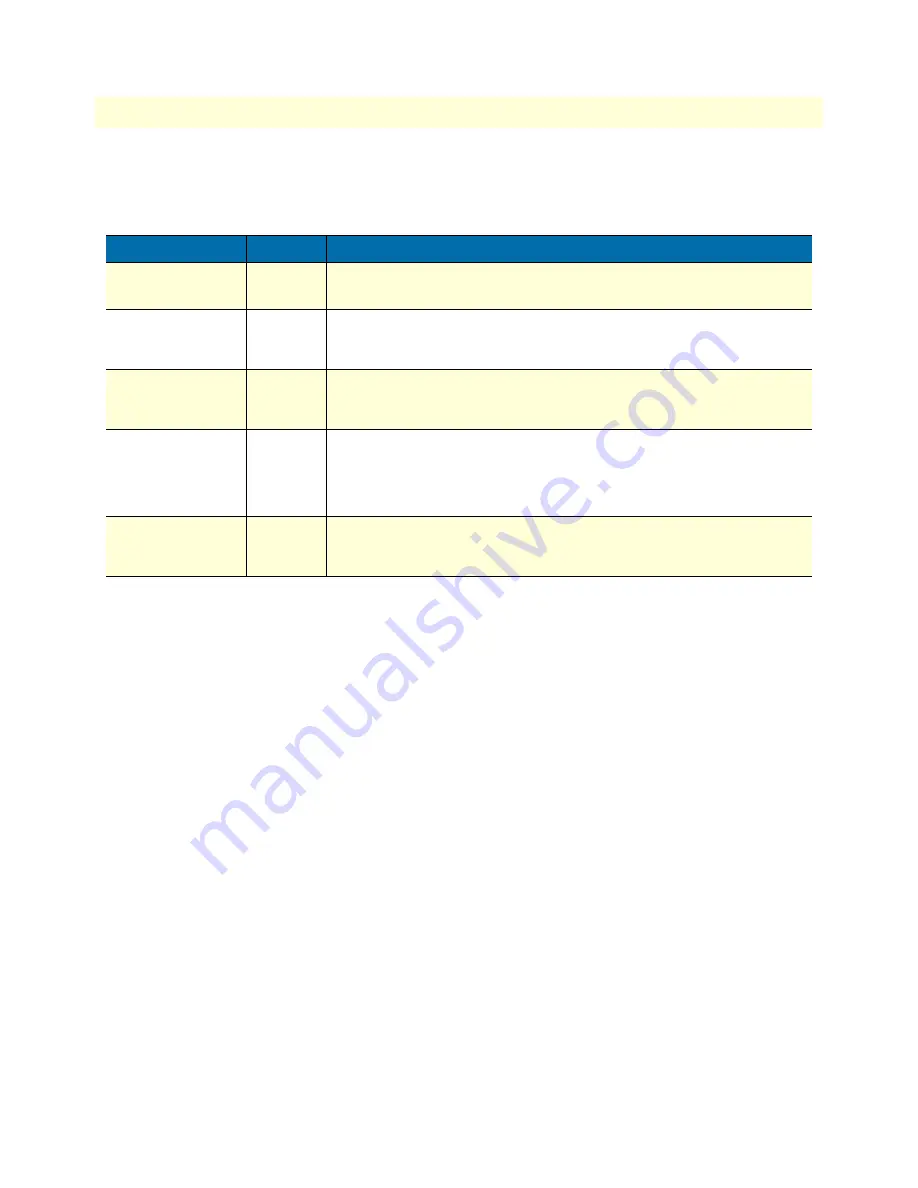
The SmartNode 4110 Series rear panel ports are described in
table 3
.
Reset button behavior
For those SmartNode devices that have a Reset button on the rear panel, its behavior is as follows:
•
To restart the unit with the current startup configuration—Press for less than 1 second and release the Reset
button. The SmartNode will restart with the current startup configuration.
•
To restart the unit with factory default configuration—Press the Reset button for 5 seconds until the Power
LED starts blinking. The unit will restart with factory default configuration.
•
To restart the unit in bootloader mode (to be used only by trained SmartNode technicians)—Start with the
unit powered off. Press and hold the Reset button while applying power to the unit. Release the Reset button
when the Power LED starts blinking so the unit will enter bootloader mode.
Table 3. Rear panel ports
Port
Location
Description
10/100 Ethernet
ETH 0/0
Rear panel RJ-45 connector (see
figure 5
on page 20) that connects the router to an
Ethernet device (a cable or DSL modem, LAN hub or switch, for example).
Analog voice port,
FXS
Rear panel FXS RJ-11(6 position, 4 wire) connectors (see
figure 16
on page 39) that
connect the router with an analog terminal (a telephone, for example)
FXO port. EuroPOTS support (ETSI EG201 188).
Analog voice port,
FXO
Rear panel FXO RJ-11(6 position, 4 wire) connectors (see
figure 16
on page 39) that
connect the router with an analog line (FXS port). EuroPOTS support (ETSI
EG201 188).
Power
Rear panel The gateway is available in a DC or AC power input version (see
figure 6
), labeled as follows:
•
AC version (Internal power supply): 100–240 VAC, 50/60 Hz, 200 mA
•
DC version: 12 VDC, 1.25 A
Console
Front panel Used for service and maintenance, the Console port (see
figure 7
on page 23),
an RS-232 RJ-45 connector, connects the router to a serial terminal such as a PC
or ASCII terminal (also called a dumb terminal).
Summary of Contents for SmartNode 4520 Series
Page 6: ...Contents Model 4520 4110 Series Getting Started Guide 6...
Page 8: ...Compliance information Model 4520 4110 Series Getting Started Guide 8...
Page 14: ...1 General information Model 4520 4110 Series Getting Started Guide 14...
Page 26: ...2 Applications overview Model 4520 4110 Series Getting Started Guide 26...
Page 34: ...3 Hardware installation Model 4520 4110 Series Getting Started Guide 34...
Page 46: ...4 Getting started with the SmartNode Model 4520 4110 Series Getting Started Guide 46...
Page 53: ...53 Chapter 5 LEDs status and monitoring Chapter contents Status LEDs 55...
Page 54: ...5 LEDs status and monitoring Model 4520 4110 Series Getting Started Guide 54...
Page 58: ...5 LEDs status and monitoring Model 4520 4110 Series Getting Started Guide 58 Status LEDs...
Page 60: ...6 Contacting Patton for assistance Model 4520 4110 Series Getting Started Guide 60...
Page 64: ...A Specifications Model 4520 4110 Series Getting Started Guide 64...
Page 70: ...B Cabling Model 4520 4110 Series Getting Started Guide 70...
Page 76: ...C Port pin outs Model 4520 4110 Series Getting Started Guide 76...
Page 79: ...79 Appendix D SmartNode 4110 Series factory configuration Chapter contents Introduction 81...
Page 80: ...D SmartNode 4110 Series factory configuration Model 4520 4110 Series Getting Started Guide 80...
Page 83: ...83 Appendix E SmartNode 4520 Series factory configuration Chapter contents Introduction 85...
Page 84: ...E SmartNode 4520 Series factory configuration Model 4520 4110 Series Getting Started Guide 84...
Page 87: ...87 Appendix F Installation checklist Chapter contents Introduction 89...
Page 88: ...F Installation checklist Model 4520 4110 Series Getting Started Guide 88...
Page 90: ...F Installation checklist Model 4520 4110 Series Getting Started Guide 90 Introduction...


