3 • Configuring the RAS for operation
Model 2960/2996 RAS Getting Started Guide
40
Configuring the RAS with a Web browser
2.
Click on
Modify
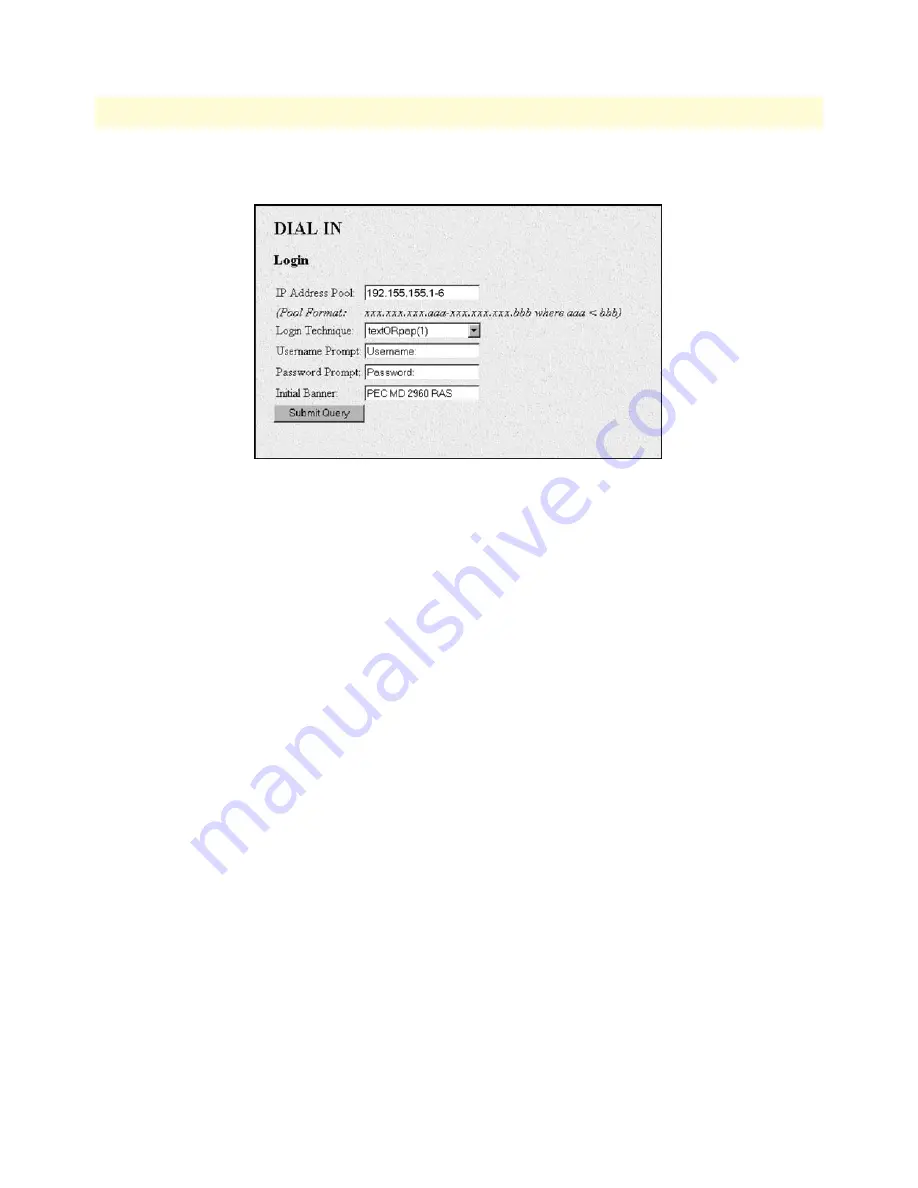
. The Modify Dial-In window appears (see
figure 25
).
Figure 25. Modify Dial-In window, Login section
3.
The IP address pool contains the IP addresses that are assigned dynamically to the dial-in connections.
Type the IP address pool in the space provided. The IP addresses can be non-contiguous addresses config-
ured as follows:
– Blocks of IP addresses are designated with a dash (-) separating the first and last host in the block (for
example,
192.49.110.151-155
)
– The addresses can be from a subnet other than the local network the RAS is on
– The IP address pool can have IP addresses from multiple subnets. The subnets must be separated by a
semi-colon (for example,
192.155.155.1-6;
192.155.160.41-46
)
Note
The IP address pool is limited to 39 characters.
4.
Click the
Submit Query
button under the section.
Note
Each section in the Modify Dial-In window has its own
Submit
Query
button. In order for a change in a particular section to take
place, that section’s submit query button must be selected before
making changes elsewhere.
5.
Scroll down to the Domain Name Server section of the Modify Dial-In window (see
figure 26
).


