


40
Job Screen
Creating a Field Boundary Map
When creating field boundaries for future use and records it is important to set
Recording to ‘On’ and Autonaming to ‘Off’ (see page 20 for details). The farm
and field details can be entered manually to ease traceability and the function of
the farm / field auto recognition.
Starting a field boundary map
Step 1
- To begin the field boundary press the Start
Boundary
button, this opens the boundary options
menu.
N.B.
If boundary already exists a message will
appear asking if you would like to delete the existing
boundary.
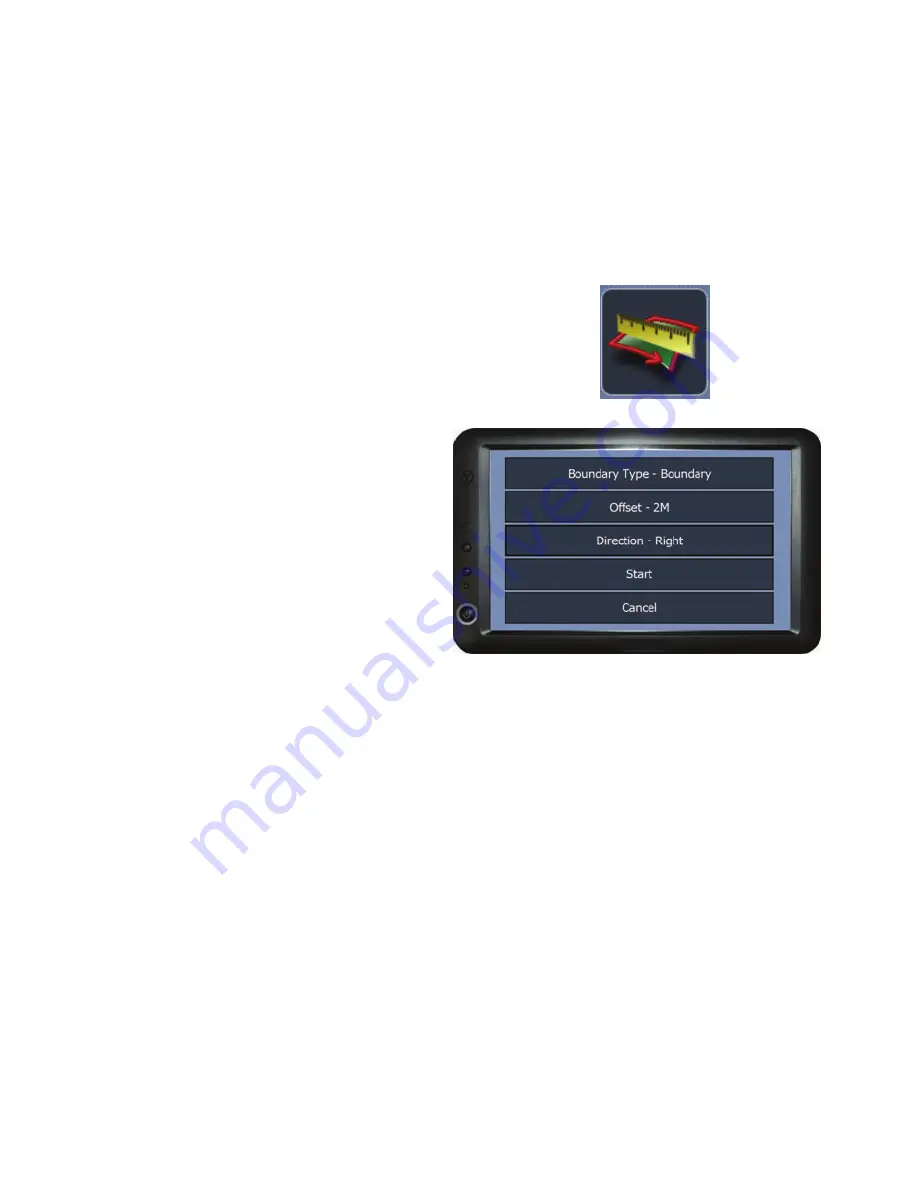
Step 2
- Boundary options
The options in this menu are used to
setup the unit before doing a
boundary map. It is important to
setup these details correctly to get an
accurate area measurement.
Boundary Type
-
Sets the type of field boundary that is being created. There
are two types :-
Boundary
– For around the outer edge of the field.
Inner Boundary
– For excluding areas within a field boundary.
Offset
-
Sets the actual distance the edge of the field is from the antenna.
N.B. This offset will be from the antenna position if it has been offset (see
page 24).
Direction
-
To select which side of the vehicle the edge of the field is on when
travelling forwards.
Start
-
Starts recording the field boundary.
Cancel
-
Cancels the field boundary and returns to the guidance screen.
Step 3
- Once the boundary options are set and
Start
has been pressed, drive
around the edge of the field until you reach the point where you began the run.
Start
Boundary
Button