background image

 17 

IMPORTANT INFORMATION  

PLEASE READ AND MAKE A RECORD 


Each device is installed with a unique key code for the mapping of the Navitel system. If in the event of 
loosing the mapping SD card you will not be able to replace the maps without this unique code.   

Please follow the instruc


ons below and make a record of this number and keep this safe.  

1. 

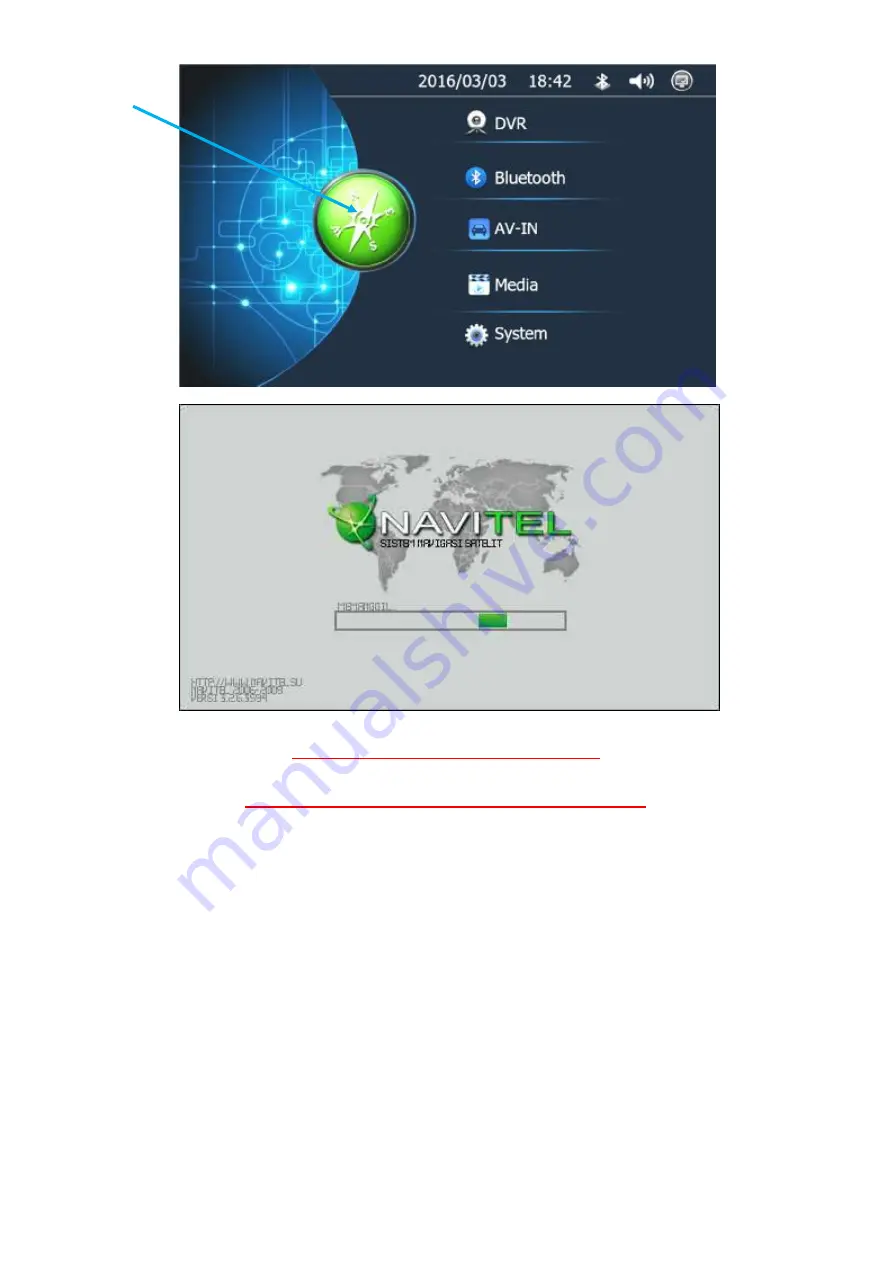
Enter the menu 

2. 

Click on “My Navitel” 

3. 

Click “Navitel Navigator” under My products 

4. 

Write and keep safe the “Serial Number” and the “Licence Key” 


SERIAL NUMBER   ___________________________________________________________________  

LICENSE KEY          ___________________________________________________________________  

Summary of Contents for PS7009

Page 1: ......

Page 2: ... or technical specifica on without prior no ce For the latest manual please visit www silentwitness co uk We are not responsible for any data loss or personal damage caused by misuse of the device installa on of the device maintenance or any unforeseen circumstances We are also not responsible for any indirect loss caused by this besides we cannot control the misuse of the users for this manual so ...

Page 3: ...our DVD monitor 8 Connec ng to Bluetooth 9 Phonebook 10 Call records 11 Op onal reversing camera 12 Media 14 Safety and Advice 16 Navitel Quick start guide 17 Important informa on Serial and License key 29 Upda ng you Navitel maps 35 Notes ...

Page 4: ...ed Reverse camera Only connect if the vehicle has a reverse camera installed The Reversing camera will require its own power source from the reverse feed Black Ground Red Ba ery 12 24v Yellow Acc Green Reverse feed Yellow phono plug Reverse camera ...

Page 5: ...e XXX System Page XXX This is a touch screen monitor all op ons in BLUE are touchable op ons in RED are non touchable SLEEP MODE Press this symbol to switch the screen off and then touch anywhere on the screen to re ac vate About your DVR monitor Date Bluetooth Sleep Mode Time Volume ...

Page 6: ...n DVR se ngs menu Recorded video files Lock video file Back Home Sleep Volume Recording Icon Manual Start Stop Recording Manual Lock Press to delete Locked Un Locked Use this bu on to Lock and Unlock video files FIG 1 FIG 2 ...

Page 7: ...bol of a video which has not been locked and the automa c loop recording will overwrite this file to play a locked file you will need to unlock it first Dustbin This icon can be pressed to delete a video file by hand Gravity Sensor G Sensor Choose the sensi vity level of the G Sensor for more informa on of how this works please see page XXX Auto Recording This op on turns auto recording On and Off When...

Page 8: ...ich appears in the green box above please note this name may be different on your DVR Please check this screen on your DVR 2 Once the device has been selected please enter the password in the red box above Note You can change the Name and Password by pressing this icon GREY Device not connected BLUE Device connected Dialler Phonebook Call record Se ngs Accept Call End Cancel ...

Page 9: ...l Switch the voice call Phone Book Kelly David Import a contact into the phonebook Search for a contact in the phonebook Delete all telephone records To make a call from your phonebook Choose the contact Press and hold the contact ...

Page 10: ...10 Call Records Missed call records Received call records Dialled call records Delete record ...

Page 11: ...ed the monitor will display NoSignal The monitor can be wired to the reverse feed so when you put the vehicle into reverse the rear camera will appear on the screen This will over ride anything that is on the screen once the vehicle is taken out of reverse the screen will go back to the previous screen In the se ngs on the home screen you can choose to have parking lines ON or OFF Tick or un ck th...

Page 12: ...f the monitor and press the Media icon on the homepage it will enter the media player applica on It will display the media files and sort them into two groups MUSIC VIDEO Choose the Music or Video bu on this will then display any media in the right hand panel Choose the media file to play this file ...

Page 13: ...e from Scroll through the pages when you see a logo you would like to have displayed press the logo and then press OK Now each me the monitor switches on with the vehicle this logo will display whilst the monitor loads Reset your monitor You can reset your monitor back to the original factory se ngs this will delete all the se ngs ...

Page 14: ...he G Sensor may not recognise shock impacts Do not expose the product to rain or moisture SD cards lifespan can be reduced and can also corrupt if they are not cared for properly Failure to format the SD card every 4 5 weeks can stop the camera from working or cause loss of data Do not cover or block the camera ven la on holes as the electronics could over heat if the heat is not able to get out W...

Page 15: ... ac vated will lock video files on the SD and the Loop recording will not delete these files if the card becomes full of G Sensor files the camera will stop recording It is very important you format the SD card every 4 5 weeks to keep the camera in good working order We recommend that a er the first use that you remove check the video files to ensure everything is set up and func oning correctly LOOP S...

Page 16: ...a on system Quick start guide U Habrovky 247 11 Prague 140 00 Czech Republic Tel 420 225 852 852 E mail support na tel cz www navitel cz Please note this is a guide some features and func ons may not be available on this device ...

Page 17: ...e maps without this unique code Please follow the instruc ons below and make a record of this number and keep this safe 1 Enter the menu 2 Click on My Navitel 3 Click Navitel Navigator under My products 4 Write and keep safe the Serial Number and the Licence Key SERIAL NUMBER ___________________________________________________________________ LICENSE KEY ___________________________________________...

Page 18: ...ill always be oriented northwards Track up the map will always be oriented in the direc on of movement along the route type of map view Plain view 2D Panoramic view 3D and skins Night skin Day skin Auto 3 Road lanes The sign displays road lanes with possible manoeuvres 4 Informa on panel The sign shows the upcoming manoeuvre for example turning and distance to the manoeuvre Tapping on the sign ope...

Page 19: ...ing the Navitel Events service 13 Route progress bar The progress bar displays the remaining route waypoints if any and traffi c density on the route marked by colour 14 Ba ery The icon indicates the level of ba ery charge Tapping on the icon shows free device memory 15 GPS GPS connec on indicator Grey indicator GPS GLONASS receiver is off red receiver is turned on but there is no connec on with sate...

Page 20: ...ng the Navitel Traffi c service 24 Navitel SMS The icon allows reading sending messages and using coordinates in them It also 25 Go Tapping on the bu on gives a command to the program to calculate a route from 26 Set start Tapping on the bu on determines the selected point as a star ng point of the 27 Set finish The bu on is ac ve only when there is an exis ng route Pressing the bu on con nues the ro...

Page 21: ...point which can be found and marked on the map and then set as the des na on while current posi on of the device determined by the GPS system becomes the star ng point To plan a route press on the map to mark the point select Cursor 1 and then Go 2 The route will be displayed on the map 3 ...

Page 22: ...ry 4 Press the icon in the upper right part of the screen to hide the keyboard Select the country 5 Select city Select street and Select build ing become ac ve only if the previous fields were filled out 6 When all informa on is entered the object will be shown in the screen 7 Press Go The program will automa cally plan a route from a current loca on to the indicated address 8 Now you can follow the...

Page 23: ...23 Fig 3 Fig 4 Fig 5 ...

Page 24: ...24 Fig 6 Fig 7 Fig 8 ...

Page 25: ...proceed to the My route screen Tap on the informa on pan el at the bo om of the screen 2 Press Set start in the Proper es screen 3 The GPS receiver must be switched off The point will be marked on the map as a star ng point Select a des na on point on the map tap on the map to mark the point press Cursor 4 and then press Go in the My route screen 5 The program will automa cally plan a route 6 Fig 9...

Page 26: ...26 Fig 1 Fig 2 Fig 3 ...

Page 27: ...27 Fig 4 Fig 5 Fig 6 ...

Page 28: ...ormal if it is marked yellow traffi c is rather dense orange traffi c is heavy red there is a traffi c jam 1 To set the service select Menu Se ngs Online services 3 2 Navitel Friends The Navitel Friends interac ve service allows viewing posi ons of friends on the map in real me mode to plan a route using their coordinates to share coordinates of other points and exchange messages To turn the service on ...

Page 29: ...ñùïè ùéõ çòõ èìïõ ëéì ëéñõçìéèòñë ìô çòõ ìñí þçì ð ìîëùíâ ý íâ ìîîõé ñùï æèùóõ ìô çòñè æñöõ îùâ øõ ùééñõö ìæç ìíïâ äñçò äéñççõí ëõéîñèèñìí ôéìî çòõ ìñí þçì ð ìîëùíâ ý ýòõ ñíôìéîùçñìí ñí çòñè öì æîõíç èòùïï íìç øõ òùíóõö äñçòìæç ëéñìé íìçñ õ óñåõí çì çòõ ìñí þçì ð ìîëùíâ ý ...

Page 30: ...stallation wizard 2 Insert the SD card into the PC 3 Run the Navitel Navigator Update Center The software might check for newer versions of the Navitel Navigator Update Center available 4 The software will start a device searching process 5 If the device has been properly connected the software will detect it Select the device and press Next ...

Page 31: ......

Page 32: ......

Page 33: ......

Page 34: ......

Page 35: ...29 Notes ...

Page 36: ...30 If you require a copy of this manual in larger print Please visit Www silentwitness co uk Www silentwitness co uk ...

Reviews: