8
Manual Connection
NOTE:
Before connecting manually, you must access the AERA
web page. To do this you will need a Wi-Fi-enabled device with an
Internet browser. This will allow a temporary connection to your
AERA for initial configuration.
1. Open your web browser and type 192.168.1.1 into the address field.
2. Check your current settings and jot down the following items for
use later:
a. Your network name (SSID)
b. Wi-Fi security (normally a choice of either ‘None’, ‘WEP,’ ‘WPA’ or
‘WPA2’). One of these options will have a checkmark beside it.
Note that item.
c. If any security is enabled, jot down your Wi-Fi password
Keep the above information handy for use in the following steps.
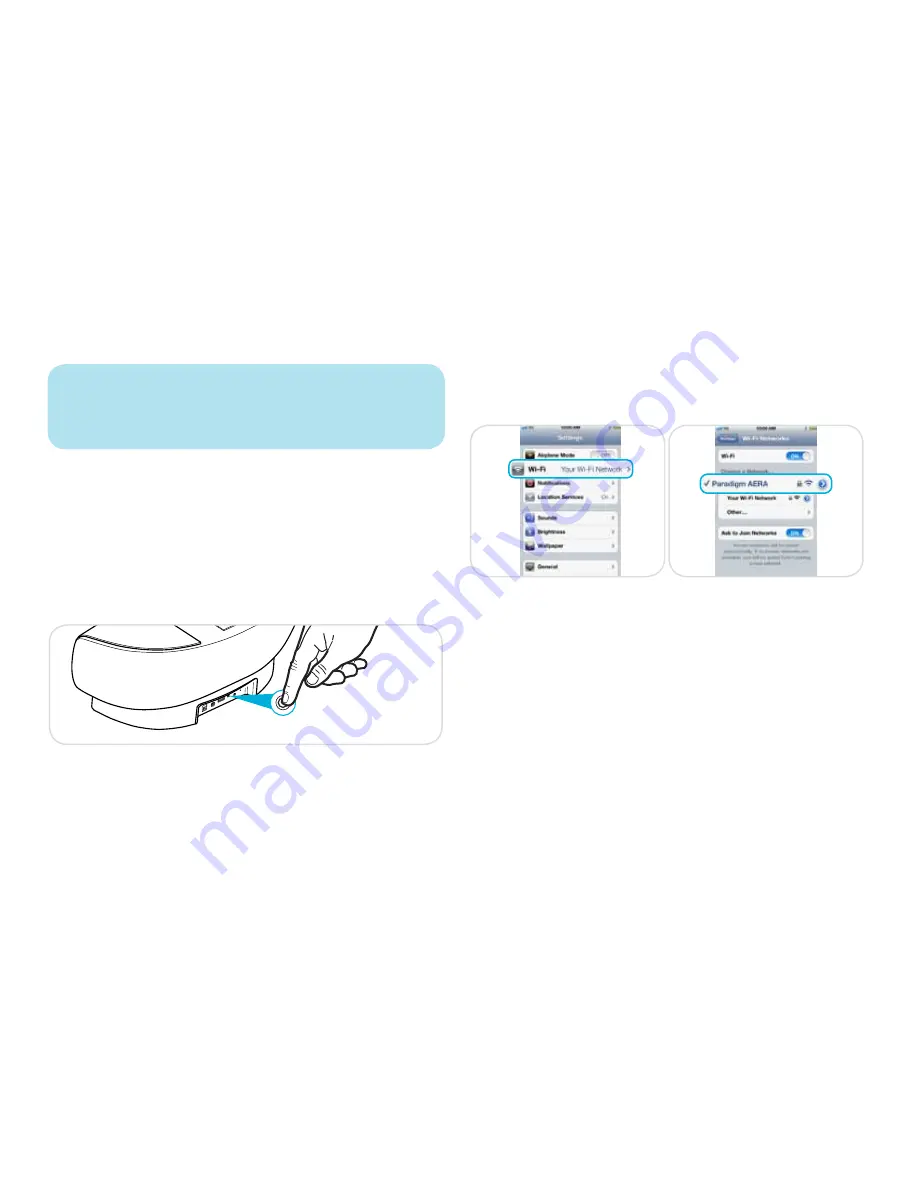
3. Press and hold the Wireless Network Setup button on the back of
your AERA for at least five seconds. The status indicator should blink
alternately between orange
and green. You are now in the Manual
Setup Mode.
AERA will appear in the list of available networks — it may take up to
a minute for it to appear on the screen. NOTE: The network will only
allow connection to one Wi-Fi device.
4. After connecting to the Paradigm AERA network, launch your
browser and type
192.168.1.1 into the address bar. Your AERA’s
setup page will now be displayed.
5. Follow the on-screen instructions to change and save your AERA’s
Wi-Fi settings. Once complete, the status indicator on the rear of your
AERA will glow solid green to show that the manual connection was
successful.
Once setup is successfully completed, return your Wi-Fi-enabled device to
the Wi-Fi network to which it is normally connected.
Problems? If the indicator light does not change to solid green, connection
has failed. Turn off your router and the AERA, wait 10 seconds, turn them
both back on again and follow the Manual Connection steps again.
WPS
Wireless Network
Setup button
Summary of Contents for Aera
Page 15: ...11 3 5mm Stereo Input Dock USB or or or or ...
Page 18: ...NOTES ...
Page 19: ...NOTES ...
Page 35: ...13 Connecteur stéréo 3 5 mm Station d accueil USB ou ou or or ...
Page 38: ...REMARQUES ...
Page 39: ...REMARQUES ...
Page 40: ......
Page 55: ...13 Entrada estéreo de 3 5 mm Estación de acoplamiento USB o o o o ...
Page 58: ...Nota ...
Page 59: ...Nota ...


