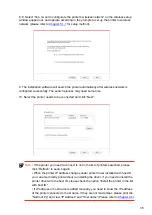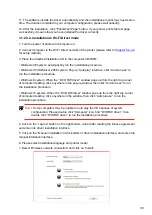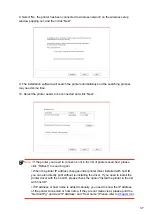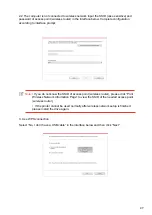
7. The software installs the driver automatically and the installation process may need some
time. The duration is related to your computer configuration, please wait patiently.
8. After the installation, click “Print &Test Page” button. If your printer prints the test page
successfully, it means that you have installed the driver correctly.
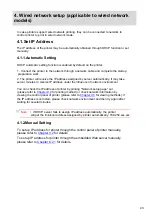
3.1.2.2. Installation via wired network connection
1.
Turn the power of printer and computer on.
2.
Connect the computer to wired network.
3.
Connect network cable to the network interface of printer, to make sure the printer is
connected to computer network (please refer to
4.
Place the attached installation CD in the computer CD-ROM:
• Windows XP system: automatically run the installation procedure.
• Windows 7/Vista/Server 2008 system: Pop up “Autoplay” interface, click “Autorun.exe” to
run the installation procedure.
• Windows 8 system: When the “ DVD RW driver” window pops up from the right top corner
of computer desktop, click anywhere in the pop-up window, then click “Autorun.exe” to run
the installation procedure.
• Windows 10 system: When the “DVD RW driver” window pops up from the right top corner
of computer desktop, click anywhere in the window, then click “Autorun.exe” to run the
installation procedure.
Note:
• Some computers may be unable to auto play the CD beacase of system
configuration. Please double click “Computer” icon, find “DVD RW driver”, then
double click “DVD RW driver” to run the installation procedure.
5. Click on the “I agree” button on the right buttom corner after reading the license agreement
and enter into driver installation interface.
6. Click on the “Manual installation” at the bottom of driver installation interface, and enter
into manual intallation interface.
7. Please select installation language and printer model.
8. Select “Wireline network connection” and click on “Install”.
32


