background image


V00028CA Rev03  

www.panduit.com


Page 

11

 of 

18


22.


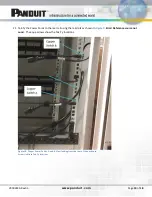
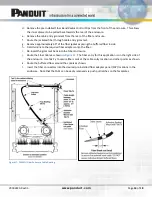
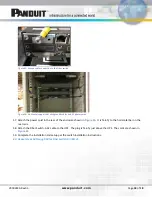
Finish the Power Cord Routing to the lower Strain Relief Bar. 


Figure 11: Route the Power Cords into the lower Strain Relief Bracket. 

Copper Trunk Cable Installation 

23.


Pull the Switch-A trunk cable through the conduit into the enclosure. 

24.


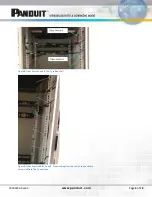
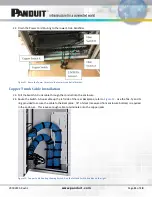
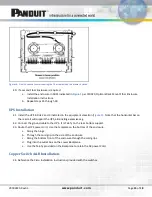
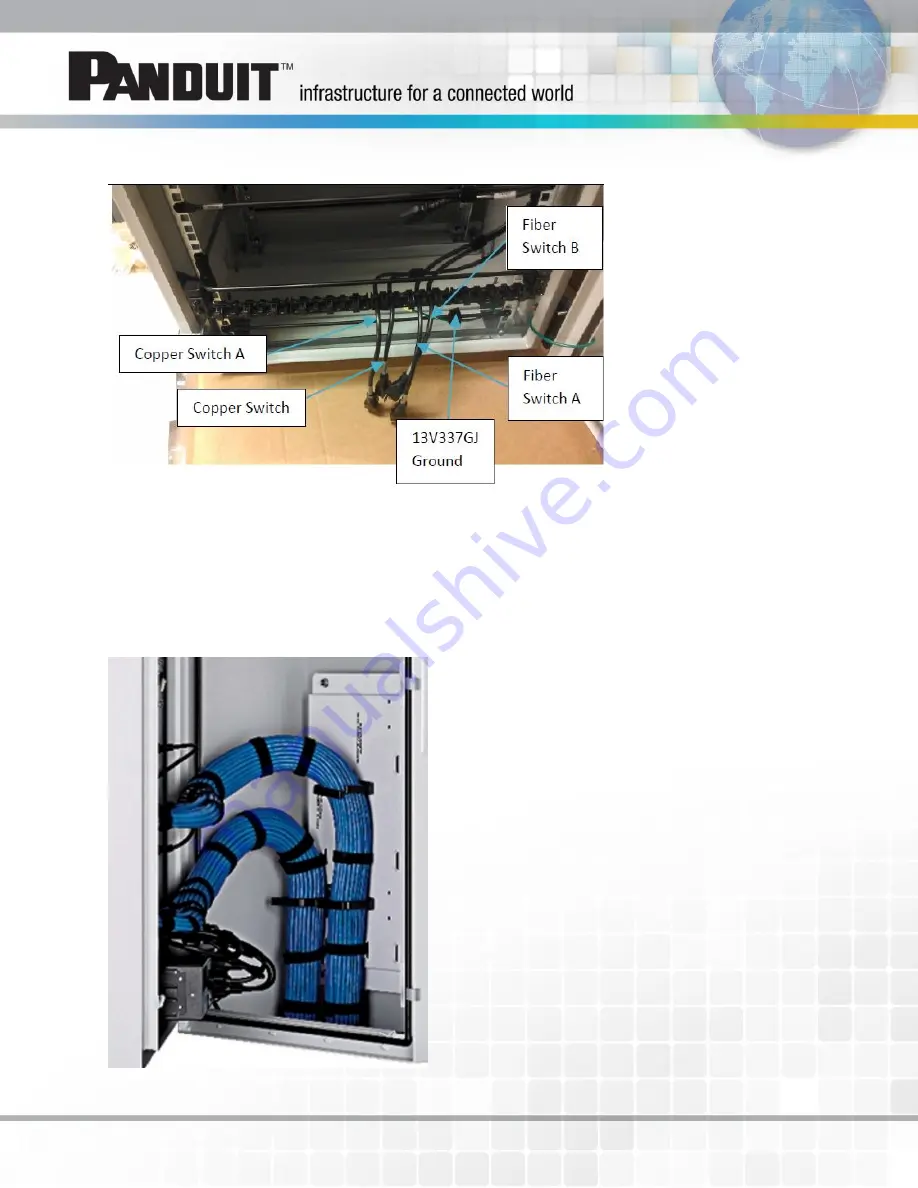
Route the Switch-A trunk cable up the left side of the rear Backplane, refer to 

Figure 12

.  Use the Tak-Ty and D-

ring provided to secure the cable to the Backplane.  78” of slack (measured from enclosure bottom) is required 
in the enclosure.  This leaves enough cable to terminate onto the copper jacks. 


Figure 12:  Copper Cable Routing showing Switch-A on the left and Switch-B cables on the right. 

Summary of Contents for ZDF48-EA

Page 1: ...03 www panduit com Page 1 of 18 Panduit PreConfigured Industrial Distribution Frame IDF Installation Instructions Part Numbers ZDF48 RA and ZDF48 EA Figure 1 Industrial Distribution Frame IDF Equipmen...

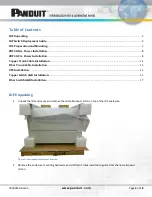
Page 2: ...r Trunk Cable Installation 11 Fiber Trunk Cable Installation 12 UPS Installation 15 Copper Switch A B Installation 15 Fiber Switch A B Installation 17 IDF Unpacking 1 Unpack the IDF enclosure and remo...

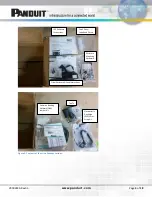
Page 3: ...3 Contents of the miscellaneous cartons Common Bonding Network CBN Jumper Kit Enclosure Mounting Hardware Fiber Enclosure Kit and Instructions IDF Enclosure Instructions Electrostatic Discharge ESD Wr...

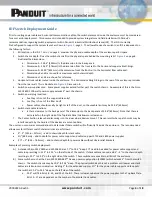
Page 4: ...ct c Power cables should usually be right or left of the duct so the useable limit may be 25 96 659mm 6 Switch stack cable locations a Is there clearance to the back panels The dimension to the back p...

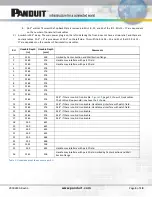
Page 5: ...may interfere with patch field 4 22 69 576 5 22 69 576 6 22 69 576 7 22 69 576 8 22 69 576 9 22 69 576 10 22 69 576 11 22 69 576 12 22 69 576 24 9 if there is no 3rd trunk cable Figure 12 page 11 sho...

Page 6: ...V00028CA Rev03 www panduit com Page 6 of 18 Figure 4 IDF Section showing the useable depth of the enclosure...

Page 7: ...template to the bottom of the IDF enclosure The bottom outside rear edge of the bend is indicated on the template in Figure 6 Figure 6 Recommended Conduit Location Template 6 Using the template from s...

Page 8: ...wer Installation 15 Install an outlet box and power outlets with that are compliant with local IEC standards Four 10 32 holes are provided on the right side of the lower base plate 16 Punch out the ce...

Page 9: ...028CA Rev03 www panduit com Page 9 of 18 Figure 8 Fiber Switch A and B Tak Ty to Rear Rail Figure 9 Fiber Power Cables A and B View looking from the rear of the enclosure Arrows indicate Tak Ty locati...

Page 10: ...Power Cords to the rear rail using the rail slots as shown in Figure 9 Error Reference source not ound The aqua arrows show the Tak Ty locations Figure 10 Copper Power Cables A and B View looking from...

Page 11: ...k cable through the conduit into the enclosure 24 Route the Switch A trunk cable up the left side of the rear Backplane refer to Figure 12 Use the Tak Ty and D ring provided to secure the cable to the...

Page 12: ...ble snap in faceplates from step 27 per PN207C Mini Com Modular Faceplate Patch Panel Installation Instructions 31 Reinstall the faceplates onto the patch panel in the desired locations 32 Optional Pr...

Page 13: ...n the hinge Figure 15 Loom tubing routed around hinge point and rail 38 Remove the shipping Tak Ty from the front of the FRME1U Fiber Enclosure shown in Figure 16 Figure 16 Shipping tape to be removed...

Page 14: ...de h Field terminate the required fiber adapters onto the fiber i Re insert the grommet back into the Fiber Enclosure j Route the Fiber Cable as shown in Figure 17 The fiber entry for this application...

Page 15: ...ure 1 Note that the horizontal bar on the rear rail will support the UPS eliminating excessive sag 42 Connect the ground cable to the UPS It is Tak Ty to the rear bottom support 43 Route the UPS power...

Page 16: ...h panel without extra length that would require cable management Figure 20 Switch A lower and Switch B upper switches showing fully populated patch cords 47 Connect fiber patch cables to the managemen...

Page 17: ...er OM3 1 6mm Jacket Patch Cord LSZH LC Duplex to LC Duplex Std IL 1M The cable should be routed through the Panduit CMPHF1 Horizontal Cable Manger in RU 18 Refer to Figure 21 and Figure 22 Figure 21 F...

Page 18: ...ch the power cord in the rear of the enclosure shown in Figure 24 It is Tak Ty to the horizontal bar on the rear rails 58 Attach the Fiber Switch A AC cable to the UPS The plug is Tak Ty just above th...

Reviews: