background image

16 


1.    From the Select Mode screen press 

SETUP

, then choose 

View Folder 

and 

press 

ENTER

. Next select the folder to slideshow from and press 

ENTER


three times.   

2.    From the Photo thumbnail screen, press 

SETUP

, then choose 

Start 

Slideshow

 and press 

ENTER

. Next select the folder to slideshow from and 

press 

ENTER

.  


FILE Function – A List of All Files 

This function gives you a list of all the files on the memory source you 
selected.  Along with the file name, the size of the file, time and date the file 
was created is also displayed. 


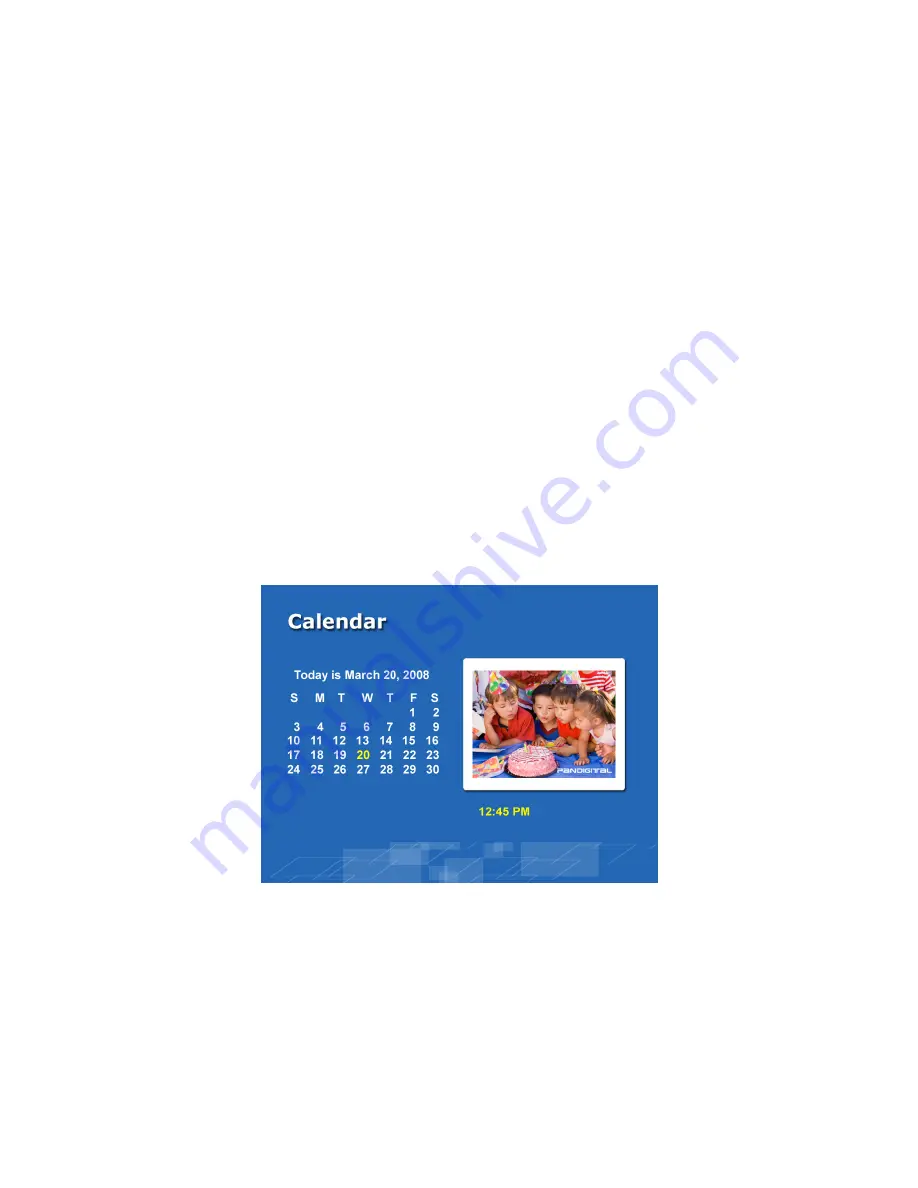
CLOCK Function – Clock and Calendar   

You can use your Digital Photo Frame as a desktop calendar that displays a 
slideshow of your photos. 


To Display the Calendar/Clock screen: 

From the Select Mode Selection Screen, choose the 

CLOCK

 function and 

press 

ENTER

 on the remote control. 

Summary of Contents for PAN5000W02

Page 1: ...5 Digital Photo Frame User Guide Effortlessly Moving Images Out of your Camera and Into your Life...

Page 2: ...2 Note Your frame style and features may differ from those documented in this User Guide UG E PAN5000W02_PAN5002DW_v1 0_08 09...

Page 3: ...in Slideshow Mode 12 Displaying Selected Pictures in Slideshow Mode 12 Photo Copy Method 12 Changing the Photo Copy Method 12 Copying to and Deleting Photos from Built in Memory 13 Copying Photos 13...

Page 4: ...that they are not likely to be walked on or pinched by items placed on or against them Pay particular attention to the point where the cord attaches to the Digital Photo Frame Only use the AC adapter...

Page 5: ...rame Compatible memory cards include Secure Digital Multimedia Card xD Card Memory Stick MemoryStick Pro and Memory Stick Pro Duo requires adapter Supported file types JPEG images up to 16 Mega Pixels...

Page 6: ...of the Digital Photo Frame up the Digital Photo Frame will power on and automatically start a slideshow of the photos on the card Slide the POWER button down to power off 4 To display photos individu...

Page 7: ...lay the next photo or select the next file EXIT Exit the current display or go back a screen SETUP Open the Onscreen Menu Using the Remote Control The remote control included with your digital photo f...

Page 8: ...with either the buttons on the top of the frame or on the remote control The Card Selection Screen Use the Card Selection menu to choose between memory cards and the built in memory 1 To display the...

Page 9: ...n Off functions Press the LEFT and RIGHT arrows on the Remote Control or the Digital Photo Frame to select Photo File or Clock and then press ENTER to make the selection Viewing Options You can contro...

Page 10: ...al Photo Frame can optimize your photos for display Slide Show Transition Normal Random Fade Curtain Open Door Cross Comb Special effects shown to transition from one photo to the next in a Slide Show...

Page 11: ...nd RIGHT arrow buttons on the Digital Photo Frame or the remote control to select the desired photo and press ENTER to display the selected photo in single picture mode 3 While in single picture mode...

Page 12: ...corner of the selected photo 3 Continue selecting or de selecting photos in the same manner 4 When all desired photos are selected press SETUP on the Remote Control or on the frame to open a setup men...

Page 13: ...it 3 Select the Photo function and press ENTER to open the Thumbnails screen 4 Use the arrow buttons to highlight the photo you want to copy 5 Use the button to select the photo A check mark should a...

Page 14: ...After completing the photo selection press SETUP to open the on screen setup menu 7 Select Delete Photo and then Delete Selected to delete the photos you selected 8 Choose Delete All if you want to de...

Page 15: ...tion and pressing ENTER and then selecting the folder to assign the photo to Un assigning Pictures From Folders 1 From the Select Mode screen press SETUP and select the View Folder option and press EN...

Page 16: ...ENTER FILE Function A List of All Files This function gives you a list of all the files on the memory source you selected Along with the file name the size of the file time and date the file was crea...

Page 17: ...alendar and Clock displayed press SETUP Use the Arrow buttons to select Set On Off Schedule and press ENTER 2 Use the UP and DOWN arrow to set the hour you want your scheduled slideshows to start then...

Page 18: ...come with interchangeable decorative frames 1 To change the frame remove two screws on the back of the frame and lift the unit from the frame 2 Place the unit into the new frame replace the screws and...

Page 19: ...to Frame and the built in memory is associated with one disk drive on your computer 5 Double click the desired drive to display the files on the card The example below shows a card with several JPG im...

Page 20: ...ng your CD ROM drive so the Digital Photo Frame can assign them to memory card slots properly Disconnect the Digital Photo Frame from the Computer It is important not to just unplug or switch off the...

Page 21: ...Exit to open the Card Selection screen and select the card Then select Photos You should see the Thumbnails screen listing all photos on the card If you don t you may want to try another card Note So...

Page 22: ...Pandigital to service the product 8 consumables such as fuses and batteries This warranty is valid only in the United States The product must be accompanied by a copy of the original retail purchase...

Page 23: ...of the Federal Communication Commission FCC Rules These limits are designed to provide reasonable protection against harmful interference in a residential installation This equipment generates uses an...

Reviews: