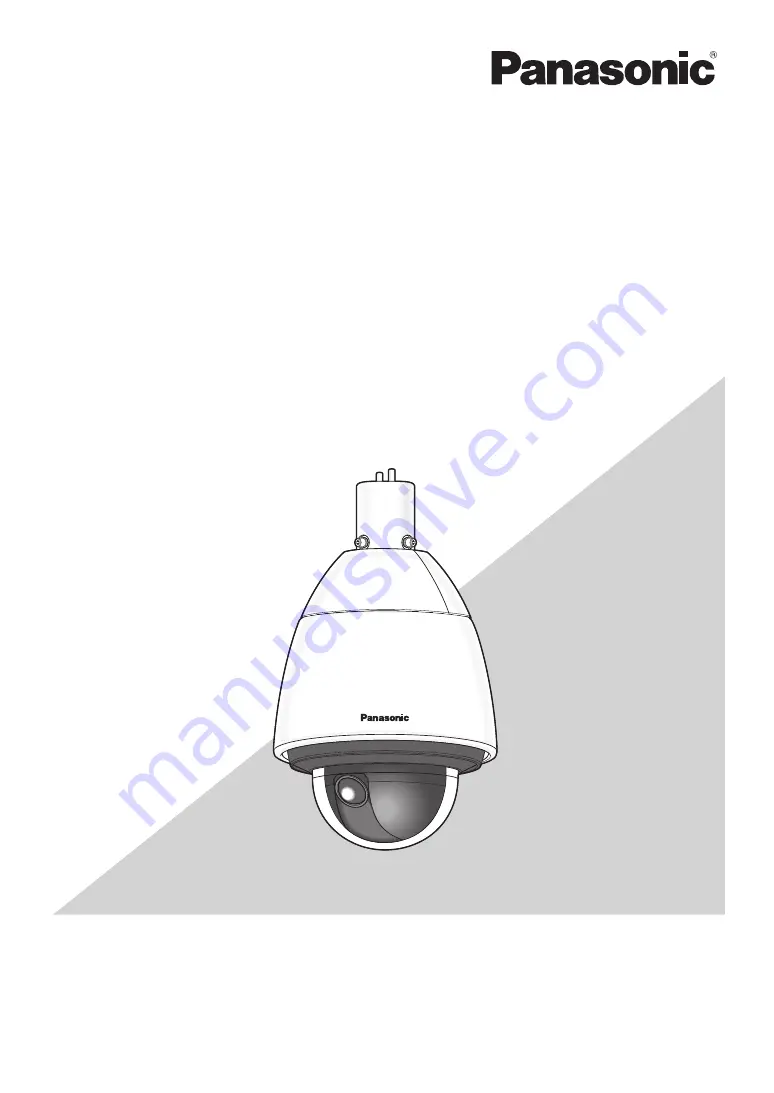
background image

Before attempting to connect or operate this product,

please read these instructions carefully and save this manual for future use.

The model number is abbreviated in some descriptions in this manual.

Installation Guide

Color CCTV Camera

Model No.


WV-CW594A

Rain wash coating

Summary of Contents for WV-CW594A

Page 1: ...rate this product please read these instructions carefully and save this manual for future use The model number is abbreviated in some descriptions in this manual Installation Guide Color CCTV Camera Model No WV CW594A Rain wash coating ...

Page 2: ...S 003 The model number and serial number of this product may be found on the surface of the unit You should note the model number and serial number of this unit in the space provided and retain this book as a permanent record of your purchase to aid identification in the event of theft Model No Serial No NOTE This equipment has been tested and found to comply with the limits for a Class A digital ...

Page 3: ...nd registered trademarks 7 Precautions 7 Major operating controls 9 Precautions for installation 10 DIP switch settings 12 Communication Parameters DIP Switch 2 12 Unit Number DIP Switch 1 13 RS485 Communication Parameters DIP Switch 1 15 Installation 16 Mounting the Camera 16 Connections 20 Troubleshooting 22 Specifications 26 Standard accessories 27 ...

Page 4: ... and the point where they exit from the apparatus 8 Only use attachments accessories specified by the manufacturer 9 Use only with the cart stand tripod bracket or table specified by the manufacturer or sold with the apparatus When a cart is used use caution when moving the cart apparatus combination to avoid injury from tip over 10 Refer all servicing to qualified service personnel Servicing is r...

Page 5: ...UCT BY THE USER 4 INCONVENIENCE OR ANY LOSS ARISING WHEN IMAGES ARE NOT DISPLAYED DUE TO ANY REASON OR CAUSE INCLUDING ANY FAILURE OR PROBLEM OF THE PRODUCT 5 ANY PROBLEM CONSEQUENTIAL INCONVENIENCE OR LOSS OR DAMAGE ARISING OUT OF THE SYSTEM COMBINED BY THE DEVICES OF THIRD PARTY 6 ANY CLAIM OR ACTION FOR DAMAGES BROUGHT BY ANY PERSON OR ORGANIZATION BEING A PHOTOGENIC SUBJECT DUE TO VIOLATION OF...

Page 6: ... building up on the dome cover 1 Dome cover with rain wash coating The rain wash coating is a special coating applied to the surface of the dome cover that makes it hard for water droplets to adhere to the dome cover 2 Waterproofing specifications Outdoor enclosure based on IP66 3 of IEC60529 standard 1 Does not operate in environments with ambient temperatures under 50 C 58 F In environments over...

Page 7: ...l Failure to observe this may cause injury or accidents Do not damage the power cable Do not damage fabricate twist stretch bundle or forcibly bend the power cable Do not place heavy objects Keep away from heat sources Use of the damaged power cable may cause electric shock short circuit or fire Consult the dealer for repair Do not install this product on a place that is greatly influenced by wind...

Page 8: ...e and it may shorten the lifetime of this product when using in locations subject to high temperatures and high humidity Do not expose this product to direct heat sources such as a heater Handle this product with care Do not drop this product nor apply shock or vibration to this product Failure to observe this may cause trouble Do not touch the dome cover with your bare hands The rain wash coating...

Page 9: ...uctions PDF If cleaning the slip ring does not eliminate poor picture quality and noise it could mean that the slip ring has reached the end of its service life Contact a qualified service person or system installer to have it replaced OPEN LOCK LOCK START Alarm Input Connector Alarm Output Connector Video Output Connector Data Port Power Cable Camera Safety Wire Rear Sun Shield provided RS485 Att...

Page 10: ... subject to condensation as the result of severe changes in temperature In case of installing the product in such locations the dome cover may become foggy or condensation may be caused on the cover Avoid moist or dusty places to install this product Otherwise lifetime of the internal parts may be shortened Avoid installing this product in a place with a high level of noise Installation near an ai...

Page 11: ...rosted from the dome cover When using this product in cold climates take notice of the ambient and internal temperatures of the product When this product is installed and operated in low temperatures below 10 C 14 F normal images may not be obtained immediately after startup In such a case wait around 2 hours or more and turn on the power again Influence on images and their quality This product ha...

Page 12: ...nication 1 Attaching and removing the housing base For removing the Housing Base refer to pages 16 to 19 2 Set the DIP switches as the following Communication parameters Set with switch 2 Unit number Set with switch 1 L o c k S T A R T D I P S W 1 O N 1 2 3 4 5 6 7 8 DIP SW 2 ON 1 2 3 4 Camera top view DIP Switch Important Before setting up the camera for a configuration where the camera s data po...

Page 13: ...5 36 37 38 39 40 41 42 43 44 45 46 47 48 49 50 51 52 53 54 55 56 57 58 59 60 61 62 63 64 65 66 67 68 1 2 3 4 ON 5 6 7 8 1 2 3 4 ON 5 6 7 8 1 2 3 4 ON 5 6 7 8 1 2 3 4 ON 5 6 7 8 1 2 3 4 ON 5 6 7 8 1 2 3 4 ON 5 6 7 8 1 2 3 4 ON 5 6 7 8 1 2 3 4 ON 5 6 7 8 1 2 3 4 ON 5 6 7 8 1 2 3 4 ON 5 6 7 8 1 2 3 4 ON 5 6 7 8 1 2 3 4 ON 5 6 7 8 1 2 3 4 ON 5 6 7 8 1 2 3 4 ON 5 6 7 8 1 2 3 4 ON 5 6 7 8 1 2 3 4 ON 5 6...

Page 14: ... 1 2 3 4 ON 5 6 7 8 Configuration for using Pelco protocol Important When using Pelco protocol make sure that the system works properly before use Some functions using Pelco protocol may be restricted when this camera and the apparatuses commercially available compatible with Pelco protocol operate together Unit Number Pelco P Unit Number Pelco P Unit Number Pelco P Unit Number Pelco D Unit Number...

Page 15: ...TE 19 200 bit s DATA BIT 8 bit PARITY CHECK NONE STOP BIT 1 bit BAUD RATE 9 600 bit s DATA BIT 8 bit PARITY CHECK NONE STOP BIT 1 bit BAUD RATE 4 800 bit s DATA BIT 8 bit PARITY CHECK NONE STOP BIT 1 bit BAUD RATE 2 400 bit s DATA BIT 8 bit PARITY CHECK NONE STOP BIT 1 bit ON Perform the following steps to use this setting 1 Turn off the camera and use DIP Switch 1 to configure RS485 communication...

Page 16: ...removed need to be used during reassembly Be careful to not lose them Special screw mounting screw Use a hexagon wrench for the hexagon screw M5 Important Remove the Protection Cover from the dome cover after the installation is complete Ø58 mm Ø2 9 32 inches 60 mm 2 3 8 inches 25 mm 1 inch 85 mm 3 11 32 inches 40 1 1 2A deep 30 mm 1 3 16 inches MAX PT11 crest parallel pipe thread 40 1 1 2B 30 mm ...

Page 17: ... camera is at the START position If the projection is not at the START position turn the plate clockwise to match it to the START position Leaf Spring Bending Plate STEP 4 1 Fix the bracket to the installation surface using appropriate bolts nuts or the like not supplied 2 Fix the attachment pipe to the bracket STEP 5 Thread cables through the bracket Connect the cables to the camera page 20 Warni...

Page 18: ... camera or possible fire STEP 8 Attach the front and rear sunshields accessory to the camera 1 Put the fingers on the dents of the front and rear sun shields to detach the hooks on both sides The sun shield will be divided into two parts For loss prevention one side of the front and rear sunshields are linked together with a wire Detach the hooks Wire Dents 2 Locate the front and rear sunshields t...

Page 19: ...t STEP 9 Fit the front and rear sunshields in the main sunshield Align of the rear sunshield to START of the main sunshield Then turn the front and rear sunshields toward LOCK until a click is heard Front and rear sunshields accessory Main sunshield Align to STEP 10 Fix the front and rear sunshields on the camera using the front rear sunshield fixing screw accessory Recommended tightening torque 0...

Page 20: ...n GND 6 Violet Alarm Out 2 5 Pink Alarm Out 1 5 Grey GND 5 White GND 5 Light Green Tx Rx 24 V AC Brown Blue Green Yellow To the power supply GND Signal grounding 3 Coaxial Cable RG 6 U 5C 2V 2 Data Port RS485 To VIDEO IN port CAMERA IN To sensor etc 4 To buzzer display device etc 4 To Matrix Switcher etc Video Output Connector Alarm Input Connector Alarm Output Connector Twisted Pair Cable 1 BNC R...

Page 21: ...it on Doing so can cause pan tilt zoom or focus to go out of position 24 V AC Power Supply Connection Recommended wire gauge sizes for 24 V AC line Copper wire size AWG 24 0 22 mm2 22 0 33 mm2 20 0 52 mm2 18 0 83 mm2 Length of cable approx m 20 30 45 75 feet 65 100 150 250 Important The power supply of 24 V AC shall be insulated against 120 V AC power Note Can only be connected to 24 V AC power su...

Page 22: ...is reset from the system controller you are using Operating Instructions Is the camera set up for a fixed shutter speed Operating Instructions White picture Is FIX selected for the electronic sensitivity enhancement SENS UP setting Operating Instructions Is the lens iris open Operating Instructions Out of focus picture Is the dome cover or lens of the camera dirty If so clean them 7 Is the object ...

Page 23: ...ions Black and white picture The camera has an auto black and white switching mode function Check the setting of this mode Operating Instructions Frequent switching between the color and the black and white modes Adjust the black and white mode switching level and the duration time setting Operating Instructions White specks in the picture Use the PIX OFF function to perform blemish compensation O...

Page 24: ...tting is BW Check the setting Operating Instructions Pan tilt zoom or focus do not work Is the camera connected correctly See the operating instructions that come with the system controller you are using The camera has a pan limit function Check the PAN LIMIT settings Operating Instructions The motor or lens may be worn Contact a quality service person or system installer The camera movement modes...

Page 25: ...Instructions Upper part of the picture is black when the camera is in a horizontal orientation It is hard to see images with the camera when there are raindrops on the dome cover This is caused by the camera s internal cover It does not indicate malfunction The effectiveness of the rain wash coating may have been reduced Refer to Cleaning this product body in Precautions for use and clean the dome...

Page 26: ...inches Weight Approx 4 5 kg 9 92 lbs including front and rear sunshields Finish Camera Die cast aluminium coated Paint color Natural silver Sunshield 2 ASA resin coated Paint color Natural silver Dome cover Clear polycarbonate resin Rain wash coating 1 When power is on continuously however the camera s interior temperature is 10 C 14 F or higher 2 Sunshield cannot removed Panning Range 360 endless...

Page 27: ...UPER D6 ON OFF VMD OFF Motion Det Scene Change Alarm Input Output 4 inputs ALARM IN 1 to ALARM IN 4 2 outputs ALARM AUX1 BW AUX2 Black and White Mode Switching AUTO ON OFF Privacy Zone ON OFF 8 zone settings Patrol STOP PLAY LEARN Cleaning ON OFF Image Hold ON OFF Auto Image Stabilizer ON OFF Scene Select Setting INDOOR L INDOOR H OUTDOOR L OUTDOOR H Language Setting Japanese English German French...

Page 28: ...ica www panasonic com business For customer support call 1 800 528 6747 Three Panasonic Way Secaucus New Jersey 07094 U S A Panasonic Canada Inc 5770 Ambler Drive Mississauga Ontario L4W 2T3 Canada 905 624 5010 www panasonic ca Panasonic System Networks Co Ltd 2013 sL0413 0 PGQX1318ZA Printed in China ...

Reviews: