

Performs the settings related to the camera system such as synchroniza-
tion and privacy zone.
The following settings can be configured on the “SYSTEM SETUP” screen
displayed from the top screen. For the display method, refer to section
related to “Basic operation”.
The special menu setup is performed including the setting of the camera
image quality.
The following settings are to be configured on the “SPECIAL SETUP”
screen displayed from the top screen. For the display method, refer to
section related to “Basic operation”.
....I..160
..I.... 20
.I..... 15
**SPECIAL SETUP**
CHROMA GAIN
AP GAIN
PEDESTAL
SER.NO.
RET TOP END
"SPECIAL SETUP" screen
XXXXXXXX
PIX OFF
CAMERA RESET
PUSH SET
DISPLAY
ALARM
- +
&
Chroma level adjustment [CHROMA GAIN]
Press the [RIGHT] or [LEFT] button to adjust the color density of the cam-
era image. When the level indicator moves in the “+” direction, the color
becomes deeper, and when the level indicator moves in the “–” direction,
the color becomes lighter. Be sure to view a vector chromaticity indicator
or a video monitor when the adjustment is performed.
(
Aperture level adjustment [AP GAIN]
Press the [RIGHT] or [LEFT] button to adjust the image quality. Be sure to
view a video monitor when the adjustment is performed.
Note:
• Moire (interference fringes) may be observed when shooting a subject
with a fine pattern such as a carpet or a curtain. In such a case, move
the indicator in the “-” direction to reduce moire.
)
Pedestal level adjustment [PEDESTAL]
Press the [RIGHT] or [LEFT] button to adjust the pedestal level of the
camera. When the level indicator moves in the “+” direction, the image
becomes brighter, and when the level indicator moves in the “–” direc-
tion, the image becomes darker. Be sure to view a waveform monitor or
a video monitor when the adjustment is performed.
~
Display Settings [DISPLAY]
Move the cursor to “DISPLAY”, and press the [RIGHT] or [LEFT] button to
change display settings.
OFF:
Alarm display is disabled.
ALARM
(default)
:
Alarm display is enabled.
MOTION DET
Alarm display (“MOTION DET”, “SCENE CHANGE”)
+
Pixel compensation [PIX OFF]
Flaws of pixel in the displayed camera image are corrected. Up to 16
points can be corrected.
To see flaws of pixel more clearly, use an object to cover the lens com-
pletely and make the screen dark.
Follow the procedure below.
**SPECIAL SETUP**
....I..160
..I.... 20
.I..... 15
PUSH SET
XXXXXXXX
**PIX OFF**
1 2 3 4
5 6 7 8
9 10 11 12
13 14 15 16
000 000
1
CHROMA GAIN
AP GAIN
PEDESTAL
PIX OFF
CAMERA RESET
SER.NO.
RET TOP END
RET TOP END
DEL
“SPECIAL SETUP” screen
“PIX OFF” screen
Pixel compensation positioning screen
- +
DISPLAY
ALARM
Step 1
Move the cursor to “PIX OFF” and press the [SET] button.
→
The “PIX OFF” screen appears.
Step 2
Select a number (1 to 16) with which a pixel compensation point is regis-
tered and press the [SET] button.
→
The pixel compensation positioning screen appears.
Step 3
Press the [UP], [DOWN], [RIGHT], and [LEFT] buttons to move the cross-
hair cursor to the center of the flaw to be corrected and press the [SET]
button.
→
The flaw is corrected and the pixel compensation point is registered.
The “PIX OFF” screen appears again. An asterisk “*” is attached at the
right side of the number when registration is completed. The coordinate
is expressed in figures.
Note:
• To clear the registered pixel compensation point, move the cursor to
“1” to the right of “DEL”, use the [RIGHT] and [LEFT] buttons to select
the number with which the target pixel compensation point is regis-
tered and press the [SET] button. The registered pixel compensation
point is cleared, and the asterisk “*” at the right side of the number
disappears.
,
Default resetting [CAMERA RESET]
The settings in the setup menu are restored to the default settings.
Move the cursor to “
→
PUSH SET” of “CAMERA RESET”, and press the
[SET] button for more than 2s to access the next screen. If you move the
cursor to “NO” and press the [SET] button, the camera will not be reset
and the previous screen appears. To restore the default settings, move the
cursor to “YES” and press the [SET] button.
Note:
• The data of the registered pixel compensation points is not cleared.
• To set whether to reset the camera, select “YES” or “NO” by using the
[SET] button. To set with a controller, refer to the instruction manual of
the controller.
• When the camera is initialized, the “LANGUAGE SETUP” cannot be
restored to the default settings.
-
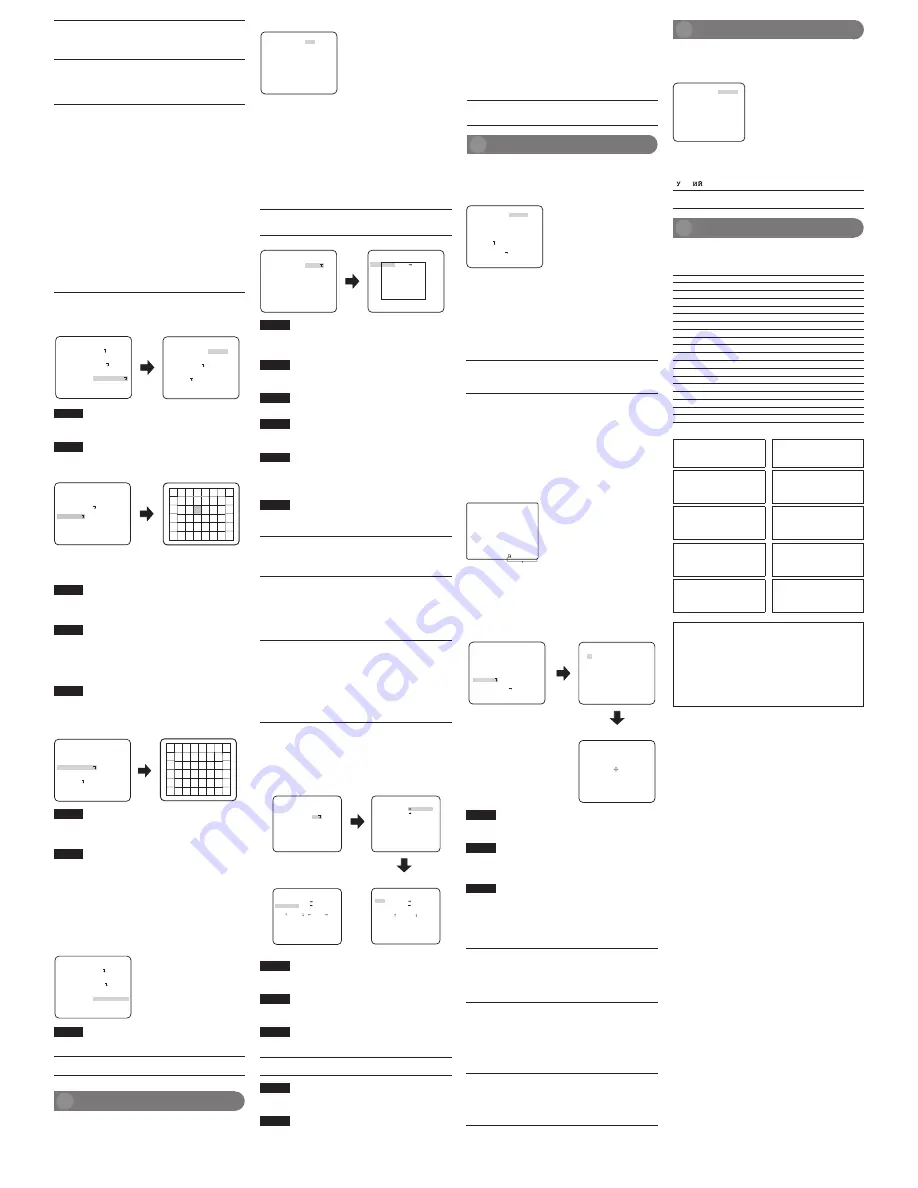
Serial number viewing [SER.NO.]
Displays the serial number of this product.
**SYSTEM SETUP**
SYNC
RET TOP END
INT
“SYSTEM SETUP” screen
PRIVACY ZONE OFF
STABILIZER
UPSIDE-DOWN
LDC
OFF
EL-ZOOM
OFF
OFF
...I...120
- +
9
Synchronization method [SYNC]
Only internal synchronization (INT) can be used.
The VD2 synchronization method cannot be used.
!
Privacy zone setting [PRIVACY ZONE]
When undesired portions in the camera shooting area (on the screen)
exist, those portions (privacy zone) can be set to be hidden. Up to 8 por-
tions can be specified for the privacy zone.
ON (1):
Grays the zone.
ON (2):
Mosaics the zone.
OFF
(default)
:
Displays the zone normally.
Follow the procedure below to set the privacy zone.
Note:
• The privacy zone function is disabled at initializing the unit, i.e. right
after turning on the power.
**SYSTEM SETUP**
**ZONE NUMBER 1 /8**
PUSH SET
SYNC
INT
POSITION
ZONE LEVEL
UPPER LEFT
RET TOP END
RET TOP END
DEL
“SYSTEM SETUP” screen
“ZONE NUMBER” screen
PRIVACY ZONE ON(2)
STABILIZER
OFF
EL-ZOOM
OFF
UPSIDE-DOWN
OFF
LDC
...I...120
- +
..I.... 2
- +
Step 1
Move the cursor to “PRIVACY ZONE”, select “ON (1)” or “ON (2)”, and
press the [SET] button.
→
The “ZONE NUMBER” screen appears.
Step 2
Move the cursor to the number at the right of the title and select the zone
number using the [RIGHT] or [LEFT] button.
Step 3
Move the cursor to “POSITION” and press the [SET] button.
Step 4
Press the [UP], [DOWN], [RIGHT], and [LEFT] buttons to determine the left
upper position of the zone to be set and press the [SET] button.
Step 5
Press the [UP], [DOWN], [RIGHT], and [LEFT] buttons to determine the
lower right position of the zone to be set and press the [SET] button.
→
An asterisk “*” will be displayed after the number and the zone setting
will be saved.
Step 6
When “ON (2)” is selected for “PRIVACY ZONE”, the mosaic level may be
adjusted. The mosaic level may be set through “ZONE LEVEL”. (Range: 1
to 4)
Note:
• To delete a zone, select the zone number and press the [SET] button
after moving the cursor to “DEL”.
• To change the settings of a zone, select the zone number and repeat
from Step 3.
"
Image stabilizer setting [STABILIZER]
Whether or not to enable the image stabilizer is determined.
This function is effective for the case that the camera is installed at a place
with slight shaking.
ON:
Enables the image stabilizer.
OFF
(default)
:
Disables the image stabilizer.
IMPORTANT:
• When “ON” is selected for the image stabilizer, the view angle
becomes narrower and the resolution becomes lower. When “ON” is
selected for the image stabilizer, check the view angle and resolution
at camera installation.
• The image stabilizer function may not work for the following subjects
or conditions:
• Dark subject
• Less contrasty subject (e.g. white wall)
• Subject shaking at excessive speed
• Large amplitude image shaking
#
Electronic zoom setting [EL-ZOOM]
Whether or not to use the electronic zoom is determined.
ON:
Uses the electronic zoom.
OFF
(default)
:
Does not use the electronic zoom.
When “ON” is selected, the zoom factor and the panning/tilting settings
can be configured.
**EL-ZOOM**
PUSH SET
PUSH SET
**SYSTEM SETUP**
**EL-ZOOM**
PUSH SET
PUSH SET
**EL-ZOOM**
PUSH SET
PUSH SET
“SYSTEM SETUP” screen
“EL-ZOOM” screen
Zoom setting screen
“PAN/TILT” screen
ZOOM
PAN/TILT
ZOOM
PAN/TILT
ZOOM
PAN/TILT
ZOOM
TILT / PAN
SYNC
RET TOP END
RET TOP END
RET TOP END
RET TOP END
INT
PRIVACY ZONE OFF
STABILIZER
OFF
EL-ZOOM
UPSIDE-DOWN
OFF
LDC
ON
...I...120
- +
Follow the procedure below.
Step 1
Move the cursor to “EL-ZOOM” and select “ON” and press the [SET] button.
→
The “EL-ZOOM” screen appears.
Step 2
Move the cursor to “
→
PUSH SET” of “ZOOM” and press the [SET] button.
→
The “ZOOM” screen appears.
Step 3
Adjust the angular field of view by changing the electronic zoom factor (up
to 2x) using the [UP] or [DOWN] button, and press the [SET] button.
Note:
• When the zoom factor is incremented, resolution will be deteriorated.
Step 4
Move the cursor to “
→
PUSH SET” of “PAN/TILT” and press the [SET] button.
→
The “PAN/TILT” setting screen appears.
Step 5
Press the [UP], [DOWN], [RIGHT], and [LEFT] buttons to determine the
position of the area to be set and press the [SET] button.
The position can be changed in the range of zoom factor set in the zoom
setting screen.
A language for the setup menu is selected from the following: The lan-
guage selection can be made on the “LANGUAGE SETUP” screen dis-
played from the top screen. For the display method, refer to section relat-
ed to “Basic operation”.
**LANGUAGE SETUP**
LANGUAGE ENGLISH
SET
RET TOP END
“LANGUAGE SETUP” screen
Move the cursor to “LANGUAGE” and press the [RIGHT] or [LEFT] button
to select the target language, then move the cursor to “SET”, and press
the [SET] button.
Select the target language from the following.
JAPANESE/ENGLISH
(default)
/FRANÇAIS/ESPAÑOL/DEUTSCH/ITALIANO/
P CCK
/
中文
Note:
• When the language is changed, the specified camera title is cleared.
Use of a system controller (WV-CU161C/CH, WV-CU650/CH or WV-CU950/CH)
with the [Camera function] button allows users to perform the shortcut settings with
use of the numeric keypad and camera function button. The available shortcut
operations with this unit are shown as follows.
System controller operation
Setting contents
[9] + [1] + [Camera function]
Black-and-white control (D&N) OFF
[9] + [2] + [Camera function]
Black-and-white control (D&N) AUTO
[9] + [3] + [Camera function]
Camera title (CAMERA ID) ON
[9] + [4] + [Camera function]
Camera title (CAMERA ID) OFF
[9] + [8] + [Camera function]
Electronic zoom ON
[9] + [9] + [Camera function]
Electronic zoom OFF
[1] + [7] + [5] + [Camera function] Gain adjustment (AGC) ON
[1] + [7] + [6] + [Camera function] Gain adjustment (AGC) OFF
[1] + [8] + [1] + [Camera function] Electronic sensitivity up (SENS UP) AUTO ON
[1] + [8] + [2] + [Camera function] Electronic sensitivity up (SENS UP) AUTO OFF
[1] + [8] + [3] + [Camera function] Electronic sensitivity, 1 step up (AUTO)
[1] + [8] + [4] + [Camera function] Electronic sensitivity, 1 step down (AUTO)
[2] + [0] + [1] + [Camera function] Image stabilizer (STABILIZER) ON
[2] + [0] + [2] + [Camera function] Image stabilizer (STABILIZER) OFF
[2] + [1] + [3] + [Camera function] Scene file 1
[2] + [1] + [4] + [Camera function] Scene file 2
[2] + [1] + [5] + [Camera function]
Gain (AGC), 1 step up
[2] + [1] + [6] + [Camera function]
Gain (AGC), 1 step down
Note: [Camera function] means the camera function.
Camera system setting [SYSTEM SETUP]
Special menu setting [SPECIAL SETUP]
Camera language selection [LANGUAGE SETUP]
Shortcut operation
Note:
• Cannot set the switching brightness (illuminance) level of color images
and black-and-white images.
• To obtain color images, a sufficient level of illuminance (approx. 30 lx
or more) is required.
8
VMD setting [VMD]
The VMD function allows the camera to detect motion and scene change
with the camera. Detection of motion or scene change with the camera
can be announced by issuing an alarm signal.
IMPORTANT:
• The following circumstances may result in detection failure or false
detection. Use the camera after adjusting the detection area and sen-
sitivity.
• Not enough difference in brightness between the background and
the moving photographic subject, or significant changes in bright-
ness.
• Dirt or water drops on the lens.
• Insufficient brightness, for example, when shooting at night.
• The subject is moving straight at the camera.
• The subject is moving too fast or too slow.
• The subject is too small or too large.
• There are too many moving objects.
• Light is reflected through a window or from a road surface.
• The camera is shaking.
• Entry of outside light, such as sunlight or the headlights of a car.
• Flickering fluorescent light.
• Subject change detection may fail in the following cases.
• The lens is partially covered or covered with a transparent item.
• The photographic subjects before and after changing the camera
direction are similar.
• False detection may occur for approx. 1 minute after turning on the
power, after completing settings in the SETUP menu, or after chang-
ing the camera view angle.
• Motion detection is the detection function within the screen range for
an electronic zoom of 1x.
Setting of motion detection
Move the cursor to “VMD”, press the [LEFT] or [RIGHT] button to select
“MOTION DET”.
“CAMERA SETUP” screen
“MOTION DET” screen
**CAMERA SETUP**
SCENE1
VMD MOTION DET
ELC ELC
AGC ON(MID)
SENS UP X4 AUTO
WHITE BAL ATW1
DNR HIGH
D&N(ELE) OFF
RET TOP END
**MOTION DET**(1)
RET TOP END
LEVEL
2S
OFF
DWELL TIME
DISPLAY MODE
ALARM
MASK SET
....I.. 20
- +
Step 1
Move the cursor to “MOTION DET” and press the [SET] button. The
“MOTION DET” screen appears.
Step 2
Move the cursor to “MASK SET” and press the [SET] button.
→
The mask setting screen appears.
**MOTION DET**(1)
“MOTION DET” screen
RET TOP END
2S
OFF
LEVEL
DWELL TIME
DISPLAY MODE
ALARM
MASK SET
Mask setting screen
....I.. 20
- +
In the masked area, no alarm will be issued even if a moving object is
detected. The masked area is set in the same way as the masked area
setting in “Light quantity control method selection”. (Refer to section relat-
ed to “Controls the quantity of light with the electronic shutter”.)
Step 3
Hold down the [SET] button for more than 2 seconds after completion of
masking.
→
Return to the previous menu.
Step 4
Move the cursor to “ALARM” and press the [LEFT] and [RIGHT] buttons to
select “ON” or “OFF”.
ON:
Outputs an alarm signal in the motion detection mode. Actions may be
confirmed through the motion detection mode when a moving object is
detected.
OFF
(default)
:
Does not output alarm signal in the motion detection mode.
Step 5
Move the cursor to “DISPLAY MODE”, and press the [SET] button to dis-
play the display mode screen. If a moving object is detected in the set
area, the area will be highlighted. You can press the [SET] button for more
than 2s to return.
Display mode screen
“MOTION DET” screen
**MOTION DET**(1)
RET TOP END
LEVEL
2S
OFF
DWELL TIME
DISPLAY MODE
ALARM
MASK SET
....I.. 20
- +
Step 6
Move the cursor to “Level” and press the [RIGHT] or [LEFT] button to
adjust the level.
Repeat step 5 and 6 to adjust to optimal level.
Step 7
Move the cursor to “DWELL TIME” and select the dwell time from the fol-
lowing.
2S
(default)
/5S /10S /30S
Alarm signal will be issued once a continuously moving object is detected
within the specified time.
Setting of scene change detection
When the scene changes (including external impact on shooting of the
camera, e.g., the camera lens is covered by a cloth or cover, or the shoot-
ing direction changes suddenly), change of the photographic subject can
be detected. Follow the procedure below.
**CAMERA SETUP**
SCENE1
VMD
ELC ELC
AGC ON(MID)
SENS UP X4 AUTO
WHITE BAL ATW1
DNR HIGH
D&N(ELE) OFF
SCENE CHANGE
RET TOP END
“CAMERA SETUP” screen
Step 1
Move the cursor to “VMD” and press the [RIGHT] or [LEFT] button to
select “SCENE CHANGE”.
Note:
• The Scene Change function is activated after exit from the menu.
$
Upside-down setting [UPSIDE-DOWN]
ON:
The video image can be reversed upside down.
OFF
(default)
:
The video image cannot be reversed upside down.
%
Lens distortion correction [LDC]
The image may be distorted depending on the lens used and the zoom
factor. By adjusting the lens distortion correction setting, the distorted
image can be converted to match the square monitor and achieve effects
desired by the user.
Note:
• Depending on the lens used, complete correction may not be
achieved.
We declare under our sole responsibility that
the product to which this declaration relates
is in conformity with the standard or other
normative document following the provisions
of Directive 2004/108/EC.
Wij verklaren als enige aansprakelijke, dat het
product waarop deze verklaring betrekking
heeft, voldoet aan de volgende norm of ander
normatief dokument, overeen-komstig de
bepalingen van Richtlijn 2004/108/EC.
Wir erklären in alleiniger Verantwortung, daß
das Produkt, auf das sich diese Erklärung
bezieht, mit der folgenden Norm oder
normativen Dokument übereinstimmt. Gemäß
den Bestimmungen der Richtlinie 2004/108/
EC.
Vi erklærer os eneansvarlige for, at dette
produkt, som denne deklaration omhandler,
er i overensstemmelse med standard eller
andre normative dokumenter i følge
bestemmelserne i direktiv 2004/108/EC.
N o u s d é c l a ro n s s o u s n o t re p ro p re
responsabilité que le produit auquel se réfère
la présente déclaration est conforme á la
norme spécifiée ou à tout autre document
normatif conformément aux dispositions de la
directive 2004/108/CE.
Vi deklarerar härmed vårt fulla ansvar för att
den produkt till vilken denna deklaration
hänvisar är i överensstäm-melse med
standarddokument eller annat normativt
dokument som framställs i direktiv 2004/108/
EC.
Nosotros declaramos bajo nuestra única
responsabilidad que el producto a que hace
referencia esta declaración está conforme
con la norma u otro documento normativo
siguiendo las estipulaciones de la directiva
2004/108/CE.
Ilmoitamme yksinomaisella vastuullamme,
että tuote, jota tämä ilmoitus koskee,
noudattaa seuraavaa standardia tai muuta
ohjeellista asiakirjaa, jotka noudattavat
direktiivin 2004/108/EC säädöksiä.
Noi dichiariamo sotto nostra esclusiva
responsabilità che il prodotto a cui si riferisce
la presente dichiarazione risulta conforme al
seguente standard o altro documento
normativo conforme alle disposizioni della
direttiva 2004/108/CE.
Vi erklærer oss alene ansvarlige for at
produktet som denne erklæringen gjelder for,
er i overensstemmelse med følgende norm
eller andre normgivende dokumenter som
følger bestemmelsene i direktiv 2004/108/
EC.
WARNING:
• To prevent fire or electric shock hazard, do not expose this apparatus to
rain or moisture.
• To prevent injury, this apparatus must be securely attached to the floor/
wall/ceiling in accordance with the installation instructions.
• The installation shall be carried out in accordance with all applicable
installation rules.
• This product has no power switch.
When turning off the power, turn off a Power Supply or remove a power
cable.
• The connections should comply with local electrical code.


