


13
Adjust the clock
Adjust the clock of this unit to the correct time. Check the clock periodically and adjust the clock if it shows the wrong
time.
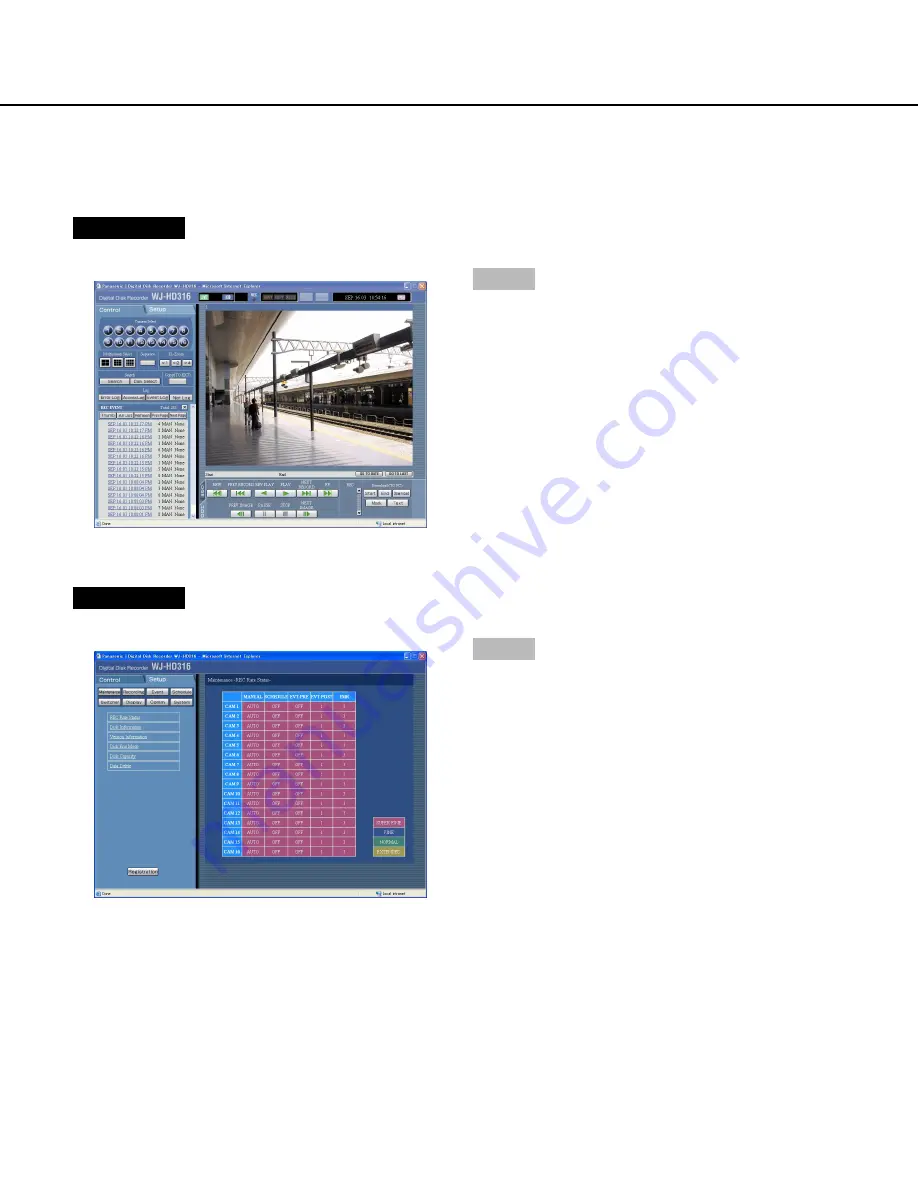
Screenshot 1
Start operation from the top page.
Step 1
Click the [Setup] tab.
Screenshot 2
The [Setup] page will be displayed.
Step 2
Click the [System] button.
Summary of Contents for WJHD309 - DIGITAL DISK RECORDER
Page 2: ...2...


