11
Auto Setup
Quick Start Guide
Auto Setup
Search and store TV channels automatically.
●
These steps are not necessary if the setup has been completed by your local dealer.
●
Please complete connections (p. 9, 10) and settings (if necessary) of the connected equipment before starting
Auto Setup. For details of settings for the connected equipment, read the manual of the equipment.
TV
BACK/
RETURN
OK
1
Plug the TV into mains socket and switch On
●
Takes a few seconds to be displayed.
●
If the red LED shows on the TV, press the Standby On / Off switch on
the remote control.
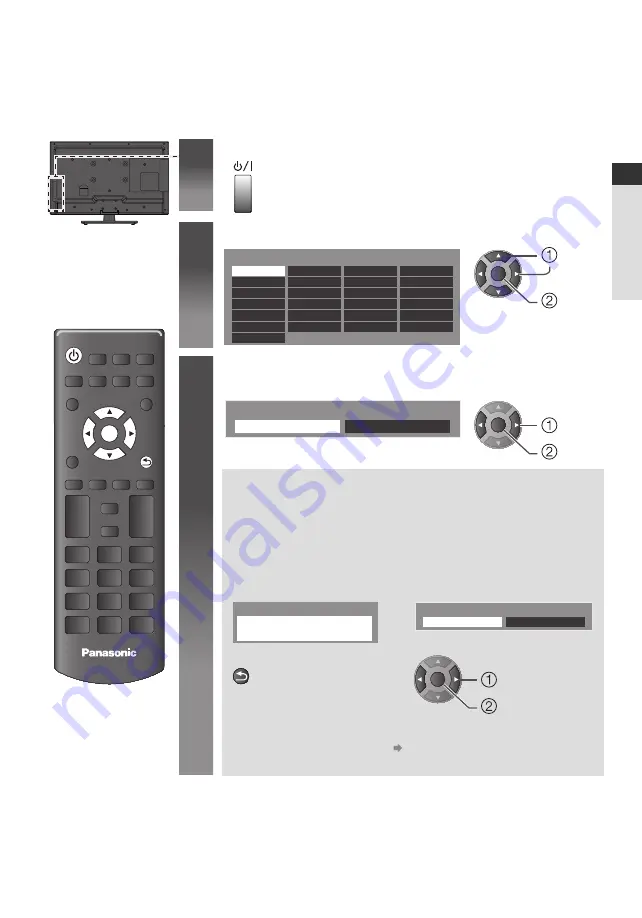
2
Select the language
Menüsprache
Deutsch
Français
Italiano
Español
Português
Nederlands
English
Dansk
Еλληνικά
Svenska
Norsk
Suomi
Türkçe
Čeština
Slovenčina
Български
Magyar
Polski
Română
Hrvatski
Slovenščina
eesti keel
Srpski
Latviešu
Lietuvių
OK
select
set
3
Select [Home]
Select [Home] viewing environment to use in your home environment.
Please select your viewing environment.
Home
Shop
OK
change
confirm
[Shop] viewing environment (for shop display only)
[Shop] viewing environment is the demonstration mode to explain main
features of this TV.
Select [Home] viewing environment to use in your home environment.
●
You can return to viewing environment selection screen at the stage of
[Shop] confirmation screen.
1
Return to viewing environment
selection screen
2
Select [Home]
Shop
You have selected shop mode
BACK/
RETURN
Please select your viewing environment.
Home
Shop
OK
change
confirm
To change viewing environment later on, you will need to initialise all settings
by accessing [Shipping Condition].
[Shipping Condition]