


Using Media Player
1
Insert the USB Flash Memory.
2
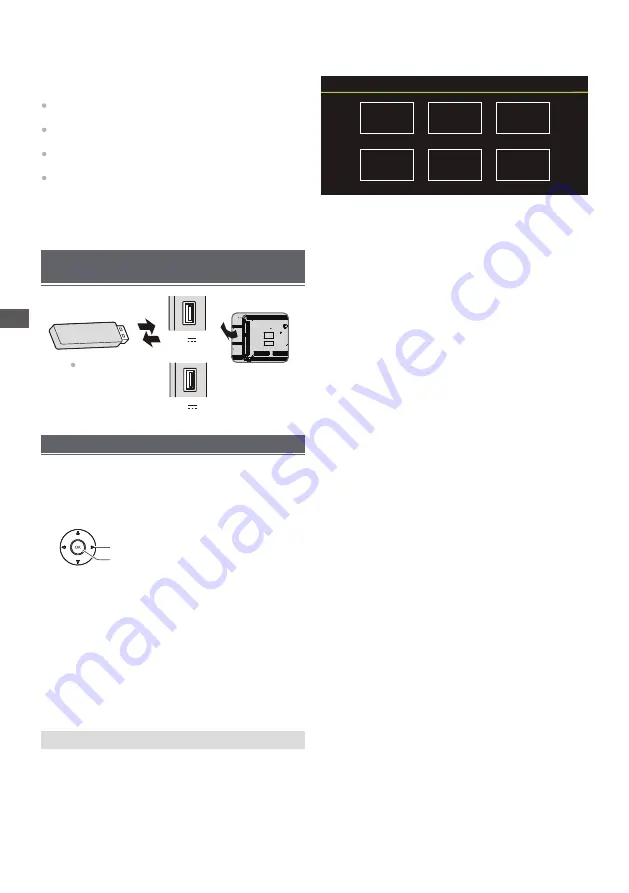
Select the mode.
[PHOTO]:
Displays the thumbnail of all photos in the
USB Flash Memory.
[DOCUMENT]:
Displays the thumbnail of all documents
in the USB Flash Memory.
[MUSIC]:
Displays the thumbnail of music folders in
the USB Flash Memory.
[VIDEO]:
Displays the thumbnail of video titles in the
[DISK]:
Displays the thumbnail of all document in
the USB Flash Memory.
USB Flash Memory.
[Contents Display]
Follow the operation guide to perform
available operations.
When the cursor stays on the icon,it displays the
information of the highlighted content.
r
e
y
a
l
P
a
i
d
e
M
g
n
i
s
U
Media Player allows you to enjoy photo, music or video
recorded on a USB Flash Memory.
The picture may not appear correctly on this TV
depending on the digital cameras used.
Display may take some time when there are many files
and folders in the USB Flash Memory.
Partly degraded files might be displayed at a reduced
resolution.
The folder and file names may be different depending
on the digital camera used.
Starting Media Player
Inserting / Removing the USB Flash
Memory
TV
Insert or remove
straight and
completely.
Video
Document
Photo
Music
Disk
1. Select
Disk
icon, then press OK button to choose folder.
2. Press Up, Down, Left or Right direction button to select your
desired file and press OK to Play.
3. Press Return key of remote to Stop playing.
Disk:
500mA
MAX
5V
900mA
MAX
5V
1. Select
Document
2. Press Up, Down, Left or Right direction button to select your
desired file and press OK to Play.
3. Use OK key to see more option: ZOOM+, ZOOM-.
4. Press Return key of remote to Stop playing.
Document:
icon.
Access
Select
Photo:
1. Select Picture icon, then press OK button to view the
picture.
2. Press Up, Down, Left or Right direction button to select
your desired picture file and press OK to show.
3. While showing picture, press OK to display the play console.
For Previous and Next use remote left and Right key.
4. Use OK key to see more option: Left rotation, Right rotation,
ZOOM+, ZOOM-, Manual play/Auto play, Information, Play
mode, Play interval,BGM:on or off.
Video:
1. Select Video icon, then press OK button to view movie file.
2. Press Up, Down, Left or Right direction button to select
your desired file and press OK to Play.
3. While playing a Video, press OK Menu of remote to display
the play console. For the Play console, Press Ok key of remote
to Play and Pause the video file.Left key of remote to Fast
backward.Right key of remote to Fast forward.
4. Use OPTION key to see more option: Photo scale, Looping
mode, Subtitle, Subtitle code, Audio track, information and
video list.
5. Press Return key of remote to Stop playing and Press
Return to Exit.
1. Select Music icon, then press OK button to listen to Music.
2. Press Up, Down, Left or Right direction button to select your
desired file and press OK to Play.
3. The Play console includes Previous, Play/Pause,Fast
backward/Fast forward,Next.
Press OPTION key to see PlayList.
4. Press Return key of remote to Stop playing.
Music:
16


