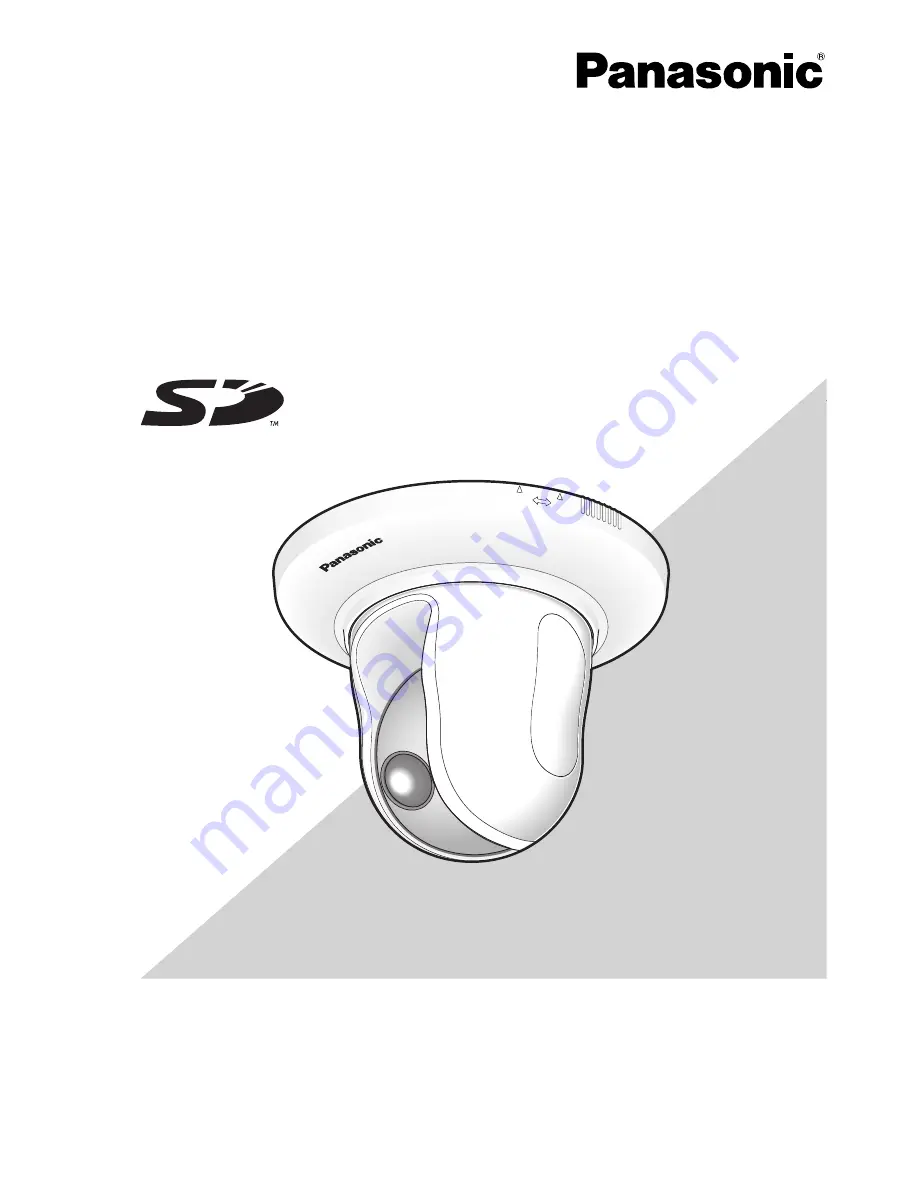
Network Camera
Installation Guide
Model No.
WV-NS202A
Before attempting to connect or operate this product,
please read these instructions carefully and save this manual for future use.
LOCK
WV-N
S202A
OPEN
Page 1: ...Network Camera Installation Guide Model No WV NS202A Before attempting to connect or operate this product please read these instructions carefully and save this manual for future use LOCK WV NS202A OPEN ...
Page 2: ...if not installed and used in accordance with the instruction manual may cause harmful interference to radio communications Operation of this equipment in a residential area is likely to cause harmful interference in which case the user will be required to correct the interference at his own expense FCC Caution To assure continued compliance example use only shielded interface cables when connectin...
Page 3: ...your outlet consult an electri cian for replacement of the obsolete outlet 10 Protect the power cord from being walked on or pinched particularly at plugs convenience receptacles and the point where they exit from the apparatus 11 Only use attachments accessories specified by the manufacturer 12 Use only with the cart stand tripod bracket or table specified by the manufacturer or sold with the app...
Page 4: ...NTIAL INCONVE NIENCE OR LOSS OR DAMAGE ARISING OUT OF THE SYSTEM COMBINED BY THE DEVICES OF THIRD PARTY 6 ANY CLAIM OR ACTION FOR DAMAGES BROUGHT BY ANY PERSON OR ORGANIZATION BEING A PHOTOGENIC SUBJECT DUE TO VIO LATION OF PRIVACY WITH THE RESULT OF THAT SURVEILLANCE CAMERA S PICTURE INCLUD ING SAVED DATA FOR SOME REASON BECOMES PUBLIC OR IS USED FOR THE PUR POSE OTHER THAN SURVEILLANCE 7 LOSS OF...
Page 5: ... connector and the microphone in connector receiving audio from the camera on a PC and transmitting audio from the PC to the camera is available Transceiver type is the communication type that receives transmits audio alternately between two operators It is impossible to receive transmit audio simultaneously between them High power lens and high accuracy preset position function A single camera pr...
Page 6: ...en using Windows 2000 Professional SP4 Other CD ROM Drive It is necessary to read the network operating instructions and use the soft ware on the provided CD ROM DirectX 9 0c or later Adobe Reader It is necessary to read the network operating instructions on the provided CD ROM Notes When using a PC that does not meet the above requirements displaying of images may become slow or the web browser m...
Page 7: ...f this product is connected to a network that includes PCs make sure that the system is not infected by computer viruses or other malicious entities using a regularly updated anti virus program anti spyware pro gram etc Protect your network against unauthorized access by restricting users to those who log in with an authorized user name and password Apply measures such as user authentication to pr...
Page 8: ... 12 Installations Connections 13 Install on ceiling 13 Place the camera upside down by fixing on the bracket 18 Place the camera upside down on a desktop without fixing 18 Connection example 19 Detach the camera 20 Insert remove an SD memory card 21 How to insert an SD memory card 21 How to remove the SD memory card 21 Configure the network settings 22 Install the software 22 Configure the network...
Page 9: ...sed the camera may not work properly or performance deterioration may be caused Images saved on the SD memory card may lead to personal information leakage When it is necessary to give the camera to someone even when for repair make sure that the SD memory card is removed from the camera Discoloration on the CCD color filter When continuously shooting a bright light source such as a spotlight the ...
Page 10: ...io waves Locations where corrosive gas is produced Locations where it may be damaged by briny air such as seashores Locations where the temperature is not within 10 C 50 C 14 F 122 F Locations subject to vibrations This product is not designed for on vehicle use Locations subject to condensation as the result of severe changes in temperature Be sure to remove this product if it is not in use Mount...
Page 11: ... C K Mount bracket standard accessory Decorative cover standard accessory Safety wire fixed with the mount bracket WV NS202A WV NS202A SD memory card slot SD memory card error indicator Network Operating Instructions SD memory card slot cover Panasonic logo plate Transparent part over the lens ...
Page 12: ...he preset position settings will not be ini tialized MONITOR OUT AUDIO OUT MIC IN EXT I O 4 3 2 1 12V IN POWER INITIAL SET ACT LINK 10BASE T 100BASE TX Safety wire holder Monitor out connector Audio output connector Microphone in connector External I O terminals DC 12 V power terminals Power LED INITIAL SET button Cable guide Network connector Link LED Access LED Screw hole for a tripod 1 4 20UNC ...
Page 13: ...ed tightening torque 5 0 N m 51 kgf cm Required pull out capacity of a single screw bolt is 196 N 20 kgf or more If a ceiling board such as plaster board is too weak to support the total weight the area shall be sufficiently rein forced or the optional ceiling mount bracket for the camera WV Q105 shall be used When using an optional mount bracket or inner cover refer to the operating instructions ...
Page 14: ...ore to prevent a short circuit MONITOR OUT AUDIO OUT MIC IN EXT I O 4 3 2 1 POWER INITIAL SET ACT LINK 10BASE T 100BASE TX 12V IN External I O terminals Microphone in connector Audio output connector Monitor out connector F R O N T OPEN L O C K Safety wire Safety wire holder 14 Wire through a hole in the ceiling Step 1 Fix the provided camera mount bracket with four optional fixing screws M4 or M6...
Page 15: ...cable length Less than 1 m Important Connect disconnect the audio video cables after turning off the power of the camera and the amplifi er Otherwise loud noise may be heard from the speaker Audio output connector Connect a monaural mini plug ø3 5 mm Use a pow ered external speaker Recommended cable length Less than 10 m Note Make sure that the stereo mini plug is connected to this connector When ...
Page 16: ... will be used for power supply When disconnecting the LAN cable once recon nect the cable after about 2 seconds When the cable is connected before 2 seconds have passed the power may not be supplied from the PoE device DC 12 V power terminals Connect to a DC 12 V power supply q Remove 3 mm 7 mm of the outer jacket of the power cord from a DC 12 V power supply and twist the core of the power cord t...
Page 17: ...accessory Decorative cover guide LOCK OPEN LOCK OPEN LOCK OPEN Wire without making a hole in the ceiling Step 1 Install the camera by following step 1 and steps 3 8 of the Wire through a hole in the ceiling section pages 14 16 It is unnecessary to make a hole in the ceiling as described in step 2 of the Wire through a hole in the ceiling section Step 2 Remove the tab on the rear of the decorative ...
Page 18: ...wing step 1 and steps 3 8 of the Wire through a hole in the ceiling section pages 14 16 When using the camera upside down select ON desktop for Upside down on the Camera tab of the setup menu Network operating instructions PDF When connecting to a DC 12 V power supply pass the power cord from a DC 12 V power supply through the cable guides after inserting the DC 12 V power cord plug into the DC 12...
Page 19: ...cters camera title preset ID etc may not be displayed on the screen Use a switching hub or a router which is compliant with 10BASE T 100BASE TX Power supply is required for each network camera When using a PoE device hub DC 12 V power supply is unnecessary PC LAN cable category 5 cross Speaker sold separately Microphone sold separately LOCK OPEN DC 12 V power supply PC Video monitor for adjustment...
Page 20: ...tach the cam era from the mount bracket Important When detaching the camera from the camera mount bracket hold the base of the camera Detaching the camera while holding the moving part may result in malfunction Step 5 Detach the cables from the camera Step 6 Detach the safety wire from the camera 20 Detach the camera The camera is fixed on the camera mount bracket using the fixing screw Remove the...
Page 21: ...ect Use for SD memory card on the SD memory card tab of Basic Setup on the setup menu Network operating instructions PDF Step 1 Open the SD memory card slot cover by following steps 1 and 2 of the How to insert an SD memory card sec tion Step 2 Release the locked SD memory card by pushing the card and then pull the SD memory card from the slot Step 3 Shut the SD memory card slot cover and lock the...
Page 22: ...it is necessary to configure the network settings of each camera independently If the Panasonic IP setting software does not work perform the network settings of the camera and the PC individually on the Network setup page of the setup menu Refer to the network operating instructions PDF for further informa tion Important The Windows Security Alert window may be displayed when starting the IP setu...
Page 23: ...are Step 3 Complete each network setup item and click the Apply button Note When using a DHCP server it is possible to set DNS to AUTO Important It may take around 30 seconds to completely upload the settings of the camera after clicking the Apply button The settings may be invalidated when the DC 12 V power supply is cut or when the LAN cable is disconnected before completing the upload In this c...
Page 24: ...stop when the power demand exceeds the total power limit for all PoE ports Refer to the operating instructions of the PoE device in use When the camera position is moved after turn ing on the power of the camera the camera may stop in the process of panning tilting and mechanical noise will come out from the cam era Execute the refresh position function from the Initialization tab of the Maintenan...
Page 25: ... up OFF AGC HIGH Simple black and white 0 5 lx Sensitivity up OFF AGC HIGH Dynamic range 52 dB typ Super dynamic 3 ON Shutter speed OFF Gain ON LOW ON MID ON HIGH OFF Shutter speed OFF 1 60 AUTO 1 100 Sensitivity up Up to 32x Simple Black white mode OFF AUTO White balance ATW1 ATW2 AWC Digital Noise Reduction DNR LOW HIGH Electronic Zoom Up to 10x Camera title Up to 16 characters alphanumeric char...
Page 26: ... be displayed simultaneously SD memory card option Manufactured by Panasonic Performance with this camera has been checked Capacity 64 MB 128 MB 256 MB 512 MB 1 GB 2 GB SD High Capacity SDHC card is not compatible with this camera Standard Accessories CD ROM 1 pc Installation Guide this book 1 pc Warranty 1 pc The CD ROM contains the operating instructions PDFs and the software The following are f...
Page 27: ...27 ...
Page 28: ...pany of Panasonic Corporation of North America Security Systems www panasonic com security For customer support call 1 877 733 3689 Executive Office Three Panasonic Way 2H 2 Secaucus New Jersey 07094 Zone Office Eastern Three Panasonic Way Secaucus New Jersey 07094 Central 1707 N Randal Road Elgin IL 60123 Southern 1225 Northbrook Parkway Suwanee GA 30024 Western 6550 Katella Ave Cypress CA 90630 ...