


26
LSQT1011
B
efore us
ing
Discs and cards
≥
Motion pictures cannot be recorded on an SD card with this unit.
≥
Please confirm the latest information on the following website. (This website is in English only.)
http://panasonic.co.jp/pavc/global/cs/e_cam
≥
For the purposes of these operating instructions, SD Memory Card and miniSD™ Card are
referred to as the “SD card”.
≥
This unit supports SD cards formatted in FAT12 system and FAT16 system based on SD Memory
Card Specifications.
≥
Use this unit to format SD cards. If an SD card is formatted on other products (such as a
computer), the time spent for recording may become longer and you may not be able to use the
SD card. (
l
99)
≥
We recommend that you use a Panasonic brand SD card.
≥
Be sure to insert miniSD™ Cards in the dedicated card adaptor before use. Inserting a card in
this unit without the adaptor may damage the unit or the card.
≥
Do not insert an empty card adaptor in this unit. Do not leave the adaptor in this unit while
inserting or removing miniSD™ Cards. This may cause the unit to malfunction.
≥
When the write-protect switch on SD Memory Card is locked, no recording, deletion or editing will
be possible on the card.
≥
Keep the memory card out of reach of children to prevent swallowing.
≥
MultiMediaCards cannot be used on this unit.
Cards that you can use with this unit
Card type
SD Memory Card
miniSD™ Card
Capacity
8 MB, 16 MB, 32 MB, 64 MB,
128 MB, 256 MB, 512 MB,
1 GB, 2 GB (Maximum)
32 MB, 64 MB, 128 MB,
256 MB, 512 MB
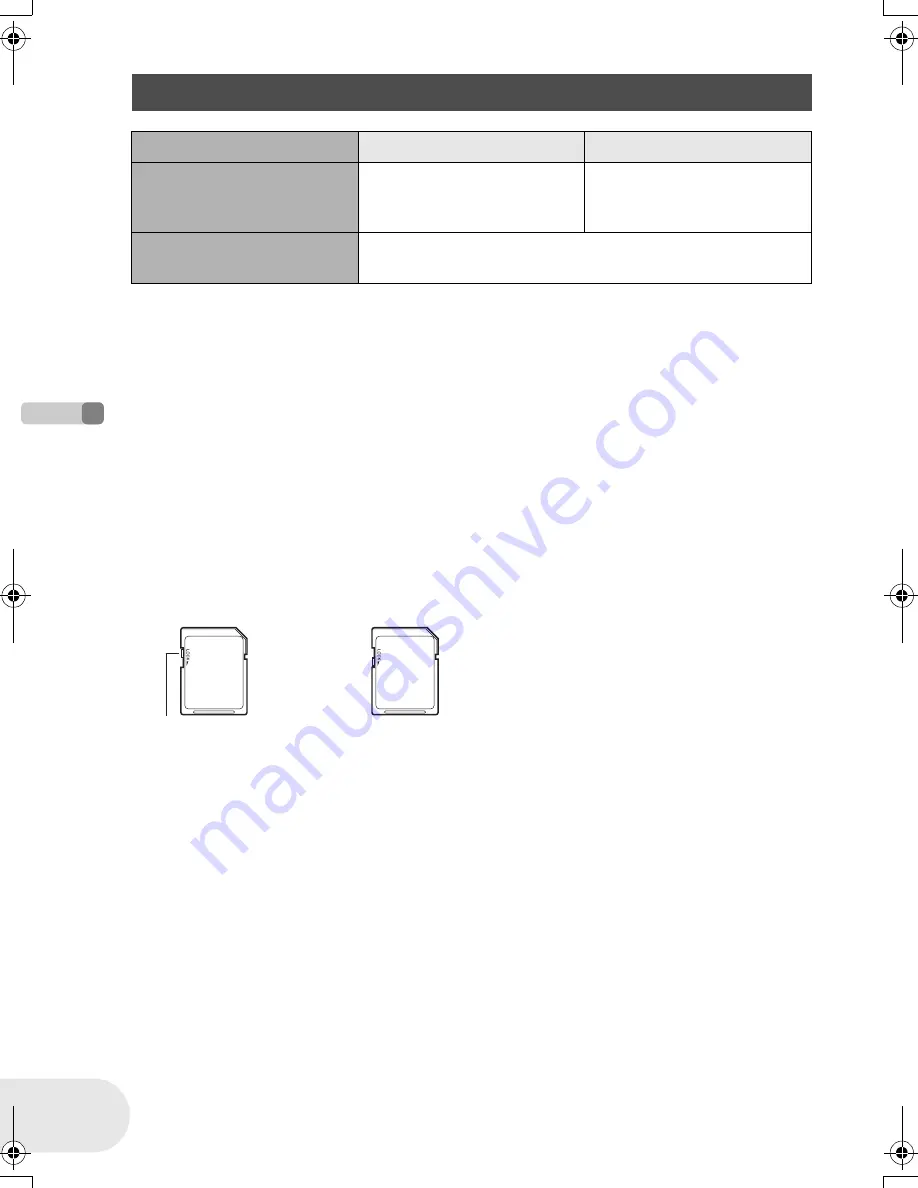
Indication in these
instructions
(SD)
Write-protect switch
Locked status
D250&300(P_PC)eng.book 26 ページ 2006年1月20日 金曜日 午後2時3分
Summary of Contents for Spanish)
Page 179: ...179 LSQT1011 Others ...


