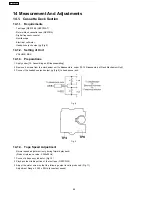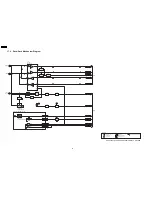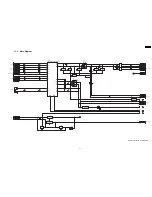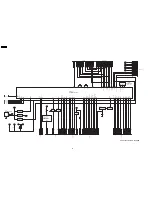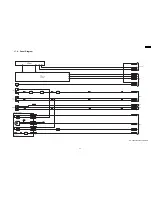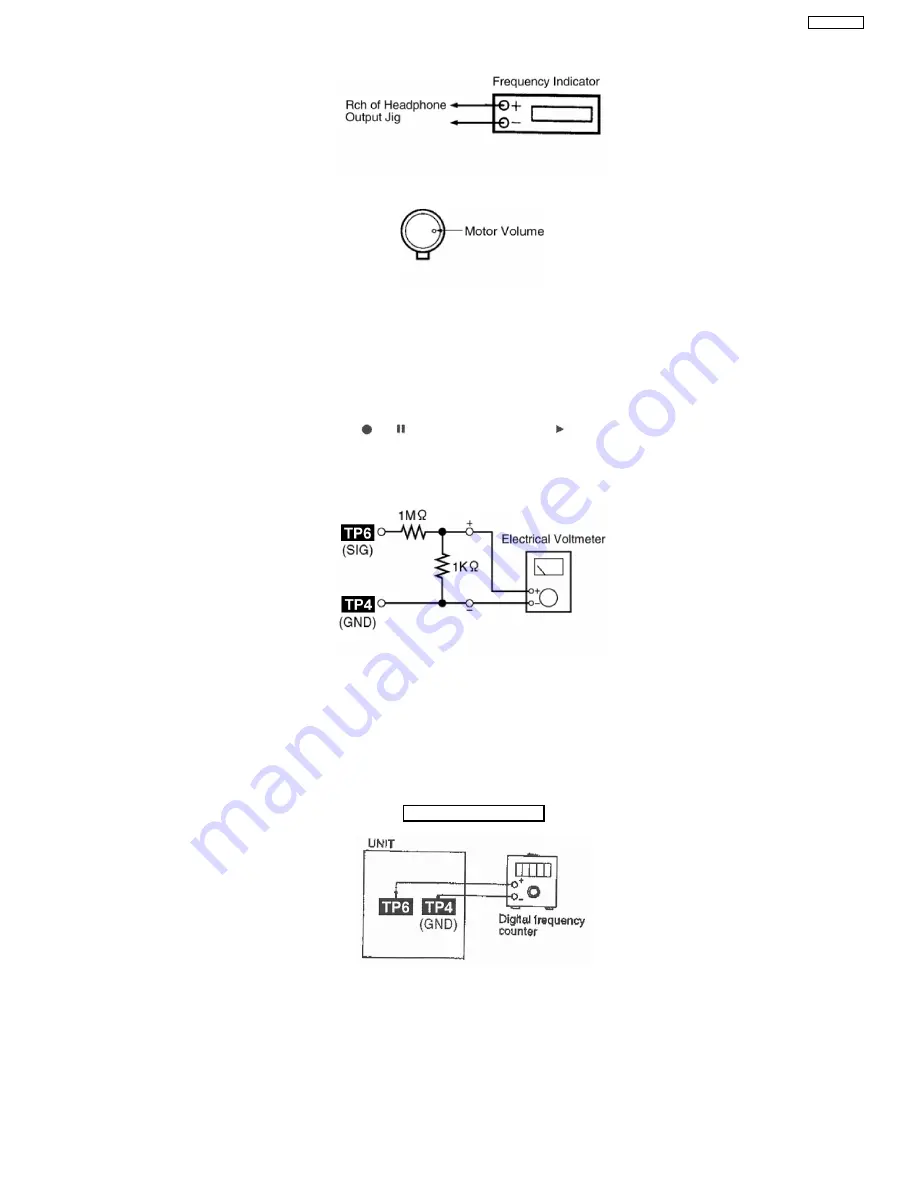
Fig. 10
Fig. 11
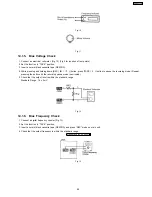
14.1.5. Bias Voltage Check
1. Connect an electrical voltmeter. (Fig 12) (Fig 9 for location of test points)
2. Set the function to “TAPE” position.
3. Insert a normal blank cassette tape (QZZCRA).
4. While pressing and holding down [REC(
/
)] button, press [TAPE(
)] button to pause the recording mode. (Repeat
pressing the buttons till the recording pause mode is activated.)
5. Check that the output level is within the standard range.
Standard Range: 16 ± 3mV
Fig. 12
14.1.6. Bias Frequency Check
1. Connect a digital frequency counter (Fig 13).
2. Set the function to “TAPE” position.
3. Insert a normal blank cassette tape (QZZCRA) and press “REC” mode on main unit.
4. Check that the output frequency is within the standard range.
Standard Value: 98 ±8 kHz
Fig. 13
49
SA-AK450PL
Summary of Contents for SA-AK450PL
Page 8: ...8 SA AK450PL ...
Page 11: ...6 Accessories Remote Control FM Antenna Wire AC Cord AM Loop Antenna 11 SA AK450PL ...
Page 12: ...7 Operating Instructions Procedures 7 1 Main Unit Key Buttons Operations 12 SA AK450PL ...
Page 13: ...7 2 Remote Control Key Buttons Operations 13 SA AK450PL ...
Page 26: ...10 3 Main Parts Location 26 SA AK450PL ...
Page 38: ...10 17 1 Replacement of Pinch Roller and Head Block 38 SA AK450PL ...
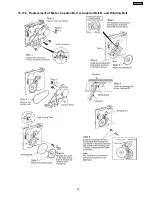
Page 39: ...10 17 2 Replacement of Motor Capstan Belt A Capstan Belt B and Winding Belt 39 SA AK450PL ...
Page 45: ...12 4 Checking and Repairing of Power P C B 45 SA AK450PL ...
Page 47: ...47 SA AK450PL ...
Page 51: ...15 3 Main P C B 15 4 Panel P C B 51 SA AK450PL ...
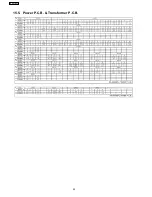
Page 52: ...15 5 Power P C B Transformer P C B 52 SA AK450PL ...
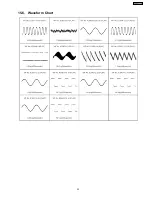
Page 53: ...15 6 Waveform Chart 53 SA AK450PL ...
Page 62: ...SA AK450PL 62 ...
Page 64: ...64 SA AK450PL ...
Page 84: ...SA AK450PL 84 ...
Page 89: ...23 Exploded Views 23 1 Cabinet Parts Location SA AK450PL 89 ...
Page 90: ...SA AK450PL 90 ...
Page 91: ...23 2 Deck Mechanism Parts Location RAA4403 S SA AK450PL 91 ...
Page 92: ...23 3 Packaging SA AK450PL 92 ...

