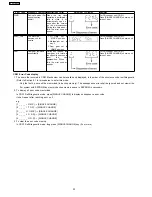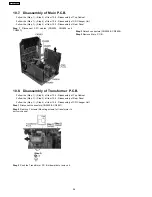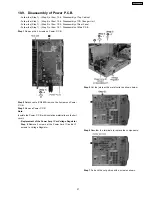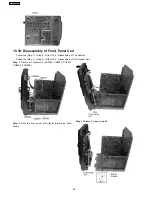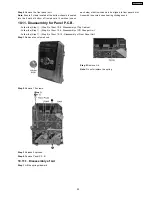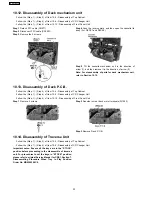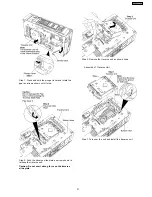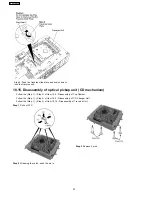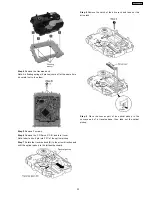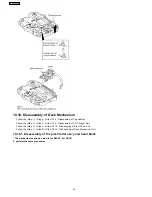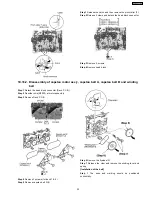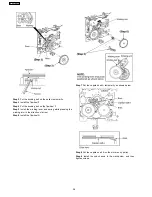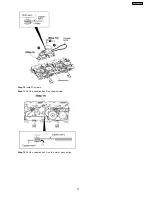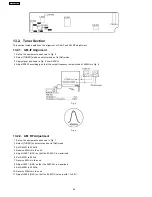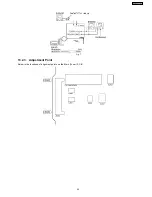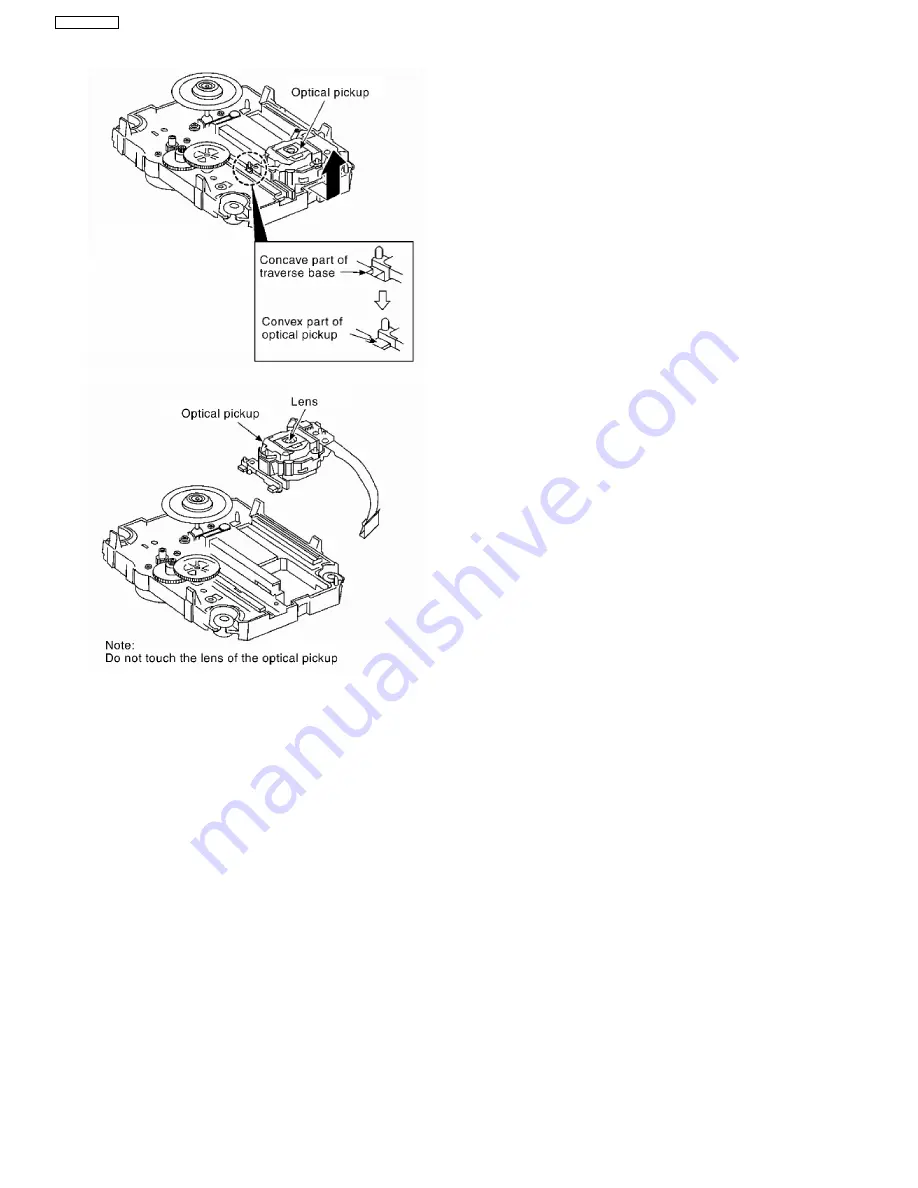
* The mechanism as shown below is for DECK1. For DECK
2, perform the same procedures.
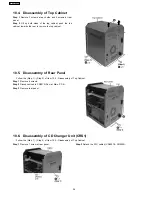
10.16. Disassembly of Deck Mechanism
·
Follow the (Step 1) - (Step 2) of Item 10.4 - Disassembly of Top Cabinet
·
Follow the (Step 1) - (Step 4) of Item 10.6 - Disassembly of CD Changer Unit
·
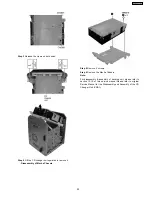
Follow the (Step 1) - (Step 4) of Item 10.10 - Disassembly of Front Panel Unit
·
Follow the (Step 1) - (Step 5) of Item 10.12 - Disassembly of Deck Mechanism Unit
10.16.1. Disassembly of the pinch roller ass’y and head block
34
SA-AK240GCP
Summary of Contents for SA-AK240GCP
Page 13: ...8 Operating Instructions Procedures 13 SA AK240GCP ...
Page 14: ...14 SA AK240GCP ...
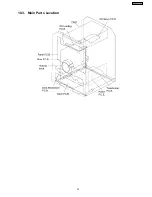
Page 23: ...10 3 Main Parts Location 23 SA AK240GCP ...
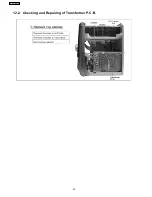
Page 40: ...12 2 Checking and Repairing of Transformer P C B 40 SA AK240GCP ...
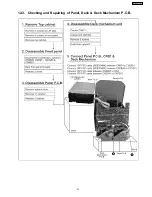
Page 41: ...12 3 Checking and Repairing of Panel Deck Deck Mechanism P C B 41 SA AK240GCP ...
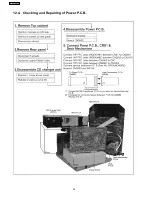
Page 42: ...12 4 Checking and Repairing of Power P C B 42 SA AK240GCP ...
Page 47: ...47 SA AK240GCP ...
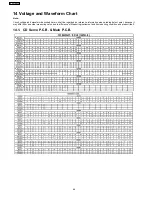
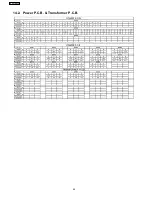
Page 48: ...14 2 Power P C B Transformer P C B 48 SA AK240GCP ...
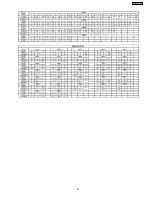
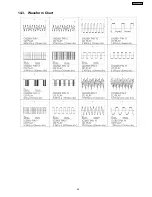
Page 49: ...14 3 Waveform Chart 49 SA AK240GCP ...
Page 50: ...50 SA AK240GCP ...
Page 52: ...52 SA AK240GCP ...
Page 58: ...58 SA AK240GCP ...
Page 60: ...SA AK240GCP 60 ...
Page 62: ...SA AK240GCP 62 ...
Page 68: ...SA AK240GCP 68 ...
Page 70: ...SA AK240GCP 70 ...
Page 74: ...SA AK240GCP 74 ...
Page 82: ...SA AK240GCP 82 ...
Page 87: ...21 Exploded Views 21 1 Cabinet Parts Location SA AK240GCP 87 ...
Page 88: ...SA AK240GCP 88 ...
Page 89: ...21 2 Deck Mechanism Parts Location RAA4502 S SA AK240GCP 89 ...
Page 90: ...21 3 Packaging SA AK240GCP 90 ...

