E
NGLISH - 39
Settings
LENS CONTROL
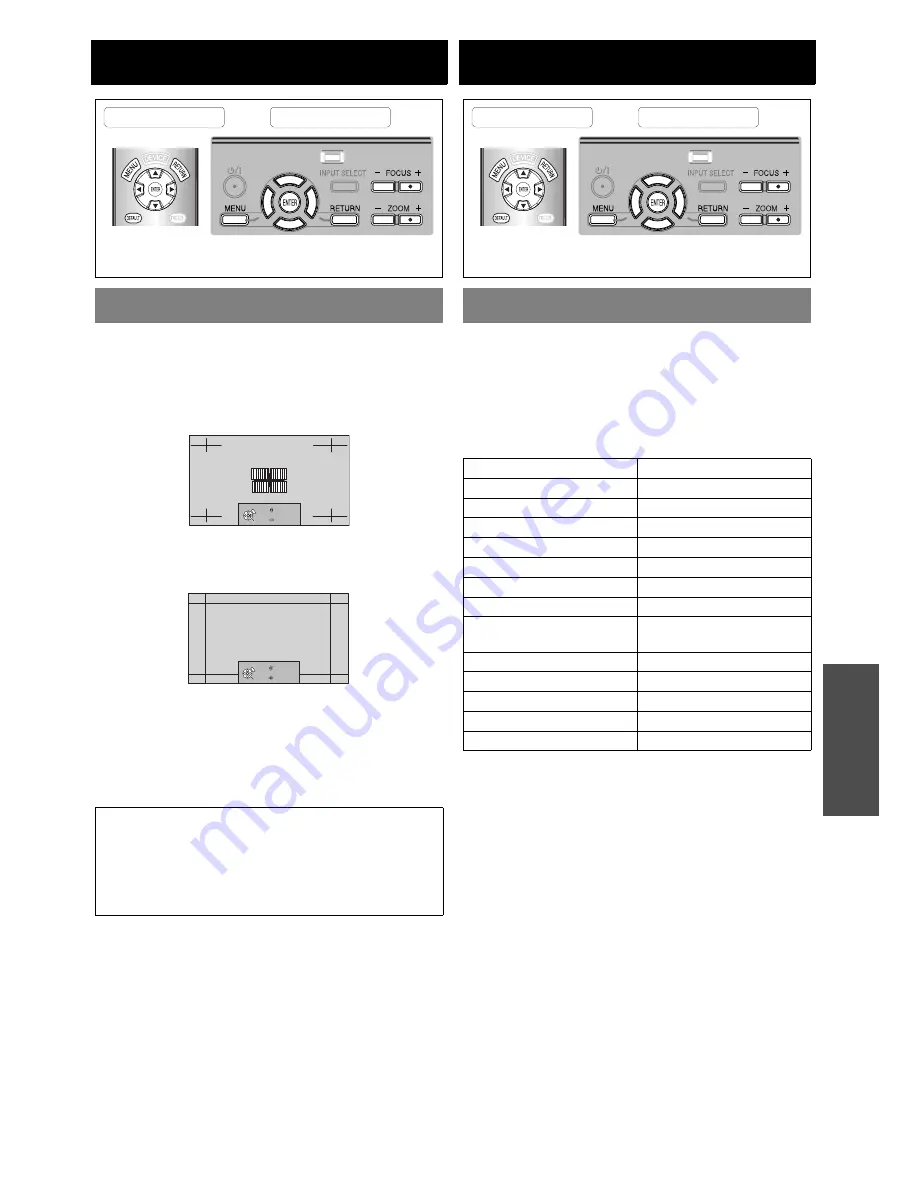
You can use the 2 different test patterns to adjust the
focus and zoom of the image. See “Lens shift and
positioning” on page 16.
1. Press
ENTER
to display test pattern 1.
Press
F
G
to adjust the focus and
I
H
to adjust
the zoom.
2. Press
ENTER
to display test pattern 2.
Press
F
G
to adjust the focus and
I
H
to adjust
the zoom.
3. Press
ENTER
to display the projected image.
You can confirm the adjustment is fit to the projected
image.
4. Press
MENU
or
RETURN
to return to the previous
menu, or press repeatedly to escape the menu
mode.
ZOOM/FOCUS
NOTE:
• When the projector and/or the screen is tilted, adjust
the focus at the centre of the image. The upper and
lower edge might be out of focus.
• When the image is distorted in keystone, adjust the
KEYSTONE
in
POSITION
menu.
Remote control
Control panel
See “Navigating through the MENU” on page 30.
See “Main menu and sub-menu” on page 28.
RETURN
FOCUS
ZOOM
ENTER
RETURN
FOCUS
ZOOM
ENTER
FUNCTION BUTTON
You can assign certain menu options to the 3 function
buttons for instant operation.
1. Select the required button from
BUTTON1
,
BUTTON2
or
BUTTON3
and press the
ENTER
button.
2. Press
F
G
I
H
to select the required menu
options and press the
ENTER
button.
Q
BLANK function
You can stop the projection temporary for electrical
power save. Press any button except the
LIGHT
and learning remote control buttons.
BUTTON1/2/3
HDMI 1 IN
NORMAL
HDMI 2 IN
DYNAMIC
HDMI 3 IN
COLOUR1
COMPUTER IN
COLOUR2
COMPONENT 1 IN
CINEMA1
COMPONENT 2 IN
CINEMA2
S-VIDEO IN
CINEMA3
VIDEO IN
SPLIT ADJUST
BLANK
WAVEFORM AUTO
ADJUST
AUTO SETUP
MEMORY LOAD
CONTRAST
BRIGHTNESS
CONTRAST R
BRIGHTNESS R
CONTRAST G
BRIGHTNESS G
CONTRAST B
BRIGHTNESS B
Remote control
Control panel
See “Navigating through the MENU” on page 30.
See “Main menu and sub-menu” on page 28.


