


SETUP-menu
Video
VCR
DVD
DVD
TV
VCR
SETUP
ENTER
RETURN
TAB
SELECT
TV Aspect
AV1 Output
Still Mode
NTSC Disc Output
4:3 Pan&Scan
Video
Automatic
PAL 60
Video
AV1 Output:
Please check which setting is supported by your TV set.
Please refer to the operating instructions of your TV set.
Standard picture quality
Set RGB for best picture quality at DVD playback.
Video:
RGB:
NTSC Disc Output:
To play a NTSC disc, select a TV standard (NTSC/PAL60) that matches the
function of your TV set.
Please refer to the operating instructions of your TV set.
Still Mode:
Every picture frame is made up of two fields which are output to the screen one
after the other.
The unit automatically selects the optically better type of image.
Poorer quality than a frame-based image; however, the image is less fuzzy.
Both fields of a picture alternate on the screen. Although the image may be
somewhat fuzzy, its quality is better than that of a field-based still image.
Automatic:
Field:
Frame:
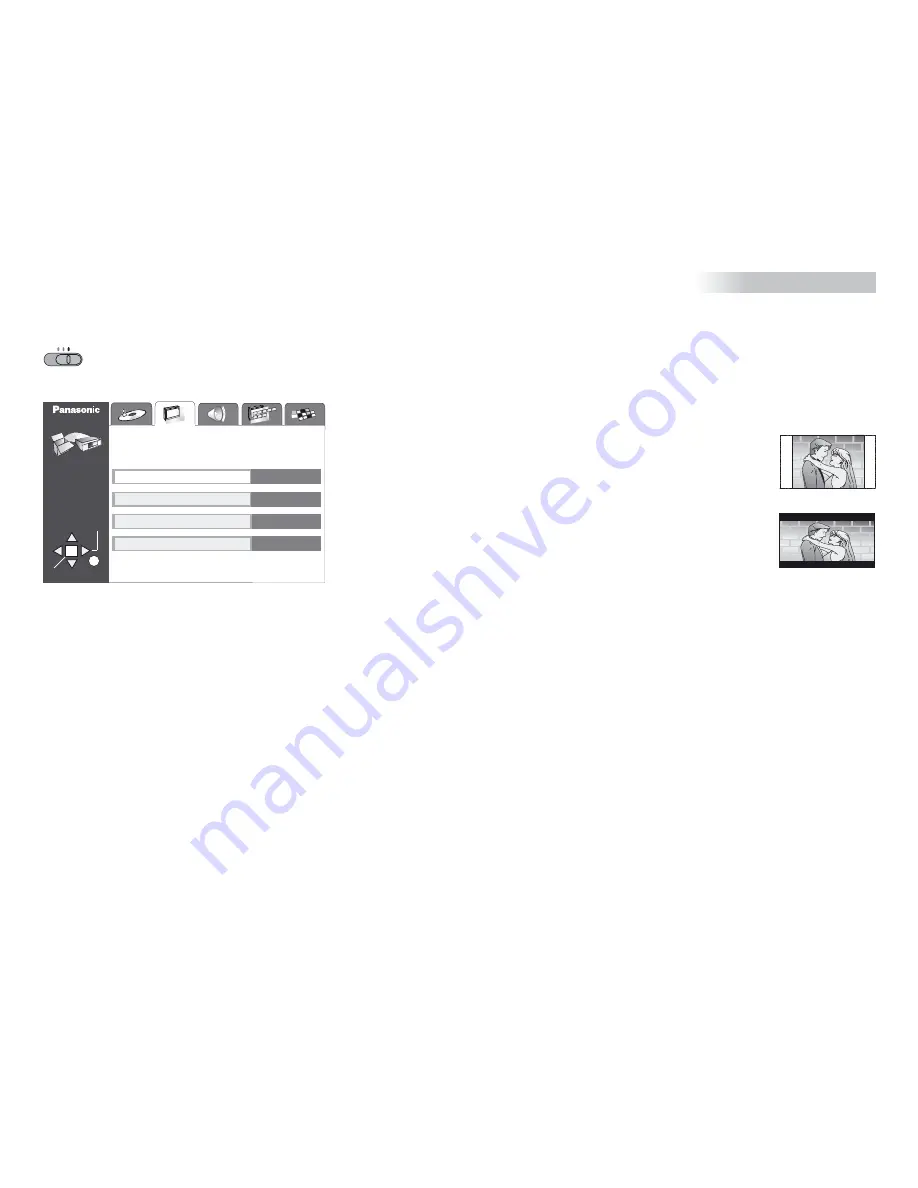
TV Aspect :
The format of TV screens is either 4:3 (standard) or 16:9 (wide-screen).
Choose the 16:9 format if your player is attached to a wide-screen TV set.
If it is attached to a standard TV screen you can choose either 4:3 Pan&Scan
or 4:3 Letterbox (see illustration):
Pan&Scan:
Automatically crops a 16:9 picture and turns it into an optimum 4:3
picture producing neither black bars nor distortions.
This format is not supported by all DVDs.
D
Letterbox:
Black bars will appear at the top and bottom edge of the screen to
allow the reproduction of wide-screen video material on a standard
TV screen.
43


