2. Getting Started/Basic Operations
58
You can add a maximum of 15 preferred settings to the Quick Menu.
1
Press [Q.MENU] to display the Quick Menu.
2
Press
4
to select [
] and then press [MENU/SET].
3
Press
3
/
4
/
2
/
1
to select the menu item in the top
row and then press [MENU/SET].
4
Press
2
/
1
to select the empty space in the bottom
row and then press [MENU/SET].
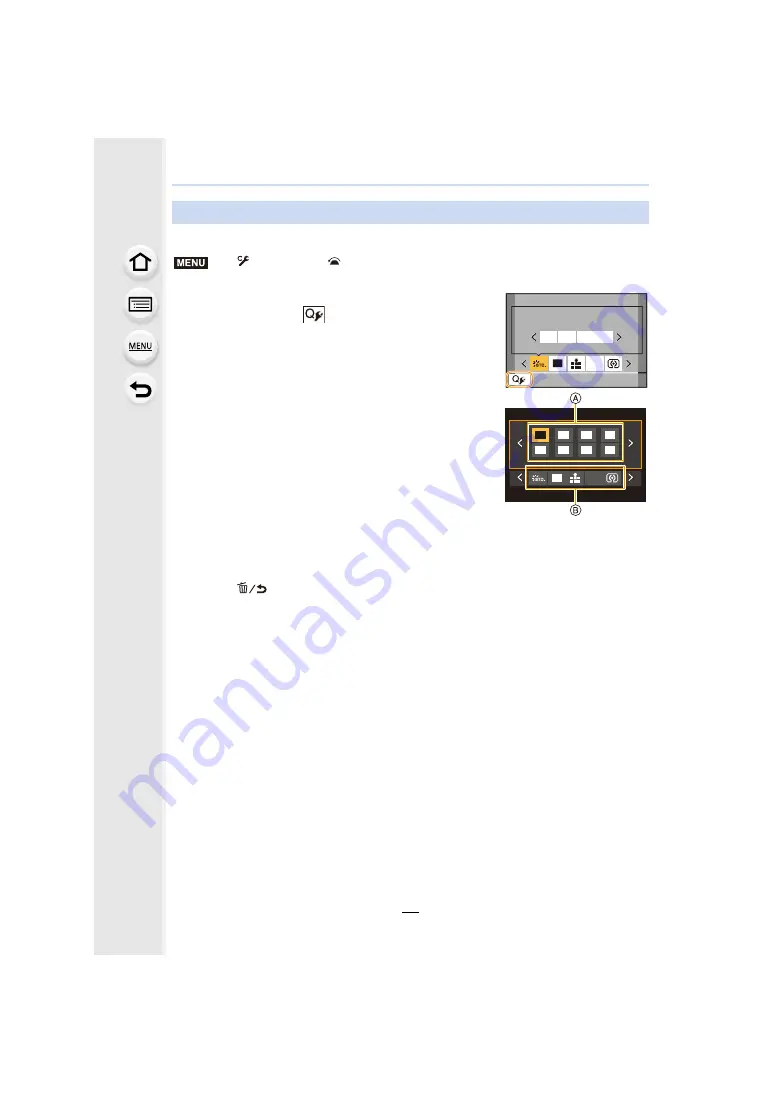
A
Items that can be set
B
Set items
• You can also set the menu item by dragging it from the top
row to the bottom row.
• If there is no empty space in the bottom row, you can
replace an existing item with a new select item by selecting the existing item.
• To cancel the setting, move to the bottom row by pressing
4
and select an item to cancel,
and then press [MENU/SET].
5
Press [
].
• It will return to screen of step
2
.
Press [MENU/SET] to switch to the recording screen.
Customising the Quick Menu settings
>
[Custom]
>
[Operation]
>
[Q.MENU]
>
[CUSTOM]
MENU
L
4:3
AFS
1
234
L
4:3
AFS
1
2
3456