


11
12
4. Setting up the handset
Ô
Starting up for the second time
1
Press and hold
{
}
}
for 2 seconds to turn on the handset.
L�
The handset starts searching for available networks. If any networks
you normally use are already in your preferred networks list, the
handset automatically connects to one of the networks in the list.
2
After a network connection is complete, select “
Sign in to Skype
”.
i
{
Select
}
L�
If the handset is set to “
Auto sign in
” and you did not sign out
the previous time, the Idle screen appears instead of the “
Sign in
”
screen and steps 3 and 4 are skipped.
3
Enter your Skype name.
i
{
OK
}
i
Enter your password.
i
{
OK
}
4
Press
{
Yes
}
or
{
No
}
to decide whether to sign in automatically from the
next time on.
L�
The Idle screen appears.
4-C Setting the time and date
Set the correct time and date before you start using the handset.
L�
Changing “
Time zone
” and “
Daylight saving
” sets the displayed
time forward or backward. When you set the time and date for the first
time, set the time after all the other time and date settings.
5-A Main menu
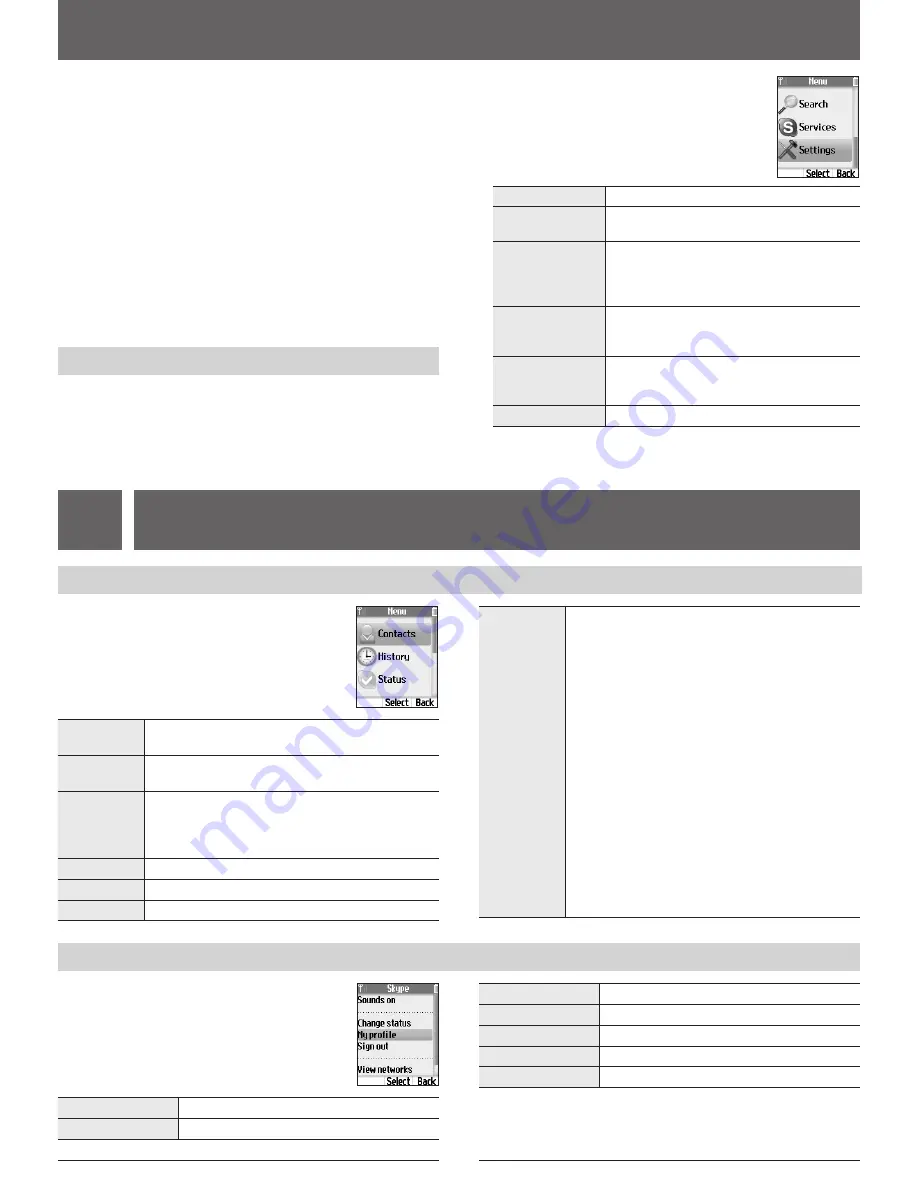
Skype’s Main menu provides 7 menus as shown below.
1
{
Menu
}
(middle soft key)
2
Select the desired menu.
i
{
Select
}
Contacts
*
1
View a list of Skype and SkypeOut™ contacts with their
current Skype status.
History
*
1
View history of missed calls, incoming calls, outgoing
calls, Voicemails and authorization requests.
Status
*
1
Define your personal Skype settings.
L�
Change status
: Change your Skype online status.
L�
My profile
: Change your profile details.
L�
Sign out
: Sign out of Skype.
Add contact
*
1
Add Skype and SkypeOut contacts to your contact list.
Search
*
1
Search for Skype contacts over the Internet.
Services
*
1
View Skype credit, SkypeIn™ and Voicemail information.
Settings
Configure handset settings.
L�
Network
: Search for networks, manage preferred
networks list, and set auto-connection to open networks.
L�
General
: Change your password*
1
, set auto sign-in*
1
,
update software, and reset handset settings.
L�
Call divert
*
1
: Set call forwarding, Voicemail and
welcome message.
L�
Privacy
*
1
: Restrict incoming calls to those you specify.
L�
Tones
: Set the ringer type, tone, volume, notification
tone, Keypad tone and out of service tone.
L�
Time and Date
: Set the time zone, daylight saving,
time, time format, date and date format.
L�
Blocked users
*
1
: View blocked users list and
unblock users you desire.
L�
Phone settings
: Register the handset to the base
unit and adjust the brightness of the handset display.
L�
Information
: View handset information such as
product ID, software/firmware versions and MAC address.
L�
Advanced
: Set the notification for software update and
set network proxy.
*1 Available only when you are signed in to Skype.
5
Menus
1
{
Menu
}
(middle soft key)
2
“
Settings
”
i
{
Select
}
3
“
Time and Date
”
i
{
Select
}
4
Select the desired setting.
Time zone
Select the desired item.
i
{
Select
}
Daylight saving
Select “
Standard
” or “
Daylight saving
”.
i
{
Select
}
Time
Enter the current hour and minute (24-hour
clock/12-hour clock format) by selecting 2 digits
for each. For 12-hour clock, press
{*}
to select
“
AM
” or “
PM
”.
i
{
OK
}
Time format
Select “
24 hour clock
” or “
12 hour clock
”.
i
{
Select
}
The default is set to “
12 hour clock
”.
Date
Enter the current month, day and year by
selecting 2 digits for month and day, and 4 digits
for year.
i
{
OK
}
Date format
Select the desired format.
i
{
Select
}
Note:
L�
If you make a mistake when entering the time and date, press
{
<
}
or
{
>
}
to move the cursor, then make the correction.
5-B Idle mode option screen
1
{
Options
}
2
Select the desired menu.
i
{
Select
}
L�
Functions available in the menu depend on whether
you are signed in to Skype.
Silent
*
1
Set the silent mode to on.
Sounds on
*
1
Set the silent mode to off.
Change status
*
2
*
3
Change your Skype online status.
My profile
*
2
Change your Skype profile details.
Sign out
*
2
Sign out of Skype.
View networks
View a list of networks found within range.
Network details
View network connection information.
*1 Either is displayed according to the current silent mode setting.
*2 Available only when you are signed in to Skype.
*3 You can also access to the “
Change status
” menu by pressing
{^}
while in the Idle screen.