Settings
10
8
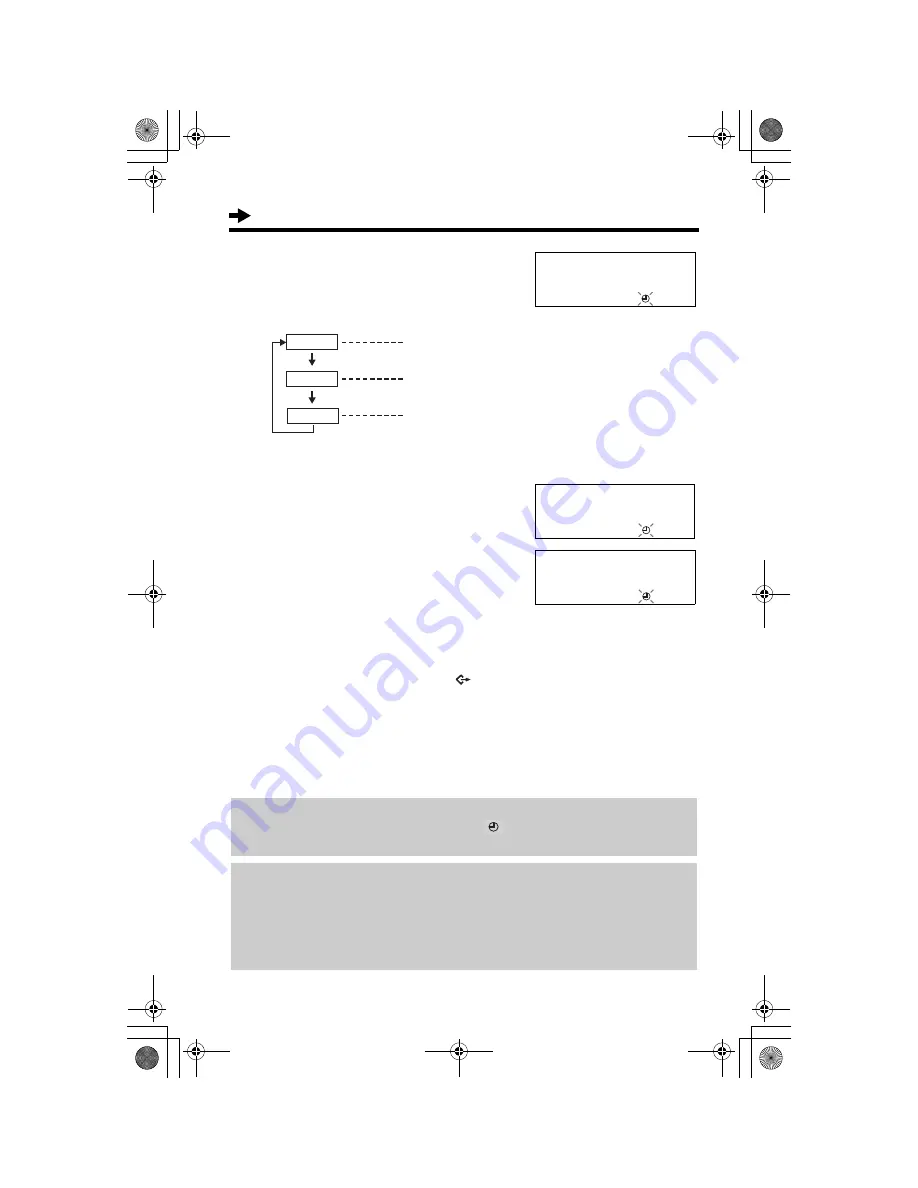
Press
[#]
to select “AM”, “PM” or 24-hour
clock.
(Example: You select “PM”.)
• Each time you press
[#]
, the selection will
change on the display.
9
Press
[OK]
(
Next
key).
10
Enter the current day and month using
a 4-digit number.
(Example: To set Dec. 27, enter “2712”.)
11
Press
[OK]
(
Save
key).
• A long beep sounds.
• The clock starts working.
• The display will return to step 2. To exit
the programming mode, press
[
]
or
wait for 60 seconds.
• You can go back to the previous screen by pressing
[
3
]
, when setting the time
and date (steps 4 through 10).
• If 3 beeps sound when entering the time and date, the time and date entered are
not correct. Enter the correct time and date.
• If the selected LCD language is Dutch (p. 11), the day and month will display as
“day/month”.
If the batteries installed in the unit expired, the time and date will be shown as
“
12:00AM 31.12
” or “
0:00 31.12
”, and “
” will flash. Replace the batteries
then adjust the time and date.
For Caller ID service users (p. 18)
If a time display service is available with the Caller ID service:
• The Caller ID information will re-set the clock after the ring if the adjusted time
and/or date is incorrect and when the Time Adjustment is set to ON (p. 14). If
the time/date has not previously been set, the Caller ID information will not
adjust the clock.
#=AM/PM/24H
PM
34
[OK]=Next
Option
Display
PM
AM
AM
PM
24H
24-Hour clock
Enter day.month
31.12
3
[OK]=Save
Enter day.month
27.12
3
[OK]=Save
TS600EX.book Page 10 Wednesday, April 5, 2006 12:25 PM


