76
Base Unit Settings
Call Restriction
You can restrict selected cordless handset(s) or the base unit from dialling selected
phone numbers. You can assign up to 6 call restriction numbers (up to 8 digits). If you
dial a restricted number, the call does not connect and the restricted number flashes.
NOTE: When you put a first digit on step 9, it must overwrite the current displayed
numbers. We recommend you to write down the restricted phone number
you entered.
Follow steps
1
to
4
on
Call Options
(p.74), then:
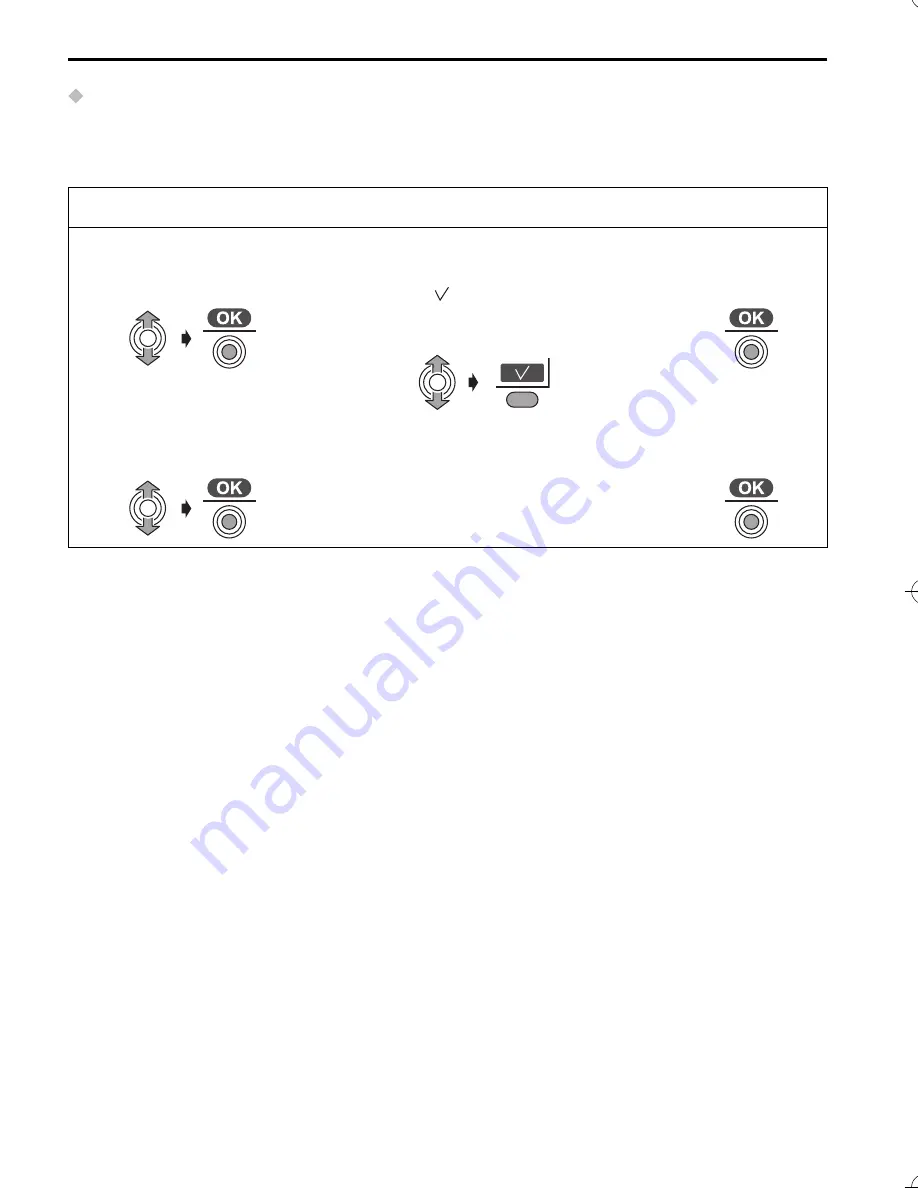
5
Select “
Call
Restricted
”.
6
Search and press
RIGHT
SOFT KEY
to attach (or
cancel) “ ” to the desired
Cordless Handset(s) or Base
Unit to restrict.
7
Press
JOYSTICK
.
8
Select the restricted
Number item (1-6).
9
Enter the restricted phone
number (up to 8 digits).
10
Press
JOYSTICK
.
535E_E_04.fm Page 76 Thursday, August 7, 2003 1:33 PM
Summary of Contents for KX-TCD535
Page 106: ...106 Character Table Phonebook Character Table x 4 8 9 x ...
Page 111: ......