


51
Cordl
ess Tel
ephone
Handset Settings
Setting the Direct Call ON/OFF
•
If the direct call mode is turned off, “
” will disappear.
•
If you did not set the Direct Call Number and select “
On
” in step 5, “
<Enter Phone
No>
” will be displayed. Enter the number, then press
twice.
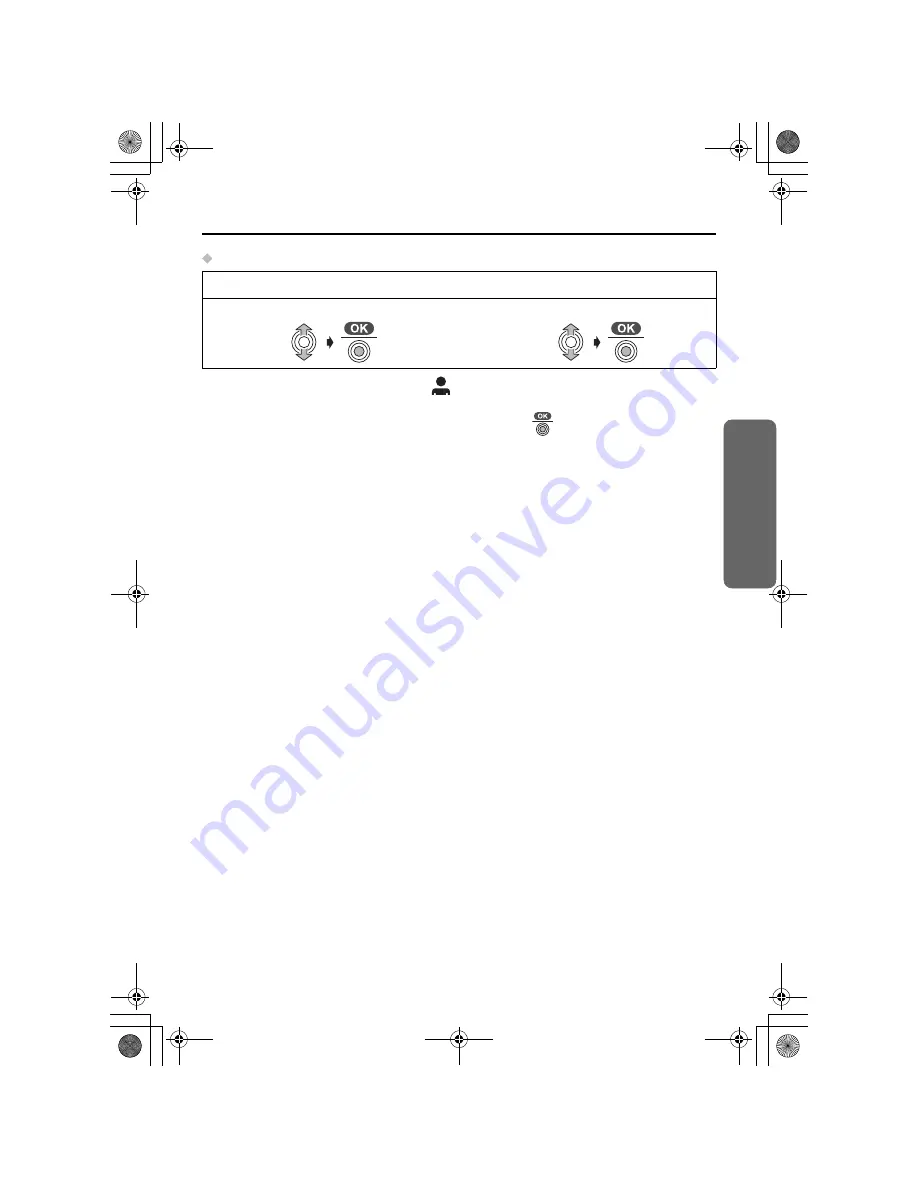
Follow steps
1
to
3
on the previous page, then:
4
Select “
Direct On/Off
”.
5
Select “
On
” or “
Off
”.
515NL_e_03.fm Page 51 Wednesday, July 23, 2003 11:15 AM


