- 107 -
≥
If there is little or no remaining capacity in the SD card, a confirmation message asking to
copy after deleting all data on the SD card is displayed. Be aware that deleted data cannot
be restored.
≥
Refer to page 108 for approximate time for copying.
1
Change the mode to
.
≥
Use a sufficiently charged battery or the AC adaptor.
2
Select the menu.
≥
When there are relay-recorded scenes in the built-in memory, a message appears on the
screen. Touch [YES] and copy after combining relay-recorded scenes to the SD card.
(
l
95)
3
Touch desired items following the screen display.
≥
It will return to the previous step by touching
.
≥
(When [SELECT SCENES] is selected)
When touched, the scene/still picture is selected and the
indication appears on the
thumbnail. Touch the scene/still picture again to cancel the operation.
≥
(When [SELECT DATE] is selected)
When touched, the date is selected and surrounded by red. Touch the date again to cancel
the operation.
≥
Up to 99 scenes/still pictures or 99 dates can be set in succession.
≥
If 2 or more SD cards are necessary to copy, change the card following the instructions on
the screen.
4
Touch [EXIT] when the copy complete message is displayed.
≥
The thumbnail view of the copy destination is indicated.
When you stop copying halfway
Touch [CANCEL] while copying.
Copying
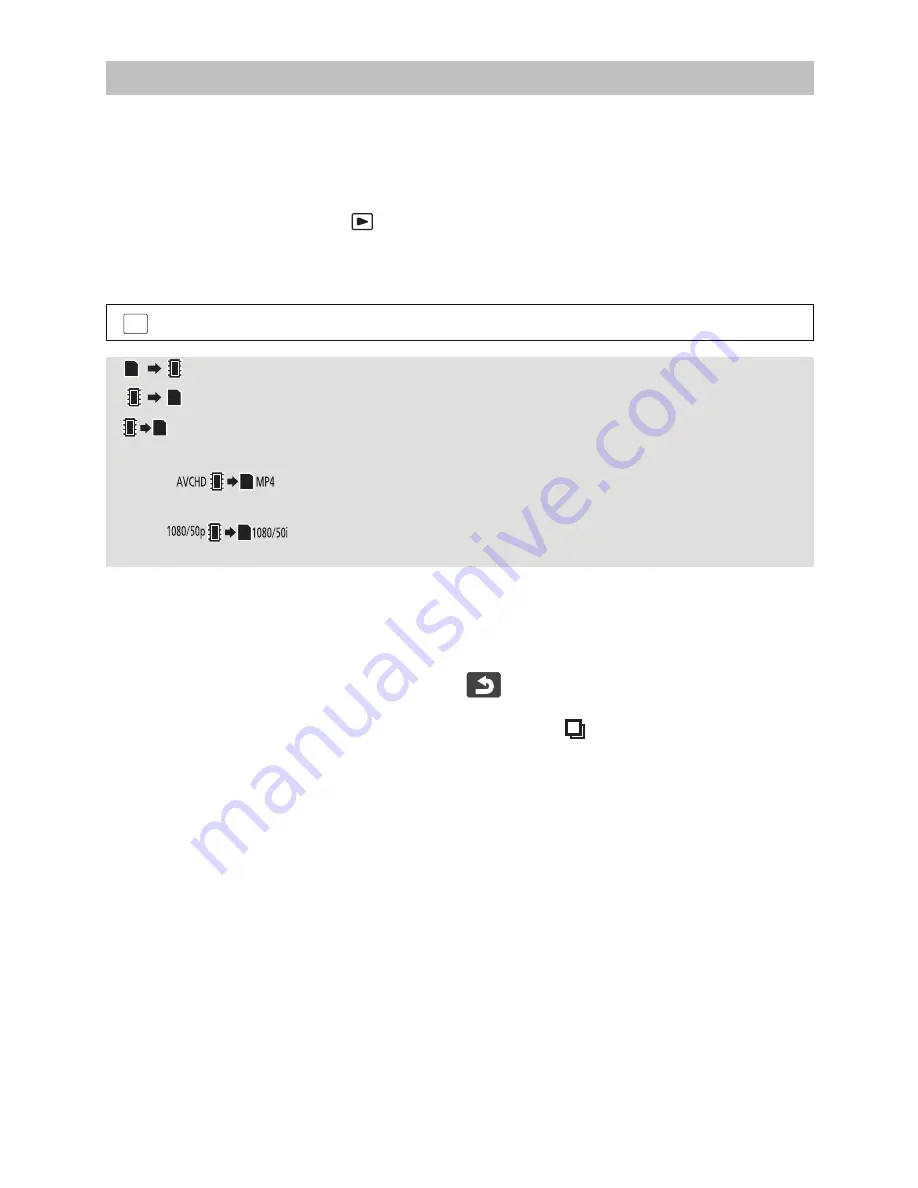
: [COPY]
[
]
When copying from the SD card to the built-in memory
[
]
When copying from the built-in memory to the SD card
[
CONVERT FORMAT]
This will convert the recording format and copy from the
built-in memory to the SD card.
[
]
This will convert the scene recorded in AVCHD on the built-
in memory to MP4 (640
k
360/25p) and copy to the SD card.
[
]
This will convert the scene recorded in 1080/50p on the
built-in memory to 1080/50i and copy to the SD card.
MENU


