– 15 –
■
16-screen index style
When the projector is set to “16-screen index style,” connect up to 16 computers to one projector, and
simultaneously display the screens for the 16 computers .
1 .
Connect the projector and computer (See page 7) in the search list screen or registered tree screen and
open the launcher screen (See page 13).
2 .
Select [MULTI-LIVE] from the [NETWORK] menu of the projector, press the <ENTER> button, and set the
projection screen to “16-screen index style”.
(See page 14)
3 .
Click [Live] button on the launcher.
The computer images are projected on the empty small screens on the 16-screen display .
The projector determines the display position .
■
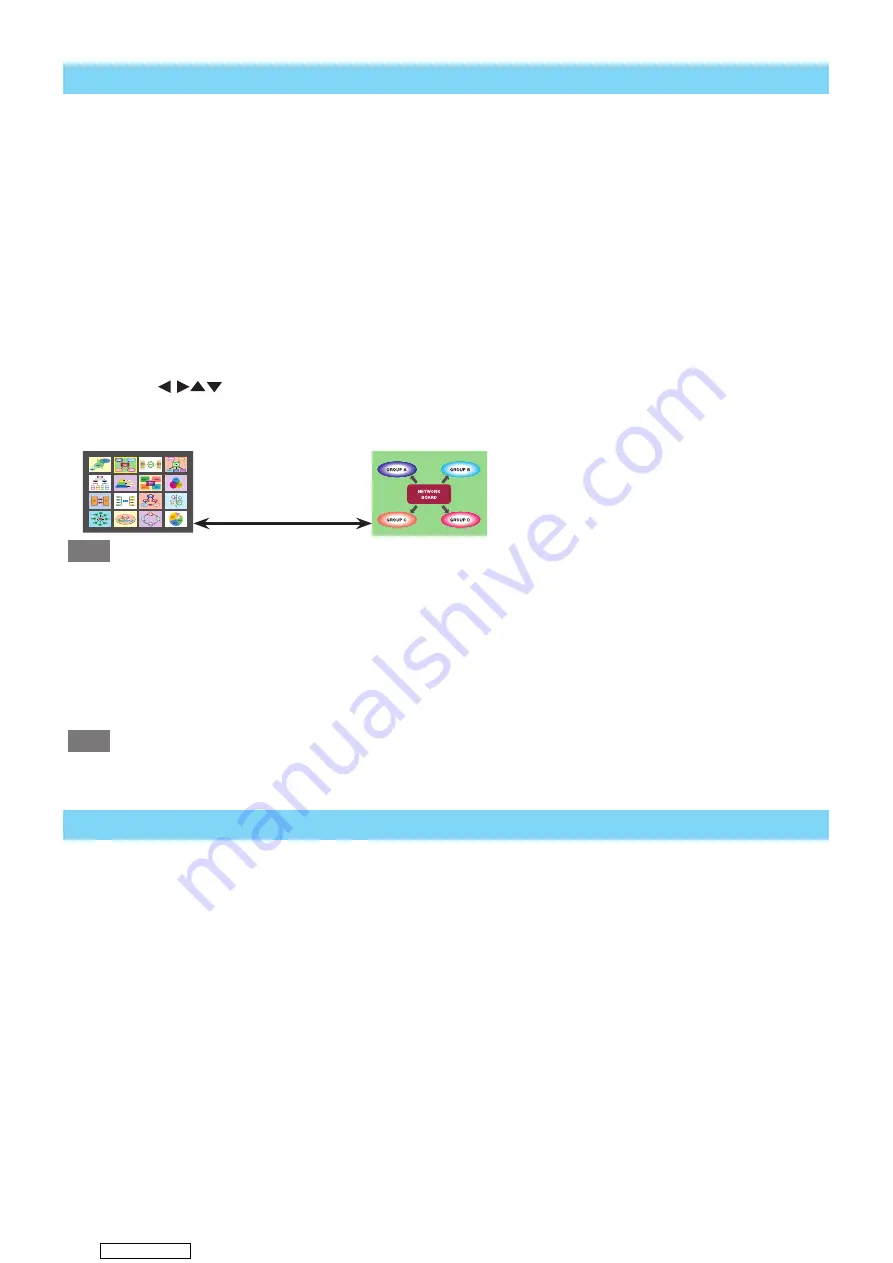
Enlarged display
• Use the <
> buttons on the remote control to select (move the yellow box to) the image to be enlarged
and press <ENTER> to expand that image to fill the display.
• Press <ENTER> again to return to the 16-screen index style.
Toggle between
these with the
<ENTER> button.
Note
• If a connection error occurs during projection, the message [“Live Mode” is deactivated] will appear. Check the
communication environment, then click the [Live] button again on the launcher.
■
Quitting 16-screen index style
Click the [Stop] button on the launcher to quit projection, select [MULTI-LIVE] from the projector [NETWORK]
menu, press the <ENTER> button and set the 4-screen multi style.
Note
• 16-screen index style is supported with software version 2.0.0.0 and later.
■
Setting the sender name
Clicking the [Configuration] button in the Select Access Port screen displays the [User Setting] screen.
• You can configure text up to eight alphanumeric characters long.
• The configured text appears at the bottom of each small screen of the 16-screen index style.
Downloaded from


