background image

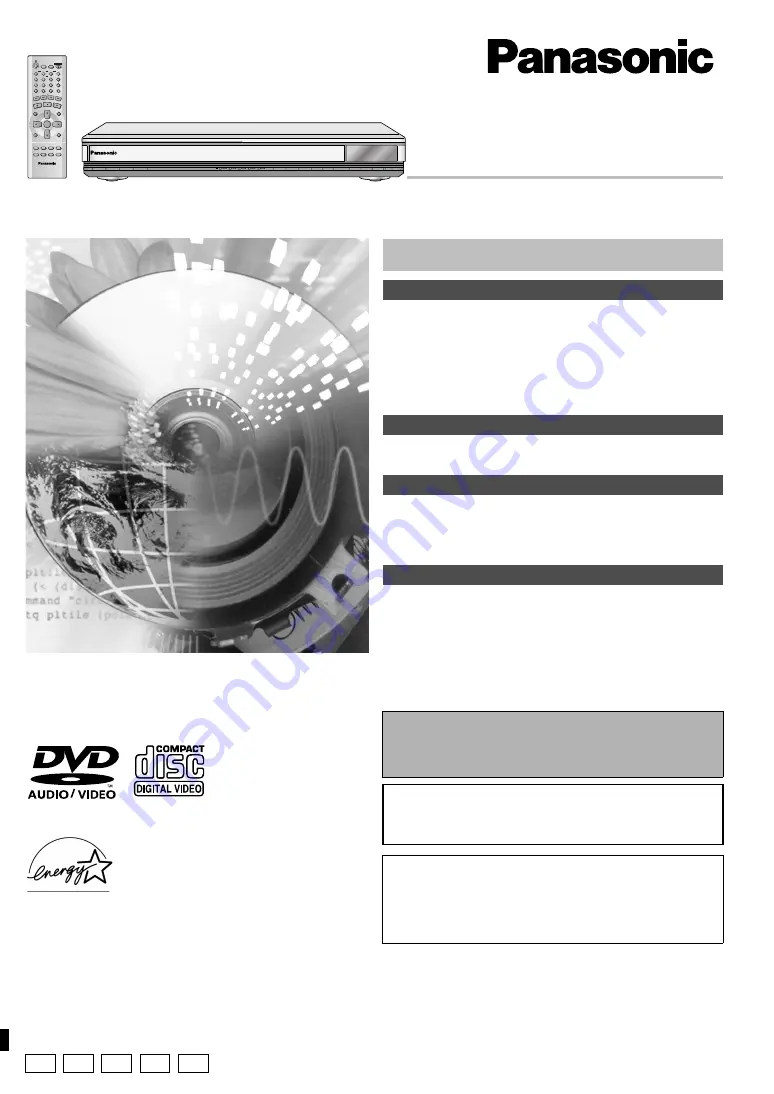
The illustration shows the unit for U.S.A. and Canada.

DVD/CD PLAYER

Operating Instructions

Model No. 

DVD-F65/DVD-F61

PRELIMINARY

1

2

3

4

5

6

7

8

9

0

10

SLEEP

DISC

DISC1

DISC2

DISC3

SETUP

OPEN/CLOSE

SEQUENTIAL

FL SELECT

GROUP

DIRECT NAVIGATOR

TOP

MENU  

DISPLAY

SUBTITLE

PLAY MODE ZOOM

POSITION
MEMORY

DOUBLE

RE-MASTER

AUDIO ANGLE/PAGE QUICK REPLAY

RETURN

MENU

ENTER

PLAY LIST

CANCEL

DISC4

DISC5

SKIP

SLOW/SEARCH

STOP

PLAY

PAUSE

POWER 

Í

 /I

CD SEQUENTIAL

DISC

DOUBLE RE-MASTER

;

1

:

/

6

5

/

9

DISC EXCHANGE

DISC SKIP

<

OPEN/CLOSE

1

2

3

4

5

®

Dear customer

Thank you for purchasing this product. For optimum performance and 
safety, please read these instructions carefully before connecting, 
operating or adjusting this product. Please keep this manual for future 
reference.

[For\U.S.A.]

IMPORTANT SAFETY INSTRUCTIONS . . . . . . . . . . . . . . . . .  3
Control reference guide . . . . . . . . . . . . . . . . . . . . . . . . . . . . .  3
Accessories. . . . . . . . . . . . . . . . . . . . . . . . . . . . . . . . . . . . . . .  4
Connection  . . . . . . . . . . . . . . . . . . . . . . . . . . . . . . . . . . . . . . .  4
Disc information . . . . . . . . . . . . . . . . . . . . . . . . . . . . . . . . . . .  6
The remote control . . . . . . . . . . . . . . . . . . . . . . . . . . . . . . . . .  7
Quick setup . . . . . . . . . . . . . . . . . . . . . . . . . . . . . . . . . . . . . . .  7

Basic play  . . . . . . . . . . . . . . . . . . . . . . . . . . . . . . . . . . . . . . . .  8
Navigation menus. . . . . . . . . . . . . . . . . . . . . . . . . . . . . . . . .  10

Convenient features . . . . . . . . . . . . . . . . . . . . . . . . . . . . . . .  12
Changing play sequence . . . . . . . . . . . . . . . . . . . . . . . . . . .  14
Using On-Screen Menu Icons . . . . . . . . . . . . . . . . . . . . . . .  15
Changing settings  . . . . . . . . . . . . . . . . . . . . . . . . . . . . . . . .  18

Troubleshooting guide. . . . . . . . . . . . . . . . . . . . . . . . . . . . .  20
Maintenance  . . . . . . . . . . . . . . . . . . . . . . . . . . . . . . . . . . . . .  21
Limited Warranty (ONLY FOR U.S.A.). . . . . . . . . . . . . . . . .  22
Product Service  . . . . . . . . . . . . . . . . . . . . . . . . . . . . . . . . . .  22
Guía de referencia rápida en español. . . . . . . . . . . . . . . . .  23

(Spanish Quick Reference)

Glossary  . . . . . . . . . . . . . . . . . . . . . . . . . . . . . . . . . Back cover
Specifications . . . . . . . . . . . . . . . . . . . . . . . . . . . . . Back cover

The warranty for the U.S.A. is on page 22.

En la página 23 hay una guía de referencia rápida en 
español.

RQT6726-P

As an 

E

NERGY 

S

TAR   Partner, 

Panasonic has determined that
this product meets the 

E

NERGY 

S

TAR  

guidelines for energy efficiency.

®

®

Table of contents

Getting started

Basic operations

Advanced operations

Reference

These operating instructions are applicable to models DVD-F65 
and DVD-F61 for a variety of regions.
Unless otherwise indicated, illustrations in these operating 
instructions are of the unit for U.S.A. and Canada.

Region numbers

Are allocated to DVD players and software according to where they 
are sold. See page 6 for the region number for your unit.

The model number and serial number of this product can be found 
on either the back or the bottom of the unit. Please note them in the 
space provided below and keep for future reference.

MODEL NUMBER ______________________________________

SERIAL NUMBER ______________________________________

P

PC UP

GN

GCS

Summary of Contents for DVDF61P

Page 1: ...cons 15 Changing settings 18 Troubleshooting guide 20 Maintenance 21 Limited Warranty ONLY FOR U S A 22 Product Service 22 Guía de referencia rápida en español 23 Spanish Quick Reference Glossary Back cover Specifications Back cover The warranty for the U S A is on page 22 En la página 23 hay una guía de referencia rápida en español RQT6726 P As an ENERGY STAR Partner Panasonic has determined that...

Page 2: ...quipment has been tested and found to comply with the limits for a Class B digital device pursuant to Part 15 of the FCC Rules These limits are designed to provide reasonable protection against harmful interference in a residential installation This equipment generates uses and can radiate radio frequency energy and if not installed and used in accordance with the instructions may cause harmful in...

Page 3: ...me as those on the remote control The actual marking of the standby on switch depends on the area Illustrations in these operating instructions use the markings shown in the above illustration Page 1 Standby on button Í 7 2 Disc select button DISC Disc buttons DISC 1 DISC 5 9 3 Sequential button SEQUENTIAL 9 4 FL select button FL SELECT 9 5 Group button GROUP 9 6 Cancel button CANCEL 14 7 Skip but...

Page 4: ...AC IN L Y R PR PB R Do not place the unit on amplifiers or equipment that may become hot The heat can damage the unit Television Audio video cable included red white yellow red white yellow Basic connection to a television COMPONENT VIDEO OUT terminal These terminals can be used for either interlace or progressive output page 7 and provide a purer picture than the S VIDEO OUT terminal Connection u...

Page 5: ... 0 6 W Other areas approx 2 8 W To save power when the unit is not to be used for a long time unplug it from the household AC outlet Home Theater Enjoying more powerful sound DIGITAL AUDIO OUT PCM BITSTREAM AUDIO OUT OPTICAL L R A B AUX IN L R DIGITAL AUDIO OUT PCM BITSTREAM AUDIO OUT COMPONENTVIDEO OUT 480P 480I VIDEO OUT SVIDEO OUT OPTICAL AC IN L Y R PR PB DVD IN Digital connection Analog conne...

Page 6: ...dges before use and return them when you are finished making sure that the labels of the disc and cartridge face the same way Some parts of the disc for example where one program ends and another begins may not play smoothly DVD R discs Panasonic DVD R recorded and finalized on a Panasonic DVD video recorder or DVD video camera are played as DVD Video on this unit CD R and CD RW discs This unit ca...

Page 7: ...he settings To return to the previous screen Press RETURN To access this screen again later page 18 Others QUICK SETUP TV Aspect Select 4 3 regular or 16 9 widescreen to suit your television If you have a regular 4 3 television you can also select how video on some discs is shown page 18 Video TV Aspect 4 3 Pan Scan Factory preset Widescreen software is expanded to fill the screen of a 4 3 aspect ...

Page 8: ...AUDIO ANGLE PAGE QUICKREPLAY RETURN MENU ENTER PLAYLIST SKIP SLOW SEARCH PLAY PAUSE STOP DISC1 DISC5 1 2 3 4 MENU QUICK REPLAY POSITION MEMORY 6 5 DISC GROUP TOP MENU SUBTITLE 9 3 4 2 1 ENTER SEQUENTIAL FL SELECT RETURN POWER Í I CD SEQUENTIAL DISC DOUBLE RE MASTER 1 6 5 9 DISC EXCHANGE DISC SKIP OPEN CLOSE 1 2 3 4 5 1 4 2 3 2 4 5 CD SEQUENTIAL DISC SKIP DISC EXCHANGE Numbered buttons Disc indicat...

Page 9: ...g bonus groups Some discs contain bonus groups If a password screen appears after selecting a group enter the password with the numbered buttons Refer also to the disc s jacket RAM DVD A DVD V VCD CD WMA MP3 When the elapsed play time is displayed JPEG Memorize positions on up to five discs to restart play after switching the unit to standby or changing discs During play 1 Press POSITION MEMORY 2 ...

Page 10: ...lls setting in the SETUP menu page 18 Select Stills JPEG or Audio MP3 WMA To use the contents screen to find a track CD CD text only CANCEL 1 2 3 4 5 6 7 8 9 0 10 DISC1 DISC2 DISC3 DISC4 DISC5 SLEEP DISC SETUP OPEN CLOSE SEQUENTIAL FLSELECT GROUP DIRECTNAVIGATOR TOP MENU DISPLAY RETURN MENU ENTER PLAYLIST SKIP SLOW SEARCH STOP PLAY PAUSE TOP MENU MENU PLAY LIST RETURN 9 3 4 2 1 ENTER DIRECT NAVIGA...

Page 11: ...AVIGATOR Titles appear only if you have entered them You cannot change program and disc titles Units for Asia Australia and N Z use the 24 hour system for the time display 2 Press 3 4 to select the program The selected program plays in the background You can select programs with the numbered buttons To select a 2 digit number e g 23 S10 2 3 3 Press ENTER The program being played in the background ...

Page 12: ...ress 3 4 to select OFF or ON Changing the position and brightness of the subtitles 1 While the subtitle icon is on the screen press 2 1 to highlight Subtitle Position or Subtitle Brightness 2 Press 3 4 to adjust Adjust position between 0 and s60 in 2 unit steps For brightness select Auto so the brightness adjusts automatically against the background or a level between 0 and s9 DVD A DVD V During p...

Page 13: ... on the disc WMA MP3 Discs recorded at 44 1 kHz or 48 kHz This feature reproduces the frequencies lost during recording to give you a sound closer to the original During play Press DOUBLE RE MASTER Each time you press the button Press SLEEP to select the setting Each time you press the button OFF cancel l v l AUTO turns the unit off 5 minutes after play finishes l v l 60 min turns the unit off aft...

Page 14: ...LAY Some items will not be played even if you can enter them in the program To select using the cursor buttons Press ENTER and 3 4 to select an item then press ENTER again to register Select ALL to enter all items on the disc or in the title or group Changing the program Press 3 4 to select an item To change an item repeat steps 1 3 To clear an item press CANCEL or select Clear and press ENTER Pre...

Page 15: ... the program play list group track or title or chapter during program and random play Select a position to start play by specifying a time with the numbered buttons and press ENTER Changing the time display VCD CD Press 3 4 to show the elapsed play time remaining time for the track or remaining time for the disc Elapsed play time VCD SVCD only WMA MP3 For display only cannot be changed Audio mode ...

Page 16: ...rk another position 2 1 ENTER To recall a marker 2 1 ENTER To erase a marker 2 1 CANCEL RAM To mark the eleventh point and beyond 1 Press 2 1 to select the marker pin icon 2 Press 3 4 to select 11 20 You can select the next group when the current group is full 3 Press 1 The markers are ordered by time This means that the marker numbers can change when you add and erase markers If places have been ...

Page 17: ...Turn off if it causes distortion Do not use in combination with surround effects on other equipment Double re master page 13 Dialogue enhancer DVD V Dolby Digital DTS 3 channel or over where the dialogue is recorded in the center channel This makes the dialogue in movies easier to hear ON OFF Factory preset This does not work or has less effect with some discs A SP 1 A Speaker Speaker 3 to 4 times...

Page 18: ...Mode Specify the type of picture shown when paused Automatic Field Frame Black Level Control 4 Change the black level of the picture if you connected a television through the COMPONENT VIDEO OUT terminals Lighter When connected through VIDEO OUT or S VIDEO OUT Darker When connected through COMPONENT VIDEO OUT Y PB PR NTSC Disc Output 5 6 Choose PAL 60 or NTSC output when playing NTSC discs page 6 ...

Page 19: ... 3 4 5 6 7 8 9 0 10 DISC1 DISC2 DISC3 DISC4 DISC5 SLEEP DISC SETUP OPEN CLOSE SEQUENTIAL FLSELECT GROUP DIRECTNAVIGATOR TOP MENU DISPLAY SUBTITLE AUDIO ANGLE PAGE QUICKREPLAY RETURN MENU ENTER PLAYLIST SLOW SEARCH STOP PLAY PAUSE CANCEL RETURN SETUP 3 4 2 1 ENTER SKIP Numbered buttons Disc SELECT Audio Subtitle Menus Ratings English English Automatic Level 8 SETUP TAB Entering a password Ratings D...

Page 20: ...ilable 8 No menu play This function depends on software availability No subtitles This function depends on software availability Subtitles are cleared from the television Turn on the subtitles Subtitle position is wrong Adjust the position 12 12 Soundtrack and or subtitle language is not the one selected with the SETUP menus This function depends on software availability Cannot change angle This f...

Page 21: ...hen back to ON Alternatively press POWER Í I to switch the unit to the standby mode disconnect the AC power supply cord and then reconnect it If the service numbers fail to clear note the service number and contact a qualified service person Cannot display group xx picture xx You are trying to display incompatible pictures The progressive out is set to Disable Go to Video in the SETUP menus and se...

Page 22: ...IMITED TO THE PERIOD OF THE LIMITED WARRANTY Some states do not allow the exclusion or limitation of incidental or consequential damages or limitations on how long an implied warranty lasts so the exclusions may not apply to you This warranty gives you specific legal rights and you may also have other rights which vary from state to state If a problem with this product develops during or after the...

Page 23: ...artimento 4 Pulse 1 PLAY Conexión a un televisor Preparación rápida Para disfrutar del vídeo progresivo DIGITAL AUDIO OUT PCM BITSTREAM AUDIO OUT COMPONENTVIDEO OUT 480P 480I VIDEO OUT SVIDEO OUT OPTICAL AC IN L Y R PR PB AUDIO IN R VIDEO IN L Cable de audio vídeo suministrado rojo blanco amarillo Televisor Cable de alimentación de CA suministrado A la toma de CA del hogar rojo blanco amarillo N 4...

Page 24: ...z 1 DVD RAM DVD VR compatible 2 DVD Audio 3 DVD Video 4 DVD R DVD Video compatible 5 CD Audio CD DA 6 Video CD 7 SVCD Conforming to IEC62107 8 CD R CD RW CD DA Video CD formatted discs 9 MP3 WMA Maximum number of tracks and groups recognizable 999 tracks and 99 groups Compatible compression rate MP3 between 32 kbps and 320 kbps WMA between 48 kbps and 192 kbps 10 JPEG Exif Ver 2 1 JPEG Baseline fi...

Reviews: