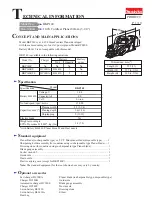


Operating temperature range:
i
5 to
i
35
o
C
Operating humidity range:
5–90 % RH (no condensation)
Discs played:
DVD-RAM (DVD-VR format)
DVD-Video
DVD-Audio
Music CD [CD-DA (CD-TEXT compatible)]
Video CD
CD-R/CD-RW [CD-DA (CD-TEXT compatible),
Video CD, MP3, WMA, JPEG,
HighMAT Level 2 (Audio and Image)]
DVD-R (finalized as DVD-Video)
Signal system:
PAL/PAL60 (NTSC) selectable
[DVD-PS3]
[For\Asia]
PAL/NTSC (PAL60) selectable
LCD screen
[DVD-LS5]
:
5
q
α
-Si, TFT wide-screen LCD
Composite-video output:
Output level:
1 Vp-p (75
≠
)
Output terminal:
Mini-jack
Number of terminals:
1 system
S-video output:
Y output level:
1 Vp-p (75
≠
)
C output level:
0.3 Vp-p (75
≠
)
Output terminal:
Mini-jack
Number of terminals:
1 system
(also used for composite-video output)
Audio output:
Output level:
1.5 Vrms (1 kHz, 0 dB, 10 k
≠
)
Output terminal:
Stereo mini-jack
Number of terminals:
1 system
Audio performance:
(1) Frequency response:
(1)
≥
DVD (linear audio):
4 Hz–22 kHz (48 kHz sampling)
4 Hz–44 kHz (96 kHz sampling)
(1)
≥
DVD Audio:
4 Hz–88 kHz (192 kHz sampling)
(1)
≥
CD audio:
4 Hz–20 kHz
(2) S/N ratio:
(1)
≥
CD audio:
115 dB
(3) Dynamic range:
(1)
≥
DVD (linear audio):
98 dB
(1)
≥
CD audio:
97 dB
(4) Total harmonic distortion:
(1)
≥
CD audio:
0.008 %
39
RQT7074
Reference
38
RQT7074
Reference
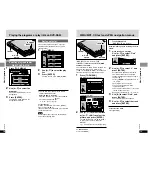
Note
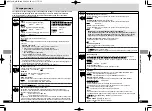
The following do not indicate malfunction.
≥
Sound from the AC adaptor during recharging.
≥
The battery pack warming up when recharging or during use.
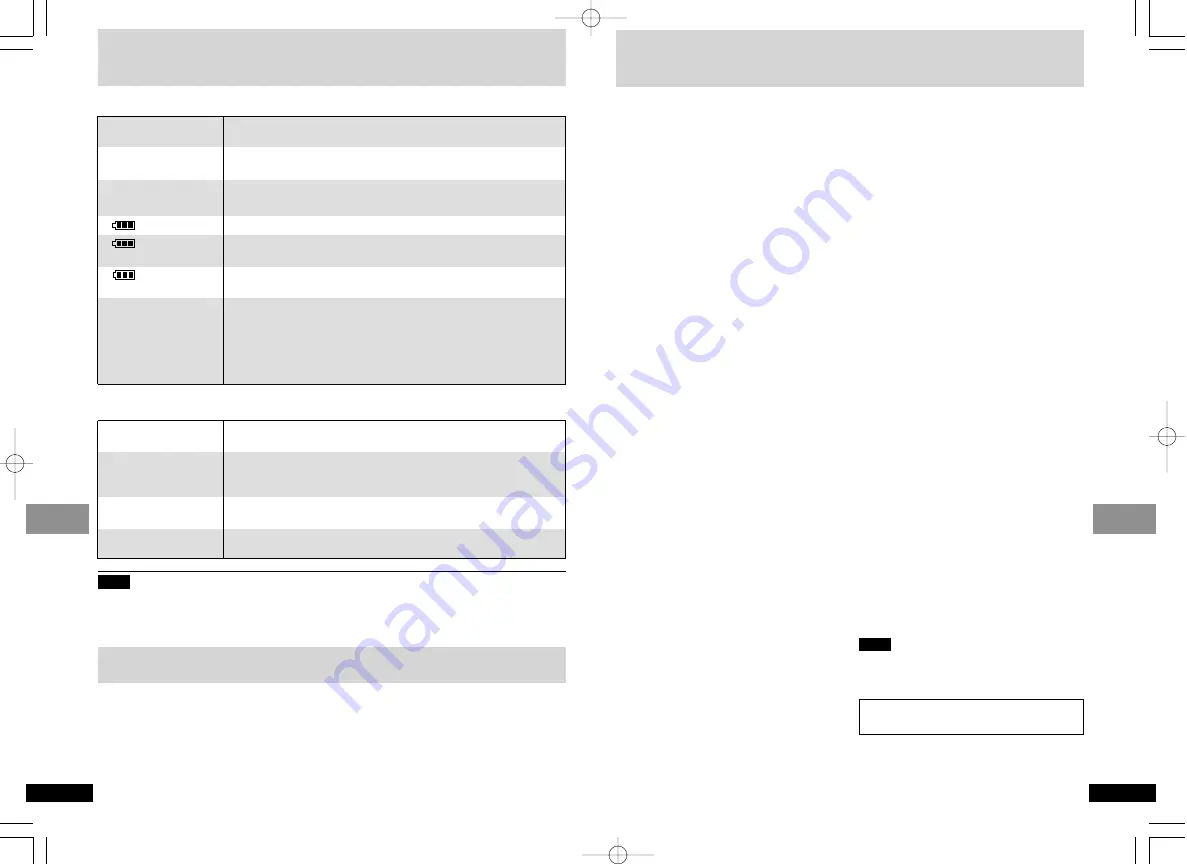
The [
Í
] indicator
flashes rapidly.
[DVD-LS5]
The [
Í
] indicator
flashes slowly.
The [CHG] indicator
flashes rapidly.
The [CHG] indicator
flashes slowly.
Troubleshooting Guide
[
Í
] and [CHG] indicators
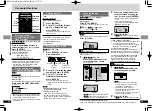
∫
To clean this unit, wipe with a
soft, dry cloth.
≥
[DVD-LS5]
Use eyeglass cleaner to remove
stubborn dirt from the LCD.
≥
Never use alcohol, paint thinner or benzine to
clean this unit.
∫
Maintenance of the lens
≥
Remove dust carefully with an air blower for
camera lenses (optional).
≥
Recommended product:
≥≥
Lens cleaner kit (SZZP1038C)
≥≥
(Available from Panasonic dealers.)
≥
Be careful not to touch the lens with your
fingers.
Maintenance
Specifications
Digital audio output:
Optical digital output:
Mini optical terminal
Number of terminals:
1 system
(also used for audio output)
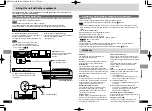
Pickup:
Wave length:
658 nm/790 nm
Laser power:
CLASS 2/CLASS 1
NORSK
Pickup
Bølgelengde:
658 nm/790 nm
Laserstyrke:
Ingen farlig stråling sendes ut
(med sikkerhets-beskyttelse)
KLASSE 2/KLASSE 1
Power supply:
DC 9 V (DC IN terminal)/
DC 7.2 V (Exclusive battery terminal)
Power consumption
(Using included AC adaptor)
:
[DVD-LS5]
12 W (Unit only: 8.5 W)
[DVD-PS3]
6 W (Unit only: 4 W)
Recharging 12 W
AC adaptor:
Power source:
AC 100–240 V, 50/60 Hz
Power consumption:
20 W
DC output:
9 V, 1400 mA
Battery pack
CGR-H603 (lithium ion)
[DVD-LS5]
:
Voltage:
7.2 V
Capacity:
2000 mAh
Dimensions:
[DVD-LS5]
144 (W)
k
140 (D)
k
32.5
§
(H) mm
(excluding protrusions)
§
28.7 mm at lowest point
[DVD-PS3]
144 (W)
k
140 (D)
k
20.2
§
(H) mm
(excluding protrusions)
§
19.2 mm at lowest point
Mass:
[DVD-LS5]
566
g
[DVD-PS3]
310
g
Note
Specifications are subject to change without
notice.
Mass and dimensions are approximate.
Power consumption in standby mode
(using included AC adaptor):
0.9 W
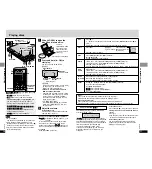
Indicator
≥
Use [
3
,
4
] while the Bar position icon is highlighted to move them
down.
L
≥
Go to the Display menu in the SETUP screen, and select “On” for
“On-Screen Messages”.
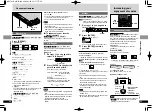
Q
≥
Is the disc dirty ?
9
≥
Has the disc (DVD-R) been finalized ?
8
≥
A problem has occurred with the battery pack. Consult your dealer.
≥
The battery pack has been recharging for 12 hours but has failed to
recharge for some reason. Recharge again.
≥
You are recharging in a location that is too hot or too cold.
Recharge at normal temperature.
≥
Trouble has occurred. The number appearing after H depends on
the problem. Turn the unit off and on again. Alternatively, turn the
unit off, disconnect the power source (AC or battery pack) reconnect
the power and turn the unit on again.
If the service numbers fail to clear, note the service number and
contact a qualified service person.
GUI screens
are cut off.
No On-Screen
messages.
“Check the disc.”
“
ERROR 01”
“
ERROR 02”
“
ERROR 03”
“H
∑∑
”
∑∑
stands for a
number.
≥
The unit has malfunctioned. Consult your dealer.
≥
[DVD-PS3]
Release the hold mode.
@
≥
The unit is on and the LCD is closed or the display mode is set to
“OFF” (no picture). Turn the unit off when you have finished.
≥
There is a problem with the battery pack. Turn the unit on and check
the message indicator. (
➡
above)
≥
Battery pack charge is low. The unit will turn off automatically after a
few minutes.
=
rqt7074-1B̲p22-41.qxd 03.8.28 1:56 PM ページ 38