25
Sequence 2: Details of Record/ Playback
HDD: Record/ HDD: Playback
Sequence 3: Detail of DVD-RAM Format
Record one program on the DVD.
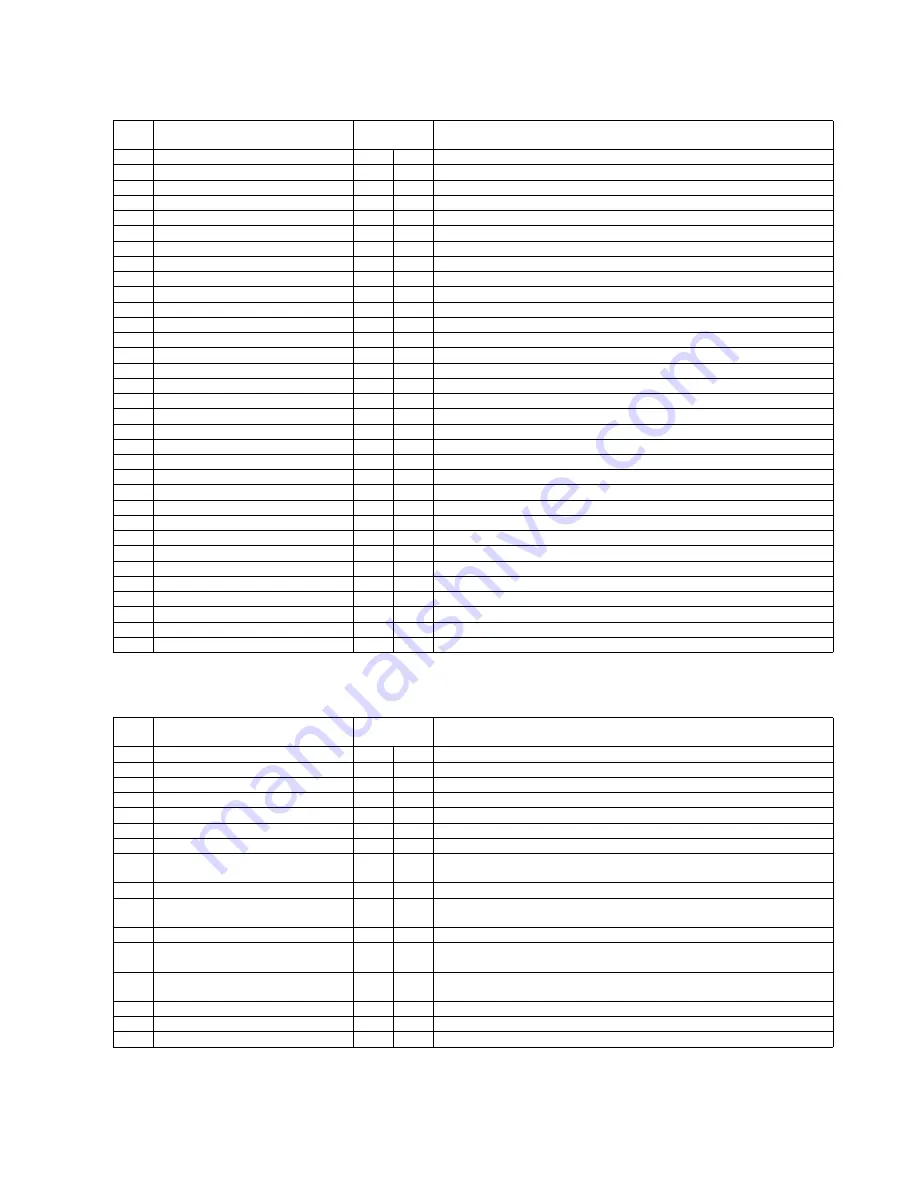
No
Key operation
Execution time
(Second)
Contents
27
Press [PLAY] button
30 Sec.
Playback the program that has been recorded.
28
Press [PICTURE DISPLAY] button
2 Sec.
Simple OSD display.
29
Press [PICTURE DISPLAY] button
2400 Sec.
Simple and detail OSD display.
30
Press [FAST REWIND] button
4 Sec.
Playback by [Fast Rewind 1].
31
Press [FAST REWIND] button
4 Sec.
Playback by [Fast Rewind 2].
32
Press [FAST REWIND] button
4 Sec.
Playback by [Fast Rewind 3].
33
Press [FAST REWIND] button
4 Sec.
Playback by [Fast Rewind 4].
34
Press [FAST REWIND] button
4 Sec.
Playback by [Fast Rewind 5].
35
Press [FAST FORWARD] button
4 Sec.
Playback by [Fast Forward 1].
36
Press [FAST FORWARD] button
4 Sec.
Playback by [Fast Forward 2].
37
Press [FAST FORWARD] button
4 Sec.
Playback by [Fast Forward 3].
38
Press [FAST FORWARD] button
4 Sec.
Playback by [Fast Forward 4].
39
Press [FAST FORWARD] button
4 Sec.
Playback by [Fast Forward 5].
40
Press [PLAY] button
10 Sec.
Playback by [Playback X 1].
41
Press [PAUSE] button
10 Sec.
To pause from playing.
42
Press [FAST FORWARD] button
10 Sec.
Slow playback (Forward) 1.
43
Press [FAST FORWARD] button
10 Sec.
Slow playback (Forward) 2.
44
Press [FAST FORWARD] button
10 Sec.
Slow playback (Forward) 3.
45
Press [FAST FORWARD] button
10 Sec.
Slow playback (Forward) 4.
46
Press [FAST FORWARD] button
10 Sec.
Slow playback (Forward) 5.
47
Press [PLAY] button
1000 Sec.
Playback by [Playback X 1].
48
Press [PAUSE] button
10 Sec.
To pause from playing.
49
Press [FORWARD SKIP] button
10 Sec.
Return the head of program.
50
Press [STOP] button
30 Sec.
Playback to Stop.
51
Press [PLAY NAVIGATOR] button
10 Sec.
Display the play navigation screen.
52
Press [UP CURSOR] button
2 Sec.
Move the cursor to the previous program.
53
Press [DOWN CURSOR] button
2 Sec.
Move the cursor to the next program.
54
Press [RETURN] button
10 Sec.
Close the play navigator.
55
Press [OPEN/CLOSE] button
30 Sec.
Open the tray.
56
Press [OPEN/CLOSE] button
60 Sec.
Close the tray.
57
Press [RETURN] button
10 Sec.
Erase the guide screen.
58
Press [DRIVE SELECT] button
10 Sec.
Switch the drive from HDD to BD drive.
59
Press [RETURN] button
10 Sec.
Erase the guide screen.
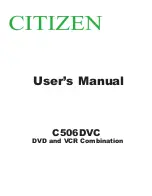
No
Key operation
Execution time
(Second)
Contents
60
Press [FUNCTION MENU] button
10 Sec.
Display the DVD operation screen.
61
Press [UP CURSOR] button
2 Sec.
Move the cursor from [Playback] to [To Others].
62
Press [ENTER] button
5 Sec.
Display the function menu screen (2nd hierarchical).
63
Press [UP CURSOR] button
2 Sec.
Move the cursor from [Diagnosis Code] to [DVD Management].
64
Press [ENTER] button
5 Sec.
Display the DVD Management screen.
65
Press [DOWN CURSOR] button
2 Sec.
Move the cursor from [Disc Name Input] to [DVD-RAM Format].
66
Press [ENTER] button
5 Sec.
Display the recording mode select menu screen.
67
Press [LEFT CURSOR] button
2 Sec.
Move the cursor from [NO] of [AVCREC Mode of Format (1st hierarchical)] to
[YES].
68
Press [ENTER] button
5 Sec.
Move the cursor to [CANCEL] of [AVCREC Mode of Format (2nd hierarchical)].
69
Press [LEFT CURSOR] button
2 Sec.
Move the cursor from [CANCEL] of [AVCREC Mode of Format (2nd hierarchi-
cal)] to [PRACTICE].
70
Press [ENTER] button
120 Sec.
Display the progress picture of [AVCREC Mode of Format].
71
Press [RETURN] button
10 Sec.
Erase the AVCREC Mode of Format picture, then move the [DVD-RAM Format]
of [DVD Management].
72
Press [RETURN] button
10 Sec.
Move the cursor to [DVD Management] of the function menu screen (2nd hierar-
chical).
73
Press [RETURN] button
10 Sec.
Move the cursor to [To Others] of the function menu screen (1st hierarchical).
74
Press [RETURN] button
10 Sec.
Erase the function menu picture, then display the EE screen.
75
Press [DRIVE SELECT] button
10 Sec.
Switch the drive from BD drive to HDD.
Summary of Contents for DMR-BW500EF
Page 5: ...5 2 2 Precaution of Laser Diode ...
Page 13: ...13 4 Specifications ...
Page 14: ...14 ...
Page 15: ...15 ...
Page 16: ...16 5 Location of Controls and Components ...
Page 17: ...17 ...
Page 40: ...40 9 1 2 P C B Positions ...
Page 49: ...49 9 2 6 Grease ...
Page 50: ...50 9 2 7 How to Clean the Lens of Optical Pick UP Follow the 9 2 1 Upper Base Ass y ...
Page 52: ...52 10 1 2 Checking and Repairing of BD Drive ...
Page 53: ...53 10 1 3 Checking and Repairing of AV IO P C B ...
Page 54: ...54 10 1 4 Checking and Repairing of HDD ...
Page 112: ...S8 2 Frame and Casing Section 2 S 57 50 51 49 46 45 44 43 47 53 54 52 55 48 41 42 ...


