Panasonic DMP-BD60GN Operating Instructions Manual Download Page 28

28

RQT9407

Linked operations with the TV 

(VIERA Link “HDAVI Control

TM

”)

If you connect this unit to a TV that has “HDAVI Control 2” or later 
with an HDMI cable, you can operate this unit using buttons on the 
TV remote control.
The buttons that you can use for this unit vary depending on the TV. 
For details, refer to the operating instructions of the TV.
Use the remote control supplied with this unit if you cannot operate 
this unit using buttons on the TV remote control.

The operation of this unit may be interrupted when you press 

incompatible buttons on the TV remote control.

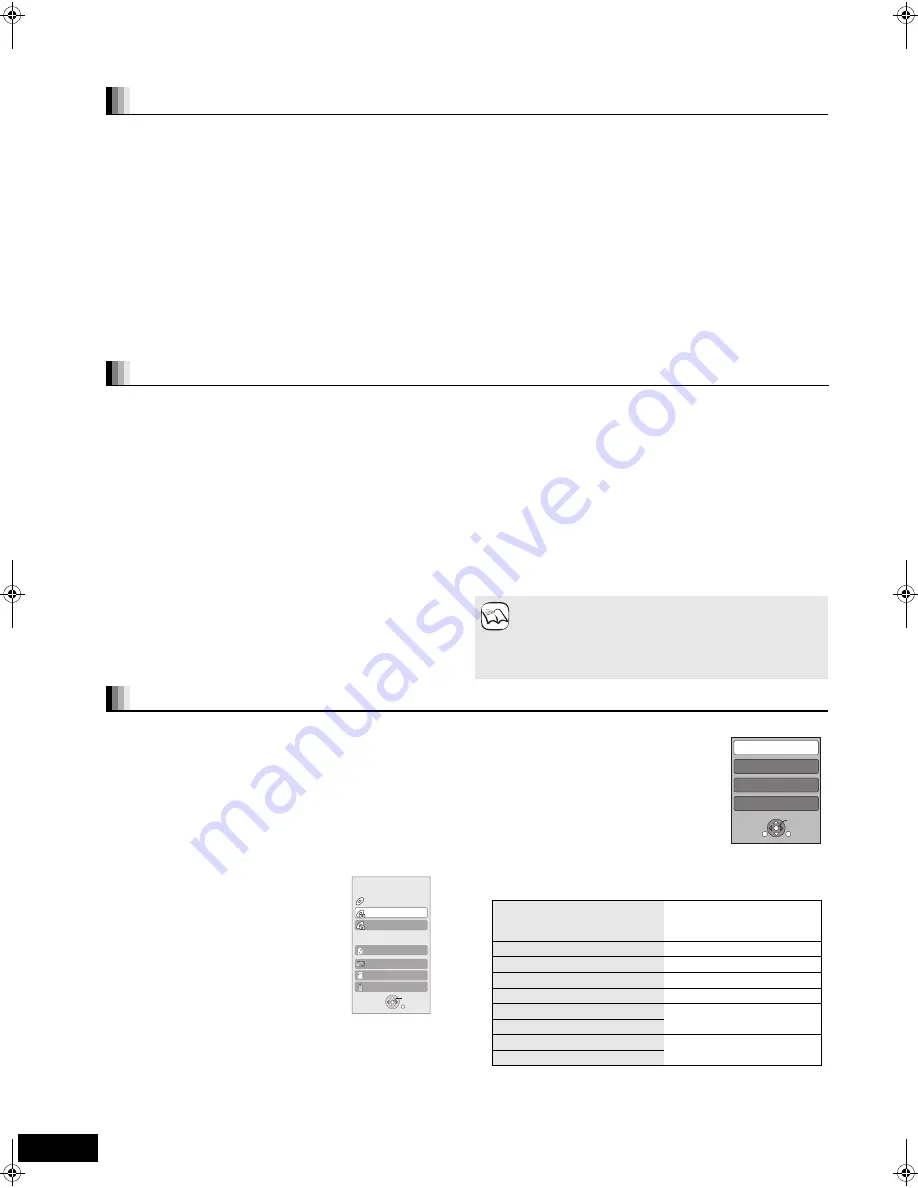
Using the FUNCTIONS menu to operate this unit

By using the TV remote control, you can play 
media using the FUNCTIONS menu.

1

Press the button for VIERA 

Link on the remote control.

2

Select the player.

The FUNCTIONS menu is displayed.

Using the OPTION menu to 

operate this unit

By using the TV remote control, you can play 
discs using the “Control Panel” and display the 
Top Menu (for BD-Video and DVD-Video) or 
Pop-up Menu (for BD-Video).

1

Press [OPTION].

This can also be displayed by using the 

VIERA menu screen.

[Note]

 You cannot use the OPTION menu while the Top Menu 

for BD-Video or DVD-Video is displayed.

2

Select an item, then press [OK].

When you want to leave the TV on and set only this unit to standby mode

Press [

Í

] on this unit’s remote control and set to standby mode.

When not using “HDAVI Control”

Set “VIERA Link” in the Setup menu to “Off”. (

31)

What is VIERA Link “HDAVI Control”?

VIERA Link “HDAVI Control” is a convenient function that offers 
linked operations of this unit, and a Panasonic TV (VIERA) or 
other device under “HDAVI Control”.
You can use this function by connecting the equipment with an 
HDMI cable. See the operating instructions for connected 
equipment for operational details.

VIERA Link “HDAVI Control”, based on the control functions 

provided by HDMI which is an industry standard known as HDMI 

CEC (Consumer Electronics Control), is a unique function that we 

have developed and added. As such, its operation with other 

manufacturers’ equipment that supports HDMI CEC cannot be 

guaranteed.

This unit supports “HDAVI Control 4” function.

“HDAVI Control 4” is the newest standard (current as of December, 

2008) for Panasonic’s HDAVI Control compatible equipment. This 

standard is compatible with Panasonic’s conventional HDAVI 

equipment.

Please refer to individual manuals for other manufacturers’ 

equipment supporting VIERA Link function.

Preparation

1) Connect this unit to your TV or other device with an HDMI cable 

(

8, 9).

2) Set “VIERA Link” to “On” (

31). 

(The default setting is “On”.)

3) Set the “HDAVI Control” operations on the connected equipment 

(e.g., TV).

4) Turn on all “HDAVI Control” compatible equipment and select this 

unit’s input channel on the connected TV so that the “HDAVI 

Control” function works properly.

Also when the connection or settings are changed, repeat 

this procedure.

What you can do with “HDAVI Control”

Automatic input switching

When the following operations are performed, the television will 

automatically switch the input channel and display the 

corresponding action.

– When play starts on the unit

– When an action that uses the display screen is performed

(e.g., Direct Navigator screen)

[BD-V]


[DVD-V]

 When playback stops, the TV will automatically 

return to TV tuner mode.

Power on link

When the television is off and the following operations are 

performed, the television will automatically turn on and display the 

corresponding action.

– When play starts on the unit

– When an action that uses the display screen is performed 

(e.g., Direct Navigator screen)

Power off link

All connected equipment compatible with “HDAVI Control”, including 

this unit, automatically turns off when you switch the television off.

This unit automatically turns off even during playback or any 

other operation.

About the Standby Power Save function

It is possible to minimize the stand-by power of this unit by the 

Power off link, even if the “Quick Start” of this unit is set to “On” 

(

32).

“Standby Power Save” setting is required to be activated on the 

TV.

When turning this unit on or off without using Power off link 

function, it is impossible to minimize the stand-by power of this 

unit.

Playing music continuously even after turning off 

power to the television (

21) 

When [

1

] (PLAY) is pressed on this unit for “Automatic input 

switching” or “Power on link”, the playback image is not 

immediately displayed on the screen and it may not be 

possible to watch the contents from where playback started.

In this case, press [

:

] or [

6

] to go back to where 

playback started.

NOTE

Easy control only with VIERA remote control

e.g.,

OK

RETURN

Top Menu

Blu-ray Disc Player

FUNCTION MENU

DVD-Video

Menu

To Others

Network
SD card
USB device

OK

RETURN

OPTION

Control Panel

Screen Aspect

Top Menu

Pop-up Menu

e.g.,

Control Panel

Control Panel is displayed. 
Follow the indications on the 
screen.

Screen Aspect

(

17)

Top Menu 

[BD-V] [AVCHD]


[DVD-V]

Top menu is displayed.

Menu 

[DVD-V]

Menu is displayed.

Pop-up Menu 

[BD-V]

Pop-up menu is displayed.

Rotate RIGHT 

[JPEG]

Rotate the still picture.

Rotate LEFT 

[JPEG]

Zoom in 

[JPEG]

Enlarge or reduce the still 
picture.

Zoom out 

[JPEG]

RQT9407~Body_mst.fm  28 ページ  2009年2月23日 月曜日 午後8時9分

Summary of Contents for DMP-BD60GN

Page 1: ...and New Zealand BD Video This unit plays BD Video marked with labels containing the region code B Example DVD Video This unit plays DVD Video marked with labels containing the region number 4 or ALL E...

Page 2: ...for AC Mains Lead For Saudi Arabia For your safety please read the following text carefully This appliance is supplied with a moulded three pin mains plug for your safety and convenience A 5 ampere fu...

Page 3: ...handling precautions Handle discs by the edges to avoid inadvertent scratches or fingerprints on the disc Do not attach labels or stickers to discs This may cause disc warping rendering it unusable D...

Page 4: ...orldwide patents issued pending DTS is a registered trademark and the DTS logos Symbol DTS HD and DTS HD Master Audio Essential are trademarks of DTS Inc 1996 2008 DTS Inc All Rights Reserved This pro...

Page 5: ...may cause a fire Remove batteries if the remote control is not going to be used for a long period of time Store in a cool dark place Use If you cannot operate the unit or other equipment using the re...

Page 6: ...rmat JPEG format AVCHD format BD80 DivX format DVD V DVD VR MP3 JPEG AVCHD DivX BD R Version 2 of the BD R Recording Format BD V rR rRW rR DL VR R RW Video Recording Format AVCHD format DVD V AVCHD DV...

Page 7: ...ected via USB cable Compatible USB devices USB devices which are defined as USB mass storage class USB devices that support USB 1 0 1 1 and USB 2 0 Full Speed High Speed USB devices of up to 128 GB ca...

Page 8: ...nection E F or G set HDMI Audio Output to Off 31 With this connection you can use VIERA Link HDAVI Control 28 B Connecting to COMPONENT VIDEO OUT terminal You can enjoy high definition images by conne...

Page 9: ...ith this connection you can use VIERA Link HDAVI Control 28 Enjoying High Bit rate Audio with 7 1ch speaker and 5 1ch speaker 20 HDMI IN Multi channel speakers HDMI cable Amplifier receiver HDMI compa...

Page 10: ...GITAL AUDIO OUT terminal You can enjoy surround sound when connected to an amplifier receiver using the COAXIAL BD80 or OPTICAL terminal With COAXIAL BD80 or OPTICAL NECESSARY SETTINGS Digital Audio O...

Page 11: ...me screen of VIERA CAST 25 AG Reproduce more natural audio 18 AH Select audio 18 AI Show FUNCTIONS menu 25 BJ Selection OK Frame by frame 17 BA Show on screen menu 26 BB Return to previous screen BC S...

Page 12: ...or if the code listed for them does not allow control of your television or amplifier receiver this remote control is not compatible with them Use their remote control Brand TV Code Brand TV Code Bra...

Page 13: ...s restarted the screen display disappears and START is displayed on the unit s display After the firmware is updated and the system is restarted the following screen indicates that the firmware update...

Page 14: ...server functions or when the router s DHCP server function is disabled After performing steps 1 3 left 4 Press 3 4 to select IP Address Auto Assignment and press 2 1 to select Off 5 Press 3 4 to selec...

Page 15: ...e use this setting when instructed to by your Internet service provider After performing steps 1 3 left 4 Press 3 4 to select Proxy Address and press OK The text entry screen is displayed Text field s...

Page 16: ...ght out When the USB device indicator is flashing the USB device is being read from Do not turn off the unit or remove the USB device Such action may result in malfunction or loss of the USB device s...

Page 17: ...aying the chapter is designated STOP PAUSE SLOW SEARCH SKIP Frame by frame While paused press 2 2 or 1 1 Each press shows the next frame Press and hold to change in succession forward or backward Pres...

Page 18: ...MI terminal or the DIGITAL AUDIO OUT terminal only when Dolby D Dolby D Dolby TrueHD or DTS DTS HD is set to PCM However in this case audio is output as 2ch from the DIGITAL AUDIO OUT terminal RE MAST...

Page 19: ...mpatible disc Some BD Live content available on the Blu ray discs may require an Internet account to be created in order to access the BD Live content Follow the screen display or instruction manual o...

Page 20: ...eo Secondary Audio is set to On Dolby Digital EX is output as Dolby Digital and DTS ES is output as DTS Digital Surround however if playing BD Video without secondary audio or clicking sound the audio...

Page 21: ...laying e g CD TIPS MP3 Playing a track in another folder 1 While the Music list is displayed Press OPTION press 3 4 to select Select Folder and press OK 2 Press 3 4 to select a folder and press OK The...

Page 22: ...K Connecting a USB device Setup screen may be displayed on equipment connected with the USB Set it to the mode for connecting to a PC Also read the operating instructions of the connected equipment fo...

Page 23: ...how stops the playback of the music also stops When both the music CD and the USB device with MP3 recorded is inserted to this unit the music CD has a priority to be played back as BGM To select a fol...

Page 24: ...X video files that do not display Text do not contain subtitles text Subtitles text cannot be displayed If the subtitles text are not displayed correctly try changing the language settings 29 To exit...

Page 25: ...ent or the continuity of the services All features of websites or content of the service may not be available Some content may be inappropriate for some viewers Some content may only be available for...

Page 26: ...io attributes appear below Audio attribute DivX Select the soundtrack number Soundtrack numbers are displayed even when there is only one audio type Subtitle BD V AVCHD DVD V Turn the subtitle on off...

Page 27: ...ion for progressive output to suit the type of material being played 42 Film and video Auto Automatically detects the film and video content and appropriately converts it Video Select when using Auto...

Page 28: ...this unit to your TV or other device with an HDMI cable 8 9 2 Set VIERA Link to On 31 The default setting is On 3 Set the HDAVI Control operations on the connected equipment e g TV 4 Turn on all HDAVI...

Page 29: ...enu screen 16 Enter a code 37 with the numbered buttons when you select Other English German French Italian Spanish Original The original language of each disc will be selected Other Subtitle Preferen...

Page 30: ...with sampling frequency of 96 kHz Off Signals are output as 96 kHz Choose when the connected equipment can process signals with sampling frequency of 96 kHz Downmix Switch the downmix system for play...

Page 31: ...V When this unit is connected to a TV supporting 1080 24p output via an HDMI cable this unit displays each frame at 1 24 second intervals the same interval originally shot with the film camera When pl...

Page 32: ...cation Some VIERA CAST contents require the time zone to be set Set the time zone if necessary GMT 12 to 12 The initial setting is shown below For Australia 10 For New Zealand BD80 10 BD60 12 For Asia...

Page 33: ...less than B below find the difference in the relevant table and change to the recommended setting 1 Press 3 4 2 1 to select the delay time box and press OK 2 Press 3 4 to select the setting and press...

Page 34: ...ty srt sub txt In the following situations the subtitles cannot be displayed as recorded Furthermore depending on the methods used to create the file or the state of the recording only parts of the su...

Page 35: ...007XXXX mp3 008XXXX mp3 009XXXX mp3 001XXXX mp3 002XXXX mp3 Root Folder A Folder B Folder C e g P0000010 divx P0000011 divx P0000012 divx P0000003 divx P0000004 divx P0000005 divx P0000001 divx P00000...

Page 36: ...able connection LAN terminal connection cable itself a cross cable may be used by mistake etc If the above conditions are OK then the router may not operate in DHCP mode Check the router settings and...

Page 37: ...he plug from the household mains socket wait a few seconds then reconnect it 2 Press I to turn the power on The unit may be fixed If the service number does not disappear despite doing the above reque...

Page 38: ...n at the same time for more than 5 seconds The batteries are depleted Replace them with new ones You are not pointing the remote control at the main unit s remote control signal sensor during operatio...

Page 39: ...e played back correctly if it was recorded on a DVD compatible to double speed or slower Picture stops DivX Picture may stop if the DivX files are greater than 2 GB The screen changes automatically Wh...

Page 40: ...yed When 24p Output is set to On jittering may occur while playing DVD Video In this case turn 24p Output to Off 32 31 31 31 The 4 3 aspect ratio picture expands left and right Screen size is wrong Ch...

Page 41: ...rect BD Video region code or DVD Video region number and is not defective You have set a ratings level to limit BD Video or DVD Video play Change this setting Some BD Video can only be output with HDM...

Page 42: ...rally appropriate for motion picture films Video Recorded at 25 frames 50 fields per second PAL discs or 30 frames 60 fields per second NTSC discs Generally appropriate for TV drama programs or animat...

Page 43: ...ding format AVCHD format 8 JPEG 4 DVD R DVD R DL DVD Video format 1 DVD Video Recording format 1 AVCHD format 1 8 DivX 7 JPEG 4 MP3 DVD RW DVD Video format 1 DVD Video Recording format 1 AVCHD format...

Page 44: ...42 N Noise reduction NR Integrated NR 27 3D NR 27 O On screen Menu 26 Status messages 17 P PCM Down Conversion 30 Picture in picture 19 Playback Information Window 27 Playlist 25 Pop up Menu 16 Progr...

Reviews: