20
RQT9037
(ENG)
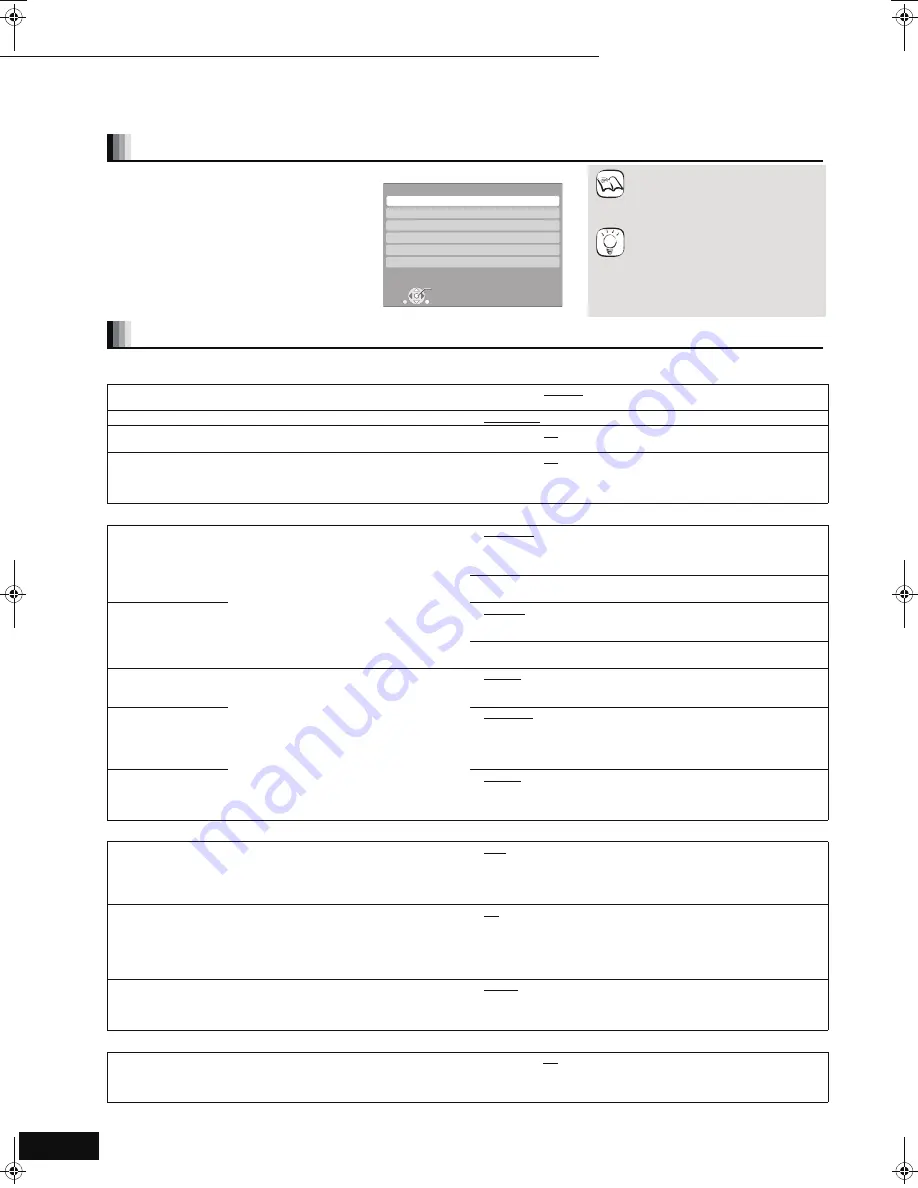
Changing the unit’s settings
Change the unit’s settings if necessary. The settings remain intact even if you switch the unit to standby.
Underlined items are the factory presets.
(Continued on the next page)
Setup menu operations
1
While stopped
Press [SETUP].
2
Press [
3
,
4
] to select the tab and
press [OK].
3
Press [
3
,
4
] to select the menu
and press [OK].
If there are any other items, repeat these steps.
4
Press [
3
,
4
,
2
,
1
] to select the
option and press [OK].
≥
There may be differences in
operation methods. If this happens,
follow the on-screen instructions
for the operation.
To return to the previous screen
Press [RETURN].
To exit the screen
Press [SETUP].
Summary of settings
“Setup” tab
Off Timer
Select how long the unit remains on when it is not being used.
≥
2 Hours
≥
6 Hours
≥
Off
Remote Control Code (
>
26)
≥
Set Code 1
≥
Set Code 2
≥
Set Code 3
Easy Setting
You can execute basic settings (On-screen Language, TV Aspect).
≥
Yes
≥
No
Restore Default Settings
This returns all values in the Setup menu and the on-screen menu,
except for “Remote Control Code”, “On-screen Language”,
“DVD-Video Ratings” and “BD-Video Ratings” to the default settings.
≥
Yes
≥
No
“Disc” tab
DVD-Video Ratings
Set a ratings level to
limit DVD-Video play.
Follow the on-screen instructions. Enter a
4-digit password with the numbered buttons
when the password screen is shown. It will be
the common password for both “DVD-Video
Ratings” and “BD-Video Ratings”.
≥
Do not forget your password.
≥
8 No Limit:
All DVD-Video can be played.
≥
1 to 7:
Prohibits play of DVD-Video with corresponding
ratings recorded on them.
≥
0 Lock All:
Prohibits play of all DVD-Video.
≥
Unlock Player
≥
Change Password
≥
Change Level
≥
Temporary Unlock
BD-Video Ratings
Set an age limit of
BD-Video play.
≥
No Limit:
All BD-Video can be played.
≥
0 to 254 year(s): Prohibits play of BD-Video with corresponding
ratings recorded on them.
≥
Unlock Player
≥
Change Password
≥
Change Level
≥
Temporary Unlock
Audio Language
Choose the language for audio, subtitle and
disc menus.
[BD-V] [DVD-V]
≥
Some discs start in a certain language
despite any changes you make here.
≥
When the selected language is not available
on the disc, the default language is played.
There are discs where you can only switch
the language from the menu screen.
(
>
11, 13)
≥
Enter a code (
>
28) with the numbered
buttons when you select “Other
¢¢¢¢
”.
≥
English
≥
French
≥
Spanish
≥
Original: The original language of each disc will be selected.
≥
Other
¢¢¢¢
Subtitle
Language
≥
Automatic:
If the language selected for “Audio Language” is not available,
subtitles of that language will automatically appear if available on
that disc.
≥
English
≥
French
≥
Spanish
≥
Other
¢¢¢¢
Menu Language
≥
English
≥
French
≥
Spanish
≥
Other
¢¢¢¢
“Video” tab
Still Mode (paused video)
[BD-V] [AVCHD] [DVD-V]
Select the type of picture shown when you pause playback (
>
29,
Frames and fields).
≥
Auto
≥
Field:
Select if jittering occurs when “Auto” is selected. (The
picture is coarser.)
≥
Frame:
Select if small text or fine patterns cannot be seen clearly
when “Auto” is selected. (The picture is clearer and finer.)
Seamless Play
[DVD-VR]
Select the play mode between playlist chapter segments and partially
deleted titles.
≥
On:
The chapters in playlists are played seamlessly. This does
not work while searching or when there are several audio
types included on the playlist. Additionally, the positioning
of chapter segments may change slightly.
≥
Off:
The points where chapters in playlists change are played
accurately, but the picture may freeze for a moment.
Black Level Control
Select lighter or darker for adjusting the black level control to the
desired setting for picture enhancement.
≥
Lighter:
When video is output from VIDEO OUT or S VIDEO OUT
terminal.
≥
Darker:
When video is output from COMPONENT VIDEO OUT
terminal.
“Audio” tab
Dynamic Range Compression
[BD-V] [AVCHD] [DVD-V]
(Dolby Digital, Dolby Digital Plus and Dolby
TrueHD only)
Change the dynamic range (
>
29) for late night viewing.
≥
On
≥
Off
RETURN
Setup
Setup
Disc
Video
Audio
Display
TV / Device Connection
OK
NOTE
TIPS
Settings
11
Changing the unit’s settings
DMP-BD30PP_Book1.book 20 ページ 2007年10月5日 金曜日 午前10時44分


