62
VQT3C69
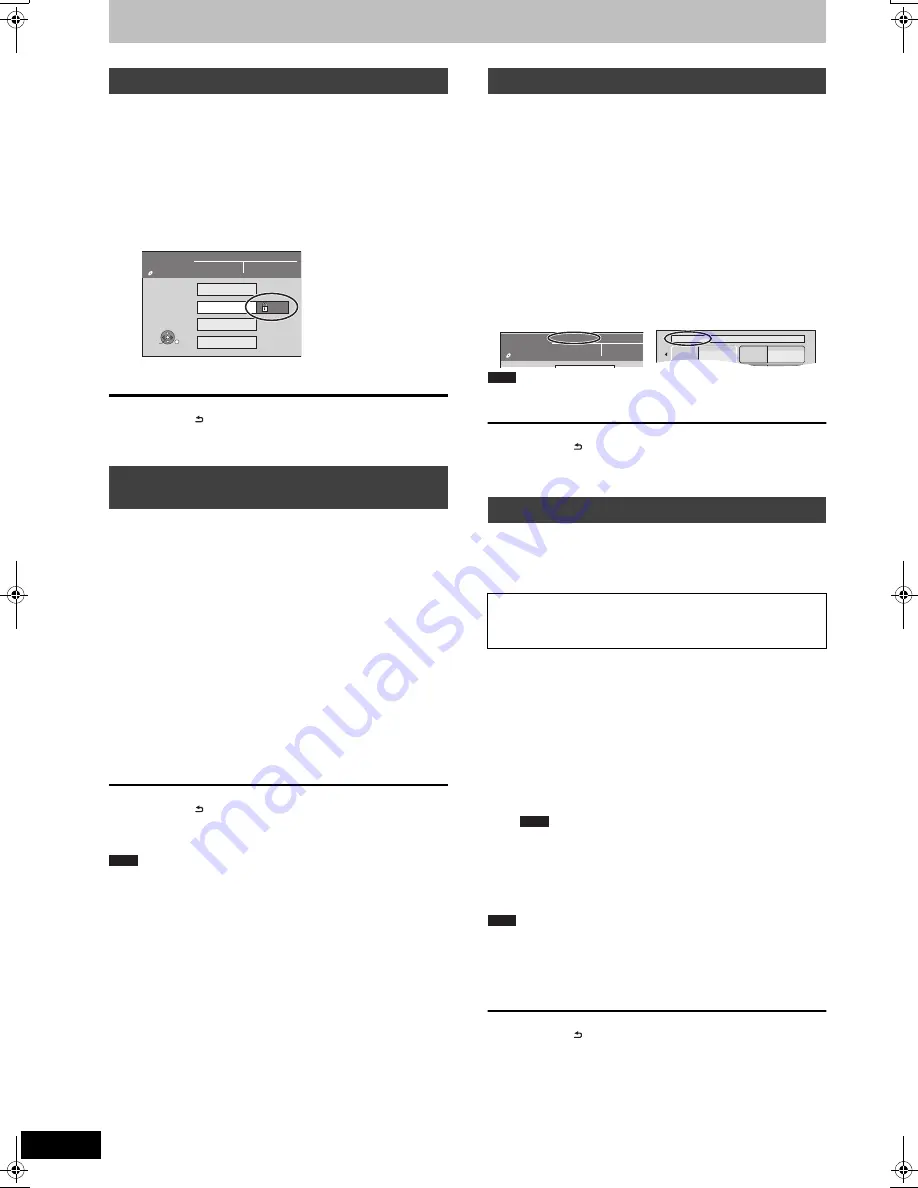
HDD and disc management
[RAM]
Preparation
≥
Press [DRIVE SELECT] to select the DVD drive.
After performing steps 1–3 (
>
61, Common procedures)
1
Press [
3
,
4
] to select “Disc
Protection” and press [OK].
2
Press [
2
,
1
] to select “Yes” and
press [OK].
The lock symbol appears closed when the disc is write-
protected.
To return to the previous screen
Press [RETURN ].
To exit the screen
Press [EXIT].
[HDD]
[RAM]
Preparation
≥
Press [DRIVE SELECT] to select the HDD or DVD drive.
≥
[RAM]
Release protection (
>
above).
After performing steps 1–3 (
>
61, Common procedures)
1
Press [
3
,
4
] to select “Delete all
titles” and press [OK].
2
Press [
2
,
1
] to select “Yes” and
press [OK].
3
Press [
2
,
1
] to select “Start” and
press [OK].
A message appears when finished.
4
Press [OK].
To return to the previous screen
Press [RETURN ].
To exit the screen
Press [EXIT].
≥
Once deleted, the recorded contents are lost and cannot be
restored.
Make certain before proceeding.
≥
Deleting all video titles will result in all Playlists (Video) also being
deleted.
≥
Still picture data (JPEG), Playlists (Picture), music data or
computer data cannot be deleted.
≥
Delete does not work if one or more titles are protected.
[RAM]
[-R]
[-R]DL]
[-RW‹V›]
[+R]
[+R]DL]
[+RW]
You can provide a name for each disc.
Preparation
≥
Press [DRIVE SELECT] to select the DVD drive.
≥
[RAM]
Release protection (
>
left, Setting the protection).
After performing steps 1–3 (
>
61, Common procedures)
1
Press [
3
,
4
] to select “Disc Name”
and press [OK].
(
>
50, Entering text)
≥
The disc name is displayed in the DVD Management window.
≥
[-R]
[-R]DL]
[-RW‹V›]
[+R]
[+R]DL]
With a finalised disc, the name is
displayed on the Top Menu.
≥
[+RW]
The disc name is displayed only if you play the disc on other
equipment after creating top menu.
≥
[-R]
Once a name is provided to a disc, it is not possible to record
still images to that disc.
To return to the previous screen
Press [RETURN ].
To exit the screen
Press [EXIT].
[HDD]
[RAM]
[-RW‹V›]
[+RW]
[-RW‹VR›]
[+R]
[+R]DL]
(New disc only)
Preparation
≥
Press [DRIVE SELECT] to select the HDD or DVD.
After performing steps 1–3 (
>
61, Common procedures)
1
Press [
3
,
4
] to select “Format HDD”
or “Format Disc” and press [OK].
2
Press [
2
,
1
] to select “Yes” and
press [OK].
3
Press [
2
,
1
] to select “Start” and
press [OK].
A message appears when formatting is finished.
≥
Formatting normally takes a few minutes; however, it may
take up to a maximum of 70 minutes (
[RAM]
).
≥
Do not disconnect the AC mains lead while formatting.
This can render the disc unusable.
4
Press [OK].
≥
When a disc has been formatted using this unit, it may not be
possible to use it on any other equipment.
≥
[-R]
[-R]DL]
[CD]
Formatting cannot be performed.
≥
You can format DVD-RW only as DVD-Video format on this unit.
≥
Sample pictures are restored when formatting HDD even if they
have been deleted.
To return to the previous screen
Press [RETURN ].
To exit the screen
Press [EXIT].
Setting the protection
Deleting all titles and
Playlists (Video)—Delete all titles
DVD
Management
DVD-RAM
Titles
11
Used
Remain
0 : 22
5:38 (EP)
On
Disc Name
Delete all titles
Format Disc
Disc Protection
OK
RETURN
SELECT
Note
Providing a name for a disc
Deleting all the contents—Format
Formatting deletes all contents (including computer data),
and they cannot be restored. Check carefully before
proceeding.
The contents are deleted when you format a disc
even if you have set protection.
My favorite
01/02
01
Chapter 1
03
02
04
Chapter 2
DVD
Management
DVD-RAM
Titles
11
Used
Remain
0 : 22
5:38 (
Documentary
Note
Note
Note
DMREX84C-VQT3C69_eng.book 62 ページ 2010年12月10日 金曜日 午後4時45分


