background image


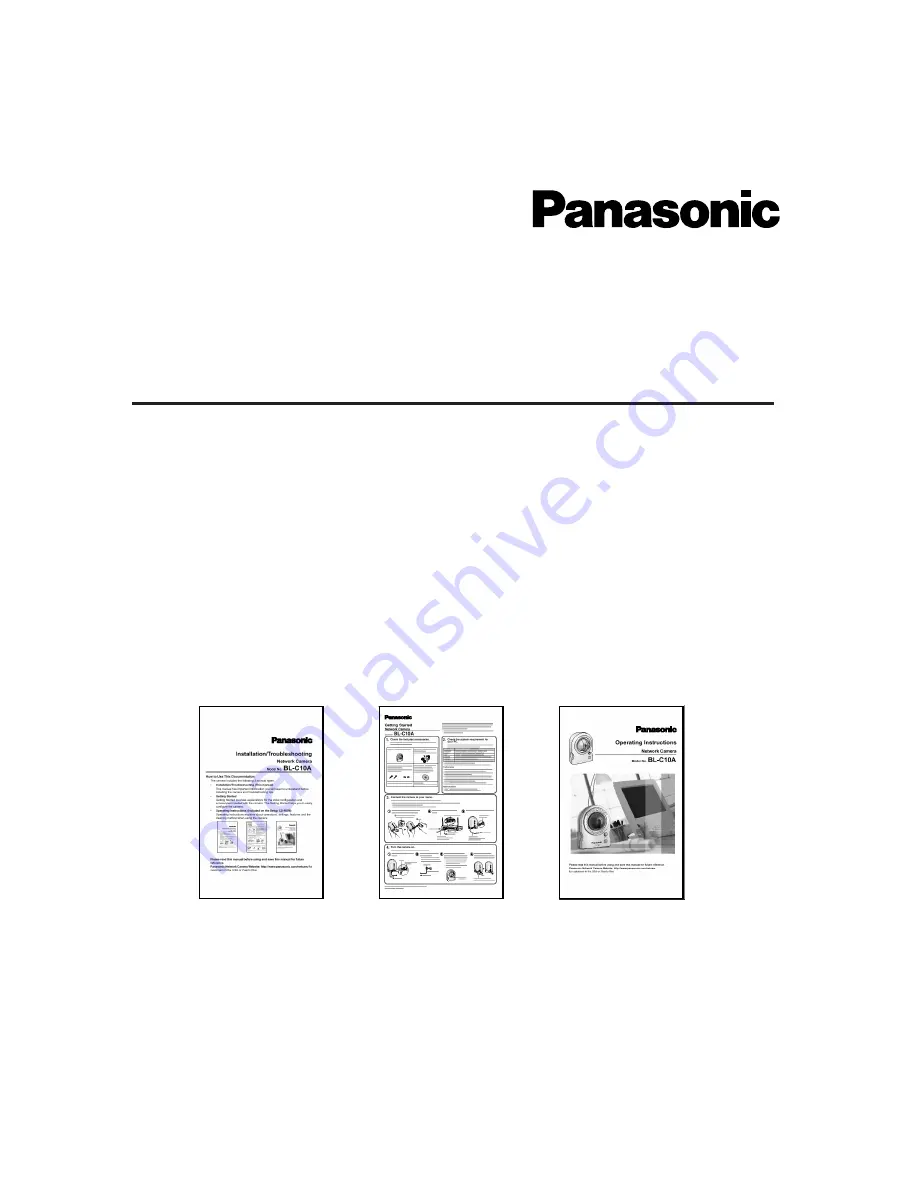
How to Use This Documentation

The camera includes the following 3 manual types.

Installation/Troubleshooting (This manual)

This manual has important information you will need to understand before 
installing the camera and troubleshooting tips.

Getting Started

Getting Started provides explanations for the initial configuration and 
accessories included with the camera. The Getting Started helps you to easily 
configure the camera.

Operating Instructions (Included on the Setup CD-ROM)

Operating Instructions explains about operations, settings, features and the 
cleaning method when using the camera.

Please read this manual before using and save this manual for future 
reference.
Panasonic Network Camera Website: http://www.panasonic.com/netcam/

 for 

customers in the USA or Puerto Rico

Installation/Troubleshooting

Model No.


BL-C10A

Network Camera

Summary of Contents for BL-C10A - Network Camera - Pan

Page 1: ...ration and accessories included with the camera The Getting Started helps you to easily configure the camera Operating Instructions Included on the Setup CD ROM Operating Instructions explains about o...

Page 2: ...r registered trademarks or trademarks of Microsoft Corporation in the United States and or other countries Screen shots reprinted with permission from Microsoft Corporation All other trademarks identi...

Page 3: ...om Service 9 1 4 Connecting the Camera to a Router Supporting UPnP 10 1 5 Connecting the Camera to a Router Not Supporting UPnP 11 1 6 Setting Up the Camera Using the MAC Address on the Setup Program...

Page 4: ...oint where they exit from the unit 8 When you operate the camera the power outlet should be near the camera and easily accessible 9 Do not touch the unit or the AC adaptor during lightning storms 10 U...

Page 5: ...Reorient or relocate the receiving antenna Increase the separation between the equipment and receiver Connect the equipment into an outlet on a circuit different from that to which the receiver is co...

Page 6: ...an tilt Part Do not apply pressure to the pan tilt portion of the camera Any forced movement can damage the internal mechanism Indicator Privacy Button Pyroelectric Infrared Sensor see Getting Started...

Page 7: ...it Ethernet LAN port DC IN jack Tripod Mounting Hole Used when installing the camera on a tripod FACTORY DEFAULT RESET Button Resets settings to default see page 81 of the Operating Instructions in t...

Page 8: ...sonic Network Camera support website at http panasonic co jp pcc products en netwkcam for details Stand Mounting Hole Used when installing the camera onto a wooden wall with a stand MAC MAC S N S N Us...

Page 9: ...you view the camera from the Internet the global IP address is required 2 If you register with the Viewnetcam com service a unique domain name is assigned to the camera The camera automatically send y...

Page 10: ...ng UPnP To allow access from the Internet with a router supporting UPnP follow the procedures shown in the Getting Started Notes In some routers the UPnP feature is disabled by default Enable your rou...

Page 11: ...to a global one Each camera must be assigned a unique port number 1 Access the camera see page 8 of the Operating Instructions in the Setup CD ROM 2 Click Setup tab at the top of the page 3 Select Sta...

Page 12: ...all or antivirus software settings on your PC If you cannot disable your firewall or antivirus software you can set up the camera using the camera MAC address as shown below 1 Enter the camera MAC add...

Page 13: ...ubleshooting 13 For assistance please call 1 800 272 7033 3 Enter the user name and password and click Save 4 The Enter Network Password window is displayed Enter the user name and password that were...

Page 14: ...to the camera follow the procedures below 1 Display the Network page see page 28 of the Operating Instructions in the Setup CD ROM and click Static Then set the unused port number 50000 50050 to the...

Page 15: ...date the firmware following the procedure see page 73 of the Operating Instructions in the Setup CD ROM If you fail to update the firmware see page 28 Indicator continues blinking orange 2 second inte...

Page 16: ...the Getting Started Multiple camera IP addresses are overlapping If you install multiple cameras turn the camera on one by one Viewnetcam com registration fails using Setup Program Your PC is not conn...

Page 17: ...fails to complete successfully Network problems may occur during setup Confirm that your network is working Disconnect the AC adaptor from the outlet and reconnect it again Then set up the camera aga...

Page 18: ...o default Set up the camera again The camera fails to get network information from the DHCP server is displayed The hub is not connected to the router Connect the hub to the router or connect the came...

Page 19: ...web browser to access the Internet directly see page 92 of the Operating Instructions in the Setup CD ROM The camera is malfunctioning The connection type is wrong see page 31 of the Operating Instru...

Page 20: ...the router to allow access to the camera seeing the router manual for details You are accessing the camera with an IP address for local camera access Access the camera with the global IP address of t...

Page 21: ...ator After that click Refresh on the web browser to display the camera image There are currently more than 20 simultaneous accesses to the video Motion JPEG Reduce the number of access to below 20 or...

Page 22: ...area see page 37 of the Operating Instructions in the Setup CD ROM A bright object may cause horizontal flickers on the image Changing the object improves the flickers Or adjusting brightness to the s...

Page 23: ...lowly depending on image resolution image quality network traffic PC performance or what object you view The Max bandwidth usage is limited Increase the max bandwidth usage on your network see page 28...

Page 24: ...le is made of glass or acrylic plastic it affects the pyroelectric infrared sensor performance Remove the obstacle in front of the sensor The pyroelectric infrared sensor does not detect a temperature...

Page 25: ...n air conditioner Where there is an obstacle such as glass in front of the camera Where the object is exposed to strong light Near a radio wave emitting device Change the camera location see Getting S...

Page 26: ...rs are operating the camera simultaneously Wait for a while and access the camera again The pan tilt reaches its end Confirm that the end display is displayed on the operation bar The pan tilt range i...

Page 27: ...FTP are invalid Make sure that you enter your correct login ID and password The camera does not transfer the image to a mobile phone The image quality is not set to Mobile Phone on the Image Buffer T...

Page 28: ...folder UPnP Windows component is not installed in Windows XP or Windows Me Install UPnP Windows component in Windows XP or Windows Me see page 95 of the Operating Instructions in the Setup CD ROM You...

Page 29: ...Installation Troubleshooting 29 For assistance please call 1 800 272 7033 Memo...

Page 30: ...Installation Troubleshooting 30 Memo...

Page 31: ...Installation Troubleshooting 31 For assistance please call 1 800 272 7033 Memo...

Page 32: ...Panasonic Consumer Electronics Company listed below or to executive or regional sales offices These locations do not repair consumer products When you ship the product Panasonic Servicenters are liste...

Reviews: