– 26 –
Graphic User Interface (GUI) (continued)
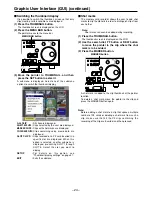
Deleting clips
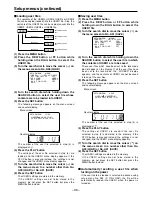
(1) Press the THUMBNAIL button.
The thumbnail screen is displayed on the LCD.
(2) Use the search dial, FF button or REW button
to move the pointer to the clip which is to be
deleted.
(3) Press the SET button to select the clip.
(4) Press the MENU BAR button. On the menu bar,
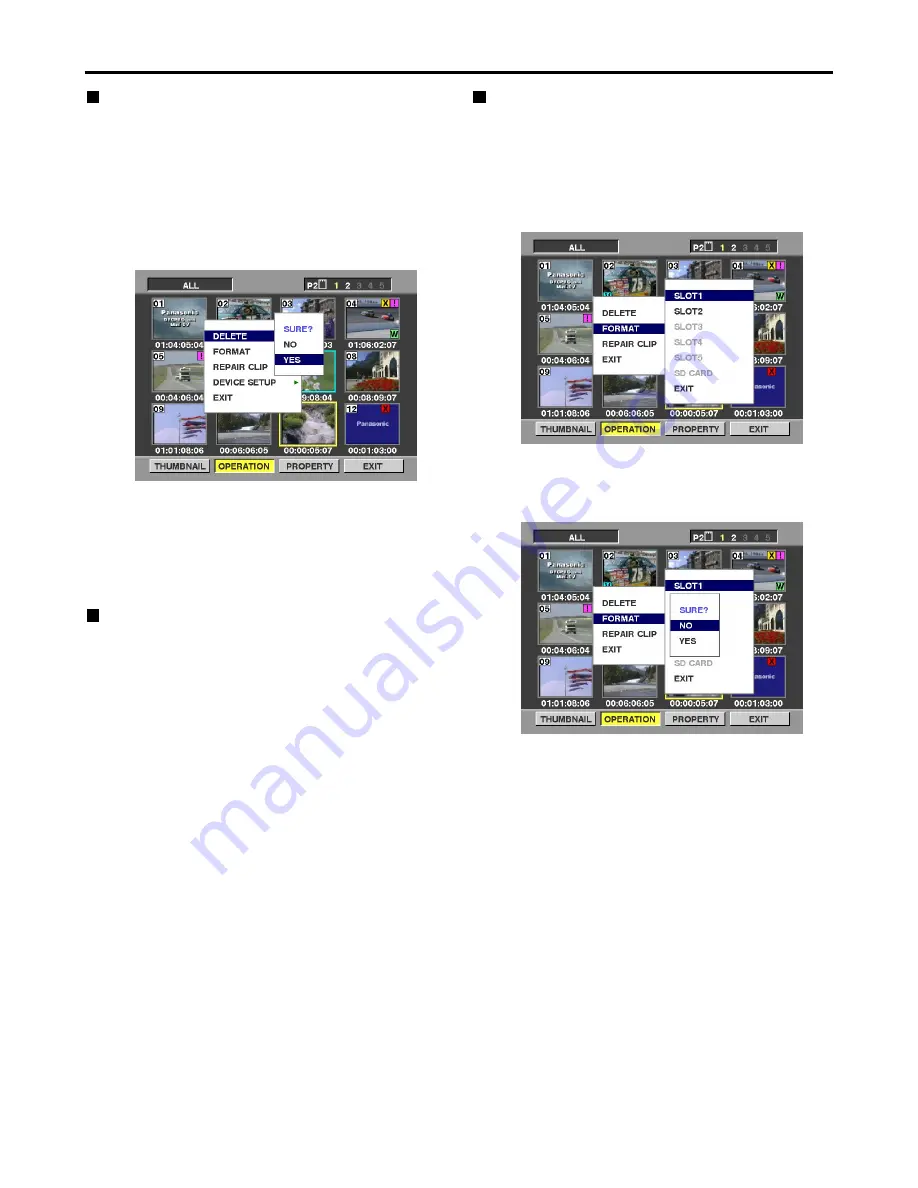
select [OPERATION], then [DELETE].
The following screen is displayed.
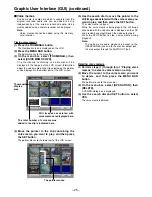
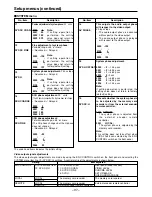
(5) Use the search dial and SET button to select
YES.
The clip or clips are deleted. All selected clips (enclosed
in green boxes) are deleted.
Repairing clips
This section describes how to repair bad clips which were
have been damaged for reasons such as a sudden
power outage during recording.
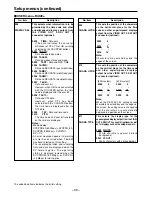
(1) Press the THUMBNAIL button.
The thumbnail screen is displayed on the LCD.
(2) Use the search dial to move the pointer to the
clip you want to repair (if a clip is bad, it has a
bad clip mark on it).
(3) Press the SET button to select the clip.
(4) Press the MENU BAR button. On the menu bar,
select [OPERATION], then [REPAIR CLIP].
A YES/NO dialog box is displayed.
(5) Use the search dial and SET button to select
YES.
Note:
Only clips with yellow bad clip indicators can be
repaired. Clips with red bad clip indicators should be
deleted. If these clips cannot be deleted, the P2 card
should be formatted.
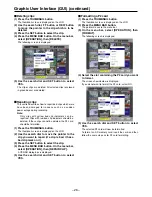
Formatting a P2 card
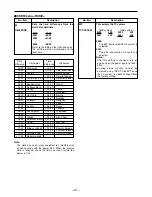
(1) Press the THUMBNAIL button.
The thumbnail screen is displayed on the LCD.
(2) Press the MENU BAR button.
The pointer moves to the menu bar.
(3) On the menu bar, select [OPERATION], then
[FORMAT].
The following screen is displayed.
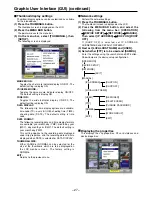
(4) Select the slot containing the P2 card you want
to format.
The screen shown below is displayed.
If you do not want to format the P2 card, select NO.
(5) Use the search dial and SET button to select
YES.
The selected P2 card will now be formatted.
To format an SD memory card, insert the card, and then
follow the same steps as for P2 card formatting.

