13
Chapter 2 Parts and their functions
2
?
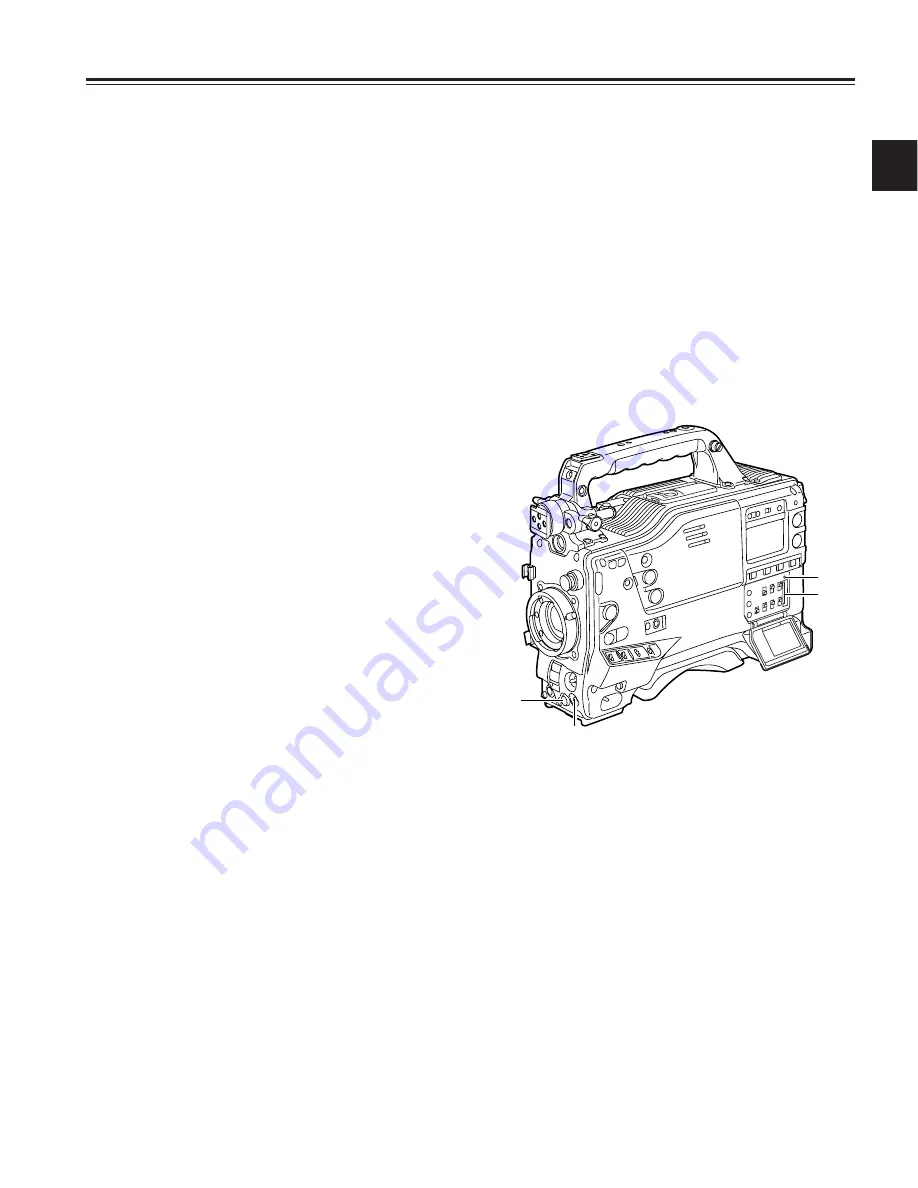
VIDEO OUT (video signal output) connector
This is the video signal output connector. The video
signals linked to the setting of the OUTPUT SEL switch are
output from here.
>
VIDEO OUT CHARACTER switch
This is used to control the superimposing of the characters
onto the images which are output from the VIDEO OUT
connector.
ON:
The characters are superimposed onto the images.
OFF:
The characters are not superimposed onto the
images.
For details on the character types, refer to “4-8-2 Selecting
the video output signals.”
A
MON OUT (monitor output) connector
This is the connector for outputting the video signal which
is used for monitoring. The video signals linked to the
setting of the OUTPUT SEL switch are output from here.
Whether characters are to be superimposed onto the
images output from the VIDEO OUT connector can be
selected separately using the internal menu.
For details, refer to “4-8-2 Selecting the video output signals.”
@
ECU REMOTE (remote control) connector
The AJ-EC3P extension control unit (optional accessory) is
connected here.
C
EJECT button
This is pressed to insert or eject the cassette.
B
GENLOCK IN connector
The reference signal is input to this connector when
genlock is to be established with the camera unit or when
the time code is to be externally locked. This signal can
also be used as the return signal.
<Note>
A standard VBS signal (a composite signal including a
burst signal) should be supplied as the input reference
signal.
E
PLAY/PAUSE button
This is pressed to view the playback picture on the
viewfinder screen or using a color video monitor. The
button’s lamp comes on during playback.
When it is pressed during playback, the unit is set to pause
in the playback mode (PLAY PAUSE), and the button’s
lamp flashes. If the unit is left in the pause mode for two
minutes, it automatically changes to the stop (STOP) mode.
D
STOP button
This is pressed to stop the tape travel.
G
FF (fast forward) button and lamp
When this button is pressed during stop, the tape is cued
at high speed. Its lamp lights at this time.
When it is pressed during playback or pause, the tape is
cued at approximately 4 times the normal tape speed.
Both the PLAY lamp and FF lamp light at this time.
H
EMERGENCY screw (inside rubber cap)
If the cassette does not eject even when the EJECT button
is pressed, use a screwdriver or similar implement to push
and turn the EMERGENCY screw at the same time: this
will cause the cassette to be ejected. For details, refer to
“6-3-3 Emergency eject.”
F
REW (rewind) button and lamp
When this button is pressed during stop, the tape is
reviewed at high speed. Its lamp lights at this time.
When it is pressed during playback or pause, the tape is
reviewed at approximately 4 times the normal tape speed.
Both the PLAY lamp and REW lamp light at this time.
4
3
2
1
2-4
Menu operation section
1
MENU button
This is used to switch the menu ON and OFF.
3
Setup card insertion slot
This is where the SD card (optional accessory) or
Multimedia card (optional accessory) is inserted into the
unit.
2
JOG dial button
This is used to select the menu items and perform settings
when the MENU button
1
is at the ON position.
4
BUSY (operation mode display) lamp
This lamp shows the operation mode of the setup card. It
lights during operation.
<Note>
When this lamp is lighted, refrain from inserting or
removing the card.


