


Turning the Unit On and Off
14
Turning the Unit On and Off
Turning On
Insert the power cord into the wall outlet.
Press the
Power Switch
on the unit, then press the
Power
button on
the remote control.
The unit will be turned on and you will be ready to use its features.
Turning Off
With the power on, Press the
Power
button on the remote control to
turn off the unit, and put the unit in standby mode.
To cut off the power completely, press the
Power Switch
.
Viewing the Menus and Displays
Your LCD TV has a simple, easy-to-use menu system that appears on the
screen. This system makes it convenient and fast to use features on the
unit.
Viewing the Menus
With the power on, press the
MENU
button on the remote control.
The main menu appears on the screen.
Push the
ENTER
(Up/Down) to select menu page. Press
ENTER
to
access the menu page.
Push
ENTER
(Up/Down) to select item. Push
ENTER
(Left/Right) to
adjust value or setting of each item. Press
MENU
to exit menu
system.
On-screen menu will disappear from the screen automatically after
some seconds, or you can press the
MENU
button repeatedly to exit
the menu system.
Note:
In Menu operations, you may push
ENTER
(Up/Down) to select item or
just press the relevant number button according to the number
indicated on the left of the menu item.
To clearly introduce the menu operations, this operation manual
provides a description based on operation with the remote control.
MP:
PAL
FM/AM
ABC
Displaying Status Information
The unit displays current status information (e.g channel number, channel
name, channel locking status, colour and sound system or stereo mode) by
pressing the
DSP/CAPS
button.
3. Favourite channel icon
5. Current channel number
7. Stereo mode
9. Colour system
Note:
Some of the above items are not always displayed on the screen and they
are subject to your settings.
005
B/G
Mono
9
8
7
6
1. Information for main picture frame
2. Current channel name
4. Locked status icon
6. Sound system
8. NICAM status
2
1
3
4
5
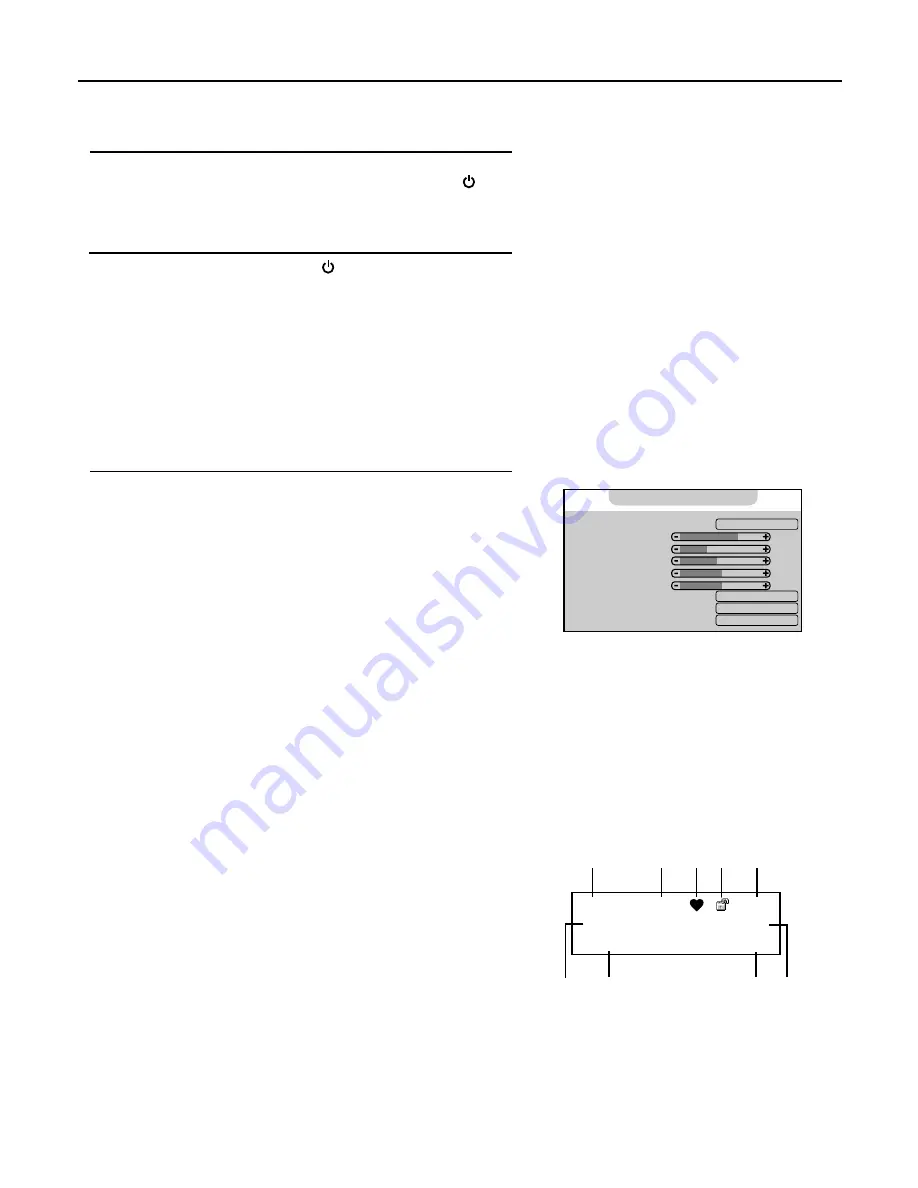
n
n
1
3
2
Custom
70
30
45
0
50
Weak
Standard
On
1. Mode:
2. Contrast
3. Brightness
4. Colour
5. Hue
6. Sharpness
7. DNR:
8. Color Temperature:
9. APL:
Video


