


Setting Picture
19
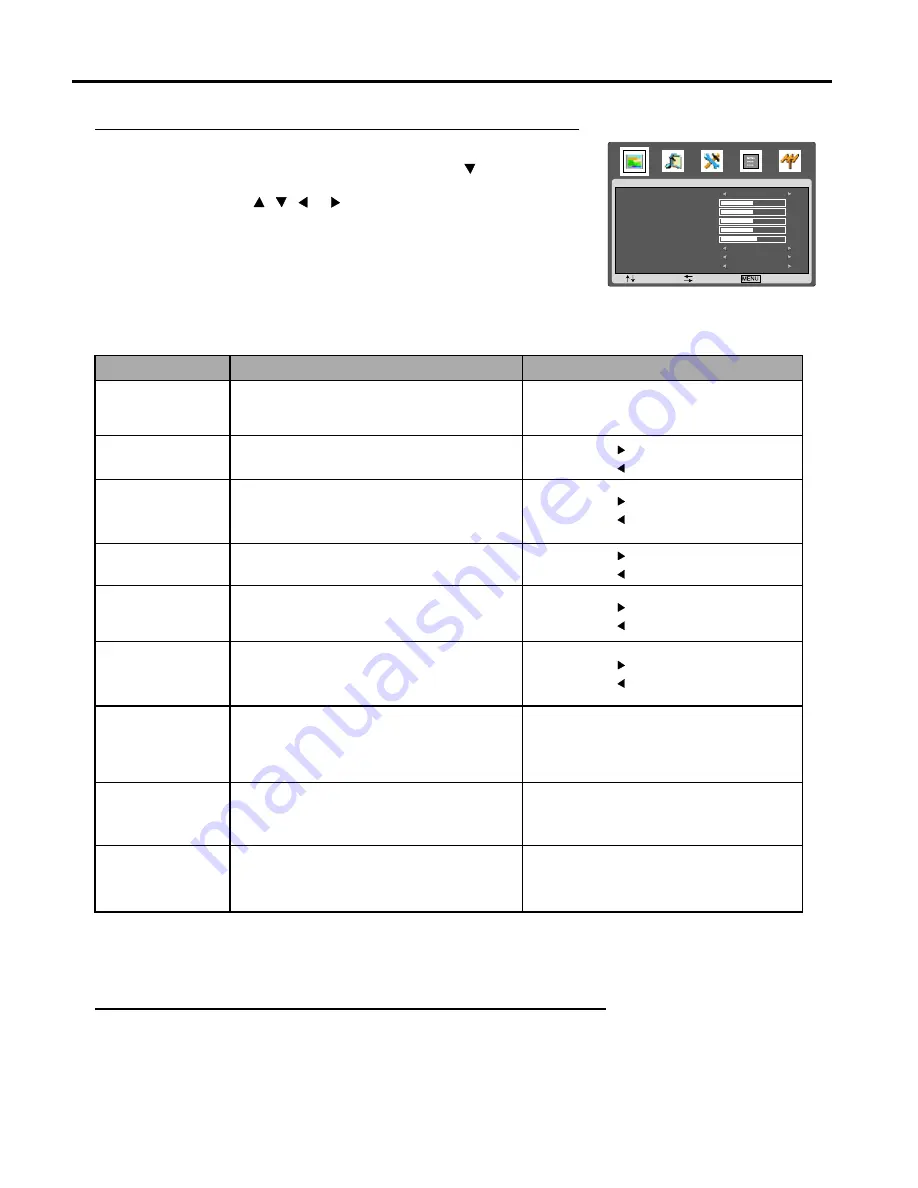
Customising the Picture
1
Press
MENU
to display the
PICTURE
menu, and press to access.
2
Within the menu, use , , or to navigate or adjust.
3
Press
MENU
button repeatedly to exit the menu.
Notes:
The above menu is shown as an example.
The menu items may be different when the unit
works in different mode.
Picture Mode
Contrast
Selects a desired picture mode.
Adjusts image contrast.
Natural/Soft/Bright/Personal
Note: you may directly press PICTURE
button on the remote control to select.
: stronger
: weaker
Brightness
Adjusts screen brightness for easier viewing of
dark picture such as night scenes and black hair.
: lighter
: darker
Saturation
Adjusts colour saturation.
: stronger
: weaker
Hue
Adjusts colour hue for image.
: greenish
: purplish
Sharpness
Adjusts image sharpness and displays a
sharp image.
: sharper
: softer
Colour Mode
Selects one of three automatic colour adjustments.
Sets to warm to enhance hotter colours such
as red, or set to cool to see less intense
colours with more blue.
Normal/Warm/Cool
NR
Reduces noise in the picture,
commonly called snow.
Weak/Middle/Strong/Off
Note: you may directly press NR button
on the remote control to select.
Scale
Adjusts screen aspect ratio.
Panorama/Full/Zoom1/Zoom2/Normal
Note: you may directly press Zoom button
on the remote control to select.
Note:
The Hue item is for NTSC system.
The scale item can not be adjusted when there is no input signal or the picture is frozen or MAG. C demo mode is used.
Freezing picture
Press the
STILL
button to hold on the image on the screen (the video sources still run).
Press it to reactivate the image.
Note:
For the sake of protecting the screen, please do not freeze a picture for a long time.
Choice/Remarks
Function
Option
PICTURE
: SEL
: ADJ
: EXIT
PICTURE MODE
CONTRAST
BRIGHTNESS
SATURATION
HUE
SHARPNESS
COLOR MODE
NR
SCALE
WARM
OFF
FULL
PERSONAL
50
50
50
50
53


