background image

First Time


(only available in TV mode)

Setup Adjustment

EXIT

MENU

OK

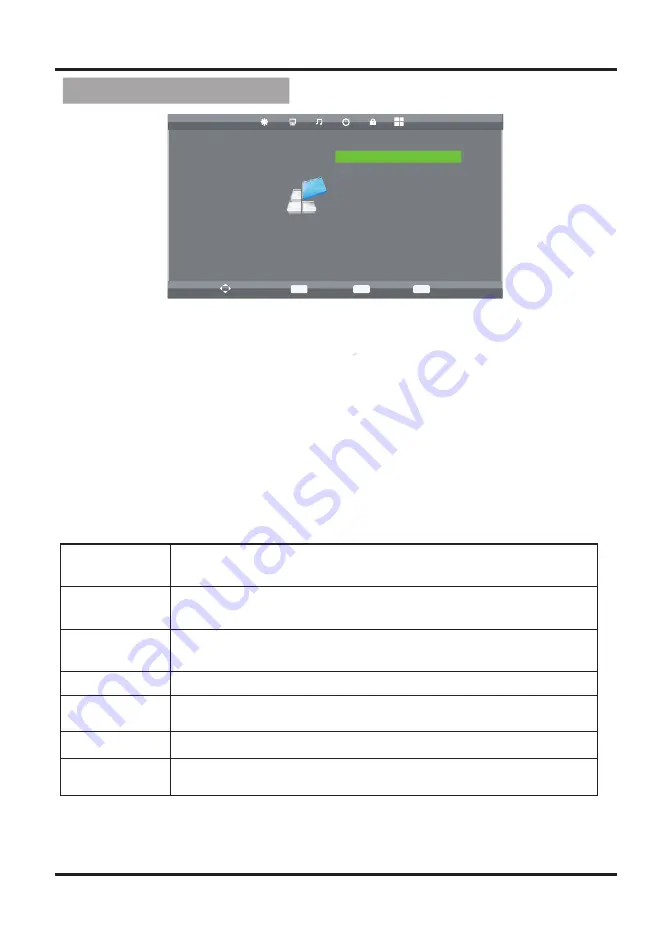
1. Press MENU button on the front panel or MENU button on the remote control 

to display the main menu.
2. Press ◄/► buttons on the remote control or VOL

 +

/

button

s on the 

front 

panel to select the Function Setting menu, then press


OK

 or 


buttons for the 

submenu.
3. Press ▲/▼ buttons on the remote control or CH 

+

/

buttons 

on the 

front 

panel


to select the item you want to adjust.

4. Press OK button on the remote control and press  ▲/▼◄/►


buttons to 

change the status.

5. Press MENU button to go to the previous menu.

Sub windows info:

SETUP

Move

MENU

Return

OK

Select

EXIT

Exit

 OSD Language          English

TT Language               Farsi

Hearing Impaired          Off

PVR File System

Aspect Ratio                16:9

Blue Screen                  Off

First Time Installation   Off

Reset

Software Update (USB)

12

OSD Language

Press “ OK ” button to enter OSD Language, then press 

/▼ 

◄/► button

s to select OSD Language.

TT Language

Press “ OK ” button to enter  TT Language, then press 

/▼ but-

tons

 to select TT Language.

Aspect Ratio

Press “ OK ” button to enter Aspect Ratio, then press 

/▼ but-

tons

 to select different ratios: auto, 4:3, 16:9, zoom1, zoom2.

Blue Screen

Press “ OK ” button to select off or on.

Installation

Reset
Software Update

(USB)

Using the USB device to update software.

Press  “  OK  ”  button  to  set  relevant  options  including  OSD 

language, country and tuning.
Reset to default setting.

Summary of Contents for TFTV4600FHD

Page 1: ...TFTV4600FHD User Manual PALSONIC CUSTOMER SERVICE Telephone AUSTRALIA 1300 657 888 www palsonic com au FHD LCD TV...

Page 2: ...tub washbowl kitchen sink or laundry tub in a wet basement or near a swimming pool Do not place this equipment on an unstable surface stand or cart The television equipment may fall causing serious in...

Page 3: ...ith safety ground wire Do not over load wall outlets and extension cords as this can result in re or electric shock Never push objects of any kind into this television equipment through cabinet slots...

Page 4: ...liquid which is toxic With bare hands that have cuts skin irritation or poisoning may result If any crystalline liquid gets into mouth or eyes rinse thoroughly with and consult your doctor CAUTION IF...

Page 5: ...onents 2 Front View 2 Rear View 3 Remote control 4 Using the OSD menus 6 Channel Adjustment 6 Picture Adjustment 8 Sound Adjustment 9 Time Adjustment 10 Lock Adjustment 11 Setup Adjustment 12 Media Op...

Page 6: ...th its wide variety of features Color active matrix TFT LCD TV with remote control Safe sturdy construction Audio Video support HDMI input PC input PC AUDIO input YPbPr input AV input RF input USB inp...

Page 7: ...INPUT Increase or decrease the volume CH Increase or decrease channel numbers Switch the input sources MENU Press the button to enter on screen Display OSD POWER Turn the TV on or off Remote Inductor...

Page 8: ...t to the component output of your component device AV IN 1 2 Connect to the audio and video output of A V device RF IN SPDIF Connect to the UHF antenna or coaxial cable from local TV 3 h s i HDMI 3 IN...

Page 9: ......

Page 10: ...the current program Press to scan in reverse 31 Press to scan in forword 32 Press to start recording Direction button 33 Press the button to stop the current program 34 To play the previous chapter ti...

Page 11: ...elect the Channel Setting menu then press OK or buttons for the submenu 3 Press buttons on the remote control or CH buttons on the front panel to select the item you want to adjust 4 Press OK button o...

Page 12: ...0MHz AFC Off Search AFC Off Menu ATV Manual Tuning Programme Edit Press button to select the channel you want to edit Press the red button on the remote control to delete the channel Press the green b...

Page 13: ...Standard Mild Personal Contrast Press OK button to enter Contrast then press buttons to adjust the contrast of the picture Brightness Press OK button to enter Brightness then press buttons to adjust t...

Page 14: ...Sound Mode Press OK button to enter Sound Mode then press buttons to select Standard Music Movie Sports Personal Treble Press OK button to enter Treble then press buttons to adjust the high frequency...

Page 15: ...t 4 Press OK button on the remote control and press buttons to change the status 5 Press MENU button to go to the previous menu Sub windows info Sleep Timer Press OK button to enter Sleep Timer then p...

Page 16: ...remote control and press buttons to change the status 5 Press MENU button to go to the previous menu Sub windows info Lock System Press OK button and press default password 0000 to enter Lock System...

Page 17: ...ows info SETUP Move MENU Return OK Select EXIT Exit OSD Language English TT Language Farsi Hearing Impaired Off PVR File System Aspect Ratio 16 9 Blue Screen Off First Time Installation Off Reset Soft...

Page 18: ...e file you want to watch Press menu button to return back to the previous menu and Exit button to quit Press button to select MUSIC in the main menu then press OK button to enter Select the file you w...

Page 19: ...op recording 2 Press Stop button to stop recording the it will return to normal broadcast television 3 When the storage space of Disk is shortage It will produce a warning message then it stops record...

Page 20: ...annel 200 Standards B G D K Color system PAL SECAM Other AV User manual Progressive scan Dimensions W H D 3 2 2 2 pull down Noise reduction Packing size W H D 1260mm 890mm 260mm 1143mm 820mm 324mm Gro...

Page 21: ...and clean them to remove dust Remote control unit does not operate Check if the batteries are inserted with the polarity correctly aligned Check if the batteries are discharged Please replace with new...

Page 22: ...PALSONIC CUSTOMER SERVICE Telephone AUSTRALIA 1300 657 888 www palsonic com au...

Reviews: