background image

3

3

Planning the wireless network

For tips on planning your network and positioning the access points, see:

•  Wireless Design Guide at 

pkdge.co/wirelessdesign

•  Best Practices for Access Point Placement Guide at 

pkdge.co/ap-bp

Wireless 

Design 

Guide

AP 

Placement 

Guide

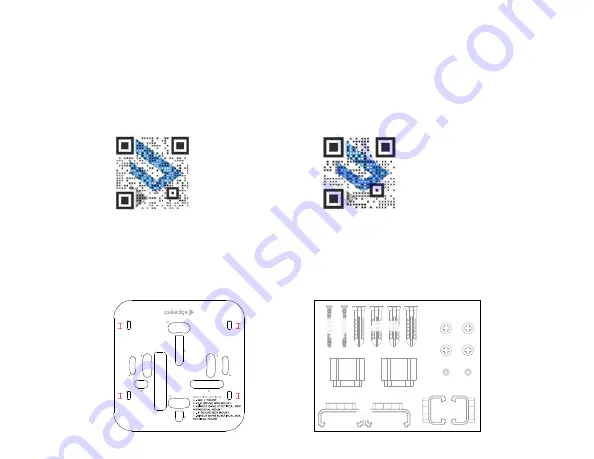
Mounting on a ceiling

Tape the included template against the desired mounting location, then mark the 

places to drill mounting holes and install the appropriate mounting hardware.

T-Bar 

Mounting Screw

T-Bar

T-Bar

Mounting Screw

Mounting Screw

For use with

For use with

T-Bar Bracket

T-Bar Bracket

Spacer

Spacer

Wall Bracket

Wall Bracket

Mounting Anchors

Mounting Anchors

Wall Bracket

Wall Bracket

Mounting Screw

Mounting Screw

T-Bar

T-Bar

Bracket

Bracket

Spacer

Spacer

T-Bar

T-Bar

Bracket

Bracket

For 15/16” T-Bar

For 15/16” T-Bar

T-Bar

T-Bar

Bracket

Bracket

For 9/16” T-Bar

For 9/16” T-Bar

Summary of Contents for WA-2200 Series

Page 1: ...WA 2200 WA 2200 1 802 11ac 2x2 Wave 2 Access Point QUICK START GUIDE OvrC Enabled...

Page 2: ...ndows or Mac PC with an Ethernet port and Google Chrome or Mozilla Firefox Specifications and credentials Operation mode Access Point IP address If no DHCP server is detected the default IP address is...

Page 3: ...desired mounting location then mark the places to drill mounting holes and install the appropriate mounting hardware T Bar Mounting Screw T Bar T Bar Mounting Screw Mounting Screw For use with For us...

Page 4: ...o the slots on the bracket then slide until it s locked 1 2 Removing the AP from the bracket To remove the AP from the bracket 1 While pressing the AP against the bracket slide the AP up slightly then...

Page 5: ...nt 1 Connect power using a POE injector or POE switch or with the optional AC power adapter sold separately The access point should now be up and running with its default settings It does not need to...

Page 6: ...try to access the access point through its default IP address of 192 168 1 21 3 Enter that IP address into a web browser to open the access point interface The Sign In page opens Note Because the AP u...

Page 7: ...complete the setup Caution For international models you must change the Country Code a drop down list defaulting to GB United Kingdom to the specific country of operation Note Refer to the user guide...

Page 8: ...or mobile device Setup is plug and play with no port forwarding or DDNS address required To add this device to your OvrC account 1 Connect the AP to the internet 2 Log into OvrC www ovrc com 3 Add th...

Page 9: ...9 9...

Page 10: ...ranty or request a paper copy from Customer Service at 866 424 4489 Find other legal resources such as regulatory notices and patent information at snapav com legal 200 00575 F 2021 02 02 TW 11734 S E...

Reviews: