


User’s Manual
38
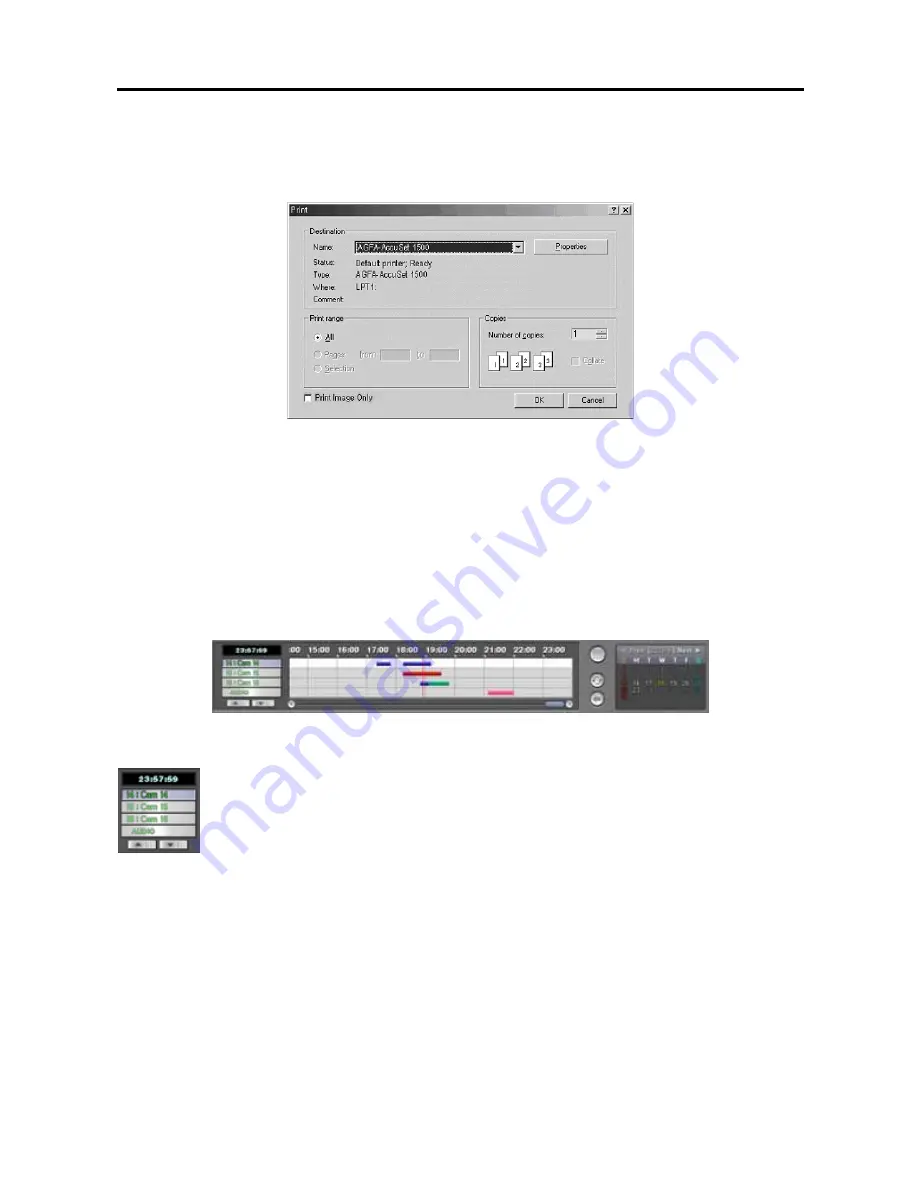
Click the
button to print the current image.
1.
Move to
Name
, and select an installed printer to use from the drop-down list.
2.
Do not change the setting for the
Print range
.
3.
Move to
Copies
, and set the number of copies using arrow buttons.
4.
Move to
Print Image Only
, and check the box if you want to print the image without text information.
5.
Click the
OK
button to print the current image. Selecting
Cancel
cancels printing operations and closes the
dialog box without saving the settings.
Timetable Window
The timetable window consists of a record timetable, camera label and a calendar/bookmark. You will see the bank
file recording information. Various functions of the timetable window enable fast searches.
Camera Label Buttons
Camera label buttons show camera information. Change the current playback camera by clicking the
camera label button. The camera label buttons that do not have recorded data cannot be selected.
Only four camera labels are shown at a time. Use the up and down arrows or roll the mouse wheel to
scroll through the list of cameras.
Recording Status Bar
Recorded information is shown on the recording status bar. Search specific video by clicking the mouse on the
desired segment or scroll by moving the scroll key from left to right. The color of the bar indicates different types of
recording: Yellow for Pre-alarm, Cyan for Motion Detection, Red for Sensor, Grey for Text-in, and Blue for
Time-lapse. Every clicking the right mouse button on the timetable zooms the record timetable in with three levels;
one time (hour based time interval) in the first level, four times (30 minute based) in the second level, and eight times
(10 minute based) in the third level.


