©2013 PACE Inc., Southern Pines, NC
Page 18 of 31
All Rights Reserved
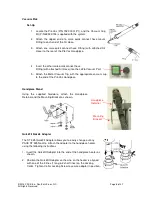
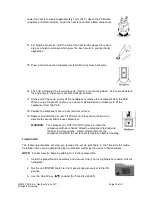
18. If vacuum is being used to hold component, depress and hold the Vacuum
Cycle Switch for 0.5 second (minimum) to stop vacuum and release the
component. Release the Vacuum Pick Switch.
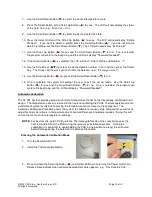
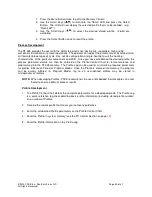
19. When complete solder melt is observed, release the handpiece Cycle Switch
(to stop heating) and gently lift the handpiece from the PCB.
Timed Removal
The
Timed Mode
offers added process control with the addition of a user-specified cycle time and
automatic vacuum pickup/release.
NOTE:
Times can be determined by visual solder melt or by the use of a thermocouple.
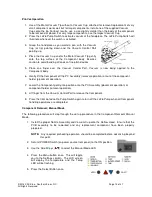
1. Install the proper Nozzle and Vacuum Cup onto the handpiece.
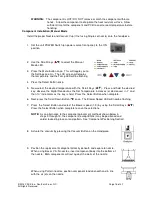
2. Set the unit POWER Switch (on front panel of power source) to the ON
position.
3. Use the Scroll Keys (
) to select the Timed Remove LED.
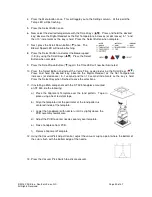
4. Press the Menu button once. This will toggle you to
the Settings column. At this point the Temp LED will
be flashing.
5. Press the Select Button once.
6. Now select the desired temperature with the Scroll
Keys (
). Press and hold the desired key; observe
the Digital Readout as the Set Temperature increases (or decreases) in 1° and then 10°
increments as the key is held. Press the Select Button when complete.
7. Next, press the Scroll Down Button (
) once. The Blower Speed LED will now be flashing.
8. Press the Select Button and select the blower speed (1-9) by using the Scroll Keys (
).
Press the Select Button when complete.
9. Press the Scroll Down Button (
) again; the Time LED will now be flashing.
10. Press the Select Button and adjust the Cycle Time as desired using the Scroll Keys (
).
Press and hold the desired key; observe the Digital Readout as the Set Temperature
increases (or decreases) in 1 second and then 10 second increments as the key is held.
Press the Select Key when finished to save the selections.
NOTE:
Any required preheating should be completed before advancing beyond this point.
11. If using a Single Jet nozzle, proceed to step 15.
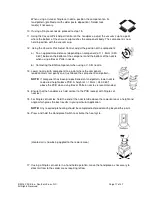
12. Adjust the vacuum cup to a point where the bottom of the vacuum cup is
approximately flush with the bottom edge of the nozzle using the Vacuum
Pick Adjust Control.
13. Hold the handpiece vertical to the PCB.


